BuzzGun79
Nov.TOTM 2012 / 2012 TOTY
- 2,388
- 55
Next up Fanatics...We have......

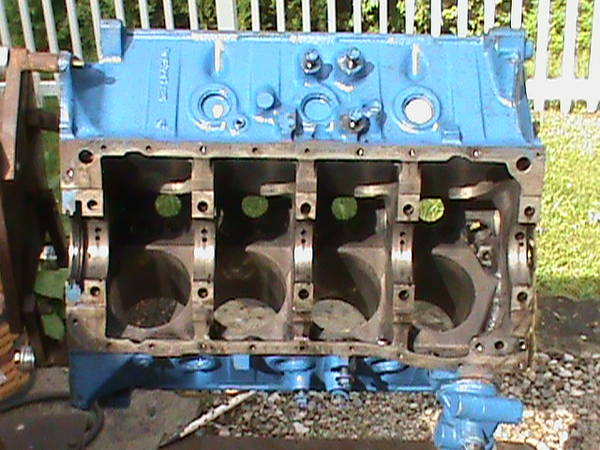
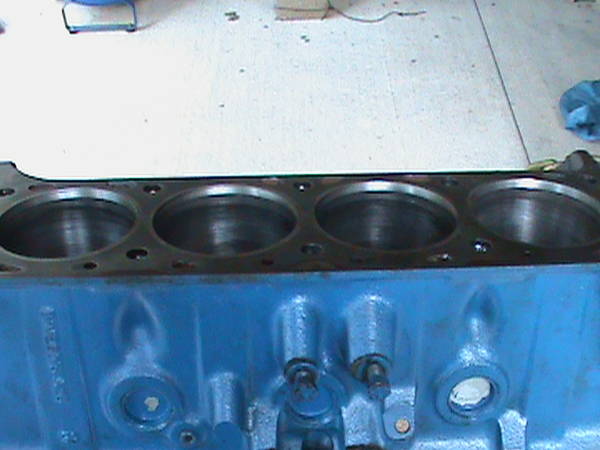
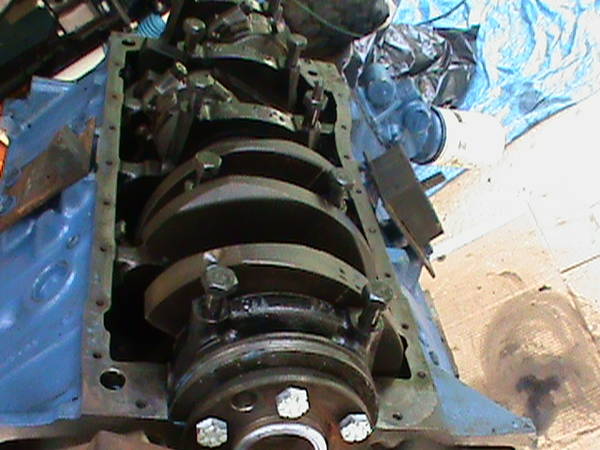
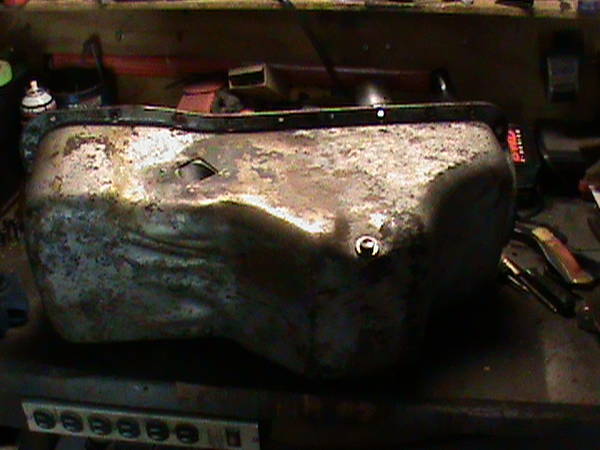
Mounted the engiine block on the engine stand...I use 4 - 5/8" Grade 8 bolts to mount the block on the stand, dont settle for less a softer bolt could snap while holding the block weight to the stand...Ive also removed the oil pan and oil pump assembly....

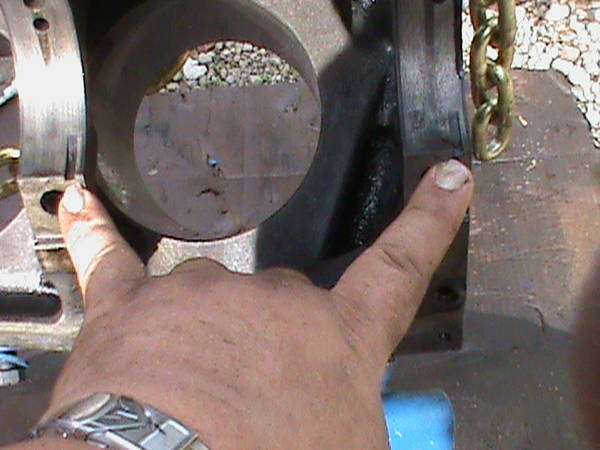
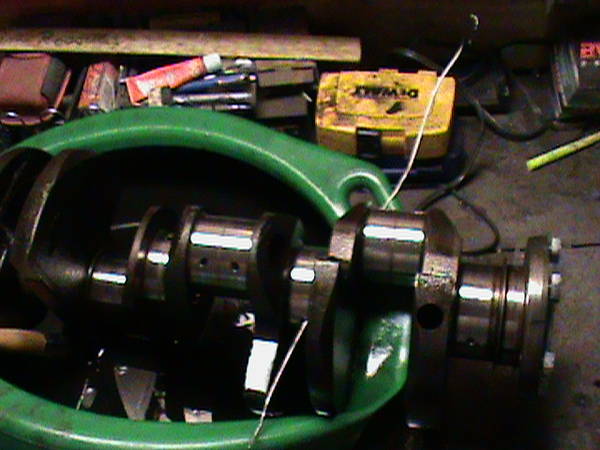
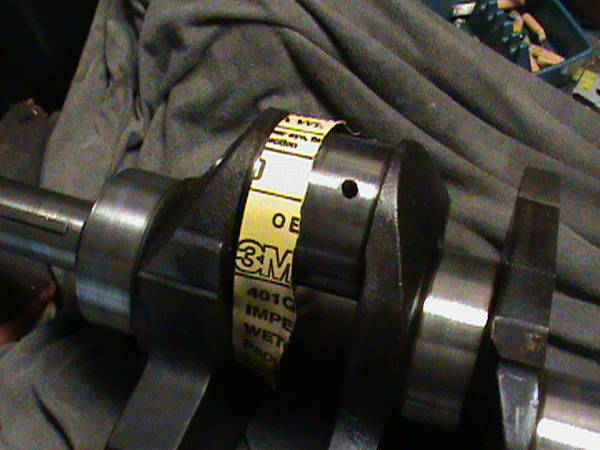
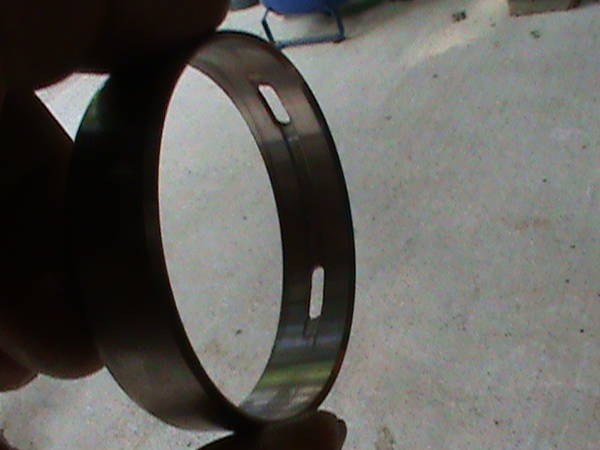
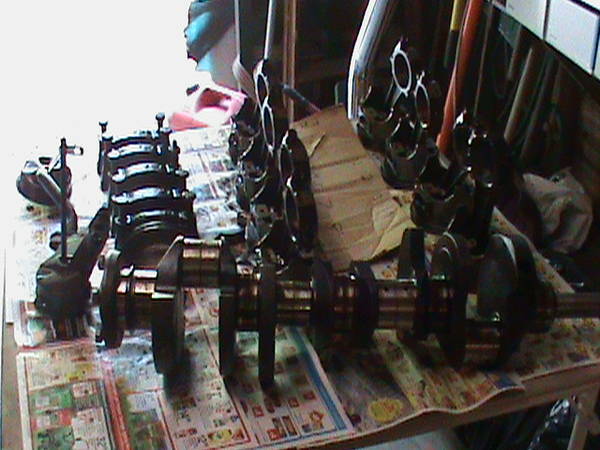
Pay close attention to the numbers,along with the arrows...The main bearing caps each have a respected number to their location..there for they must be kept to their respective locations with the arrows pointing to the front of the motor in this case....
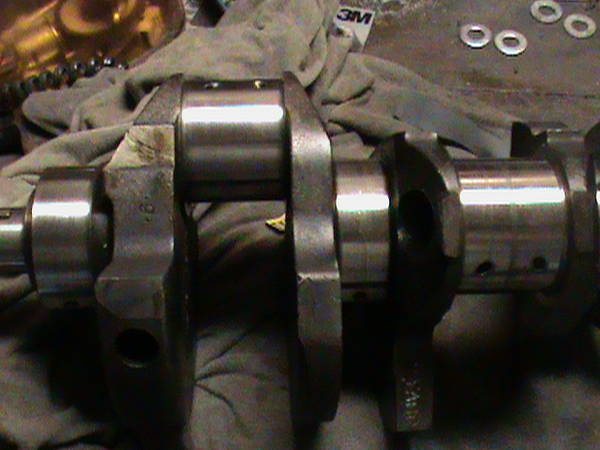
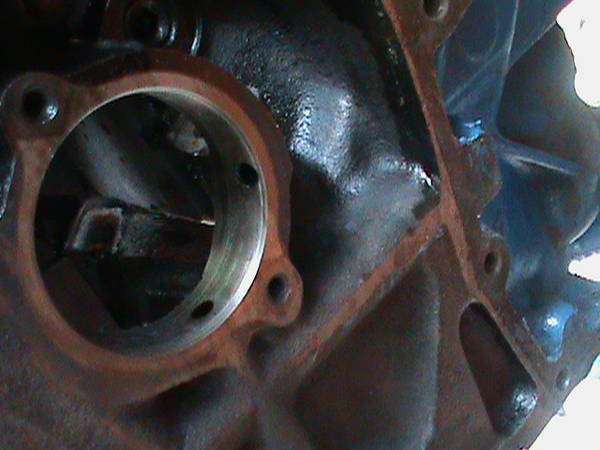
Starting at the front of the engine..I have loosened all the mains...along with keeping the bolts in their respective hole and home main....
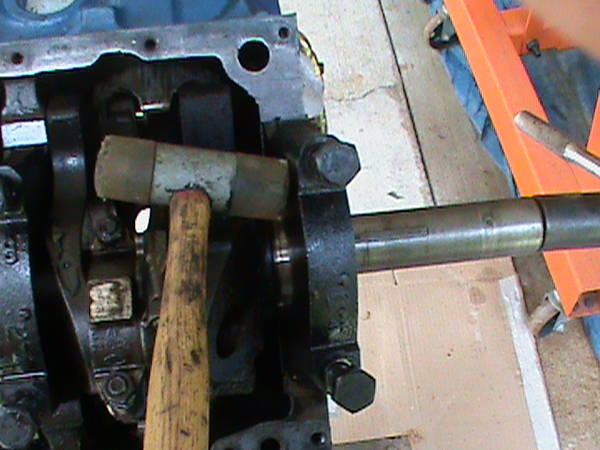
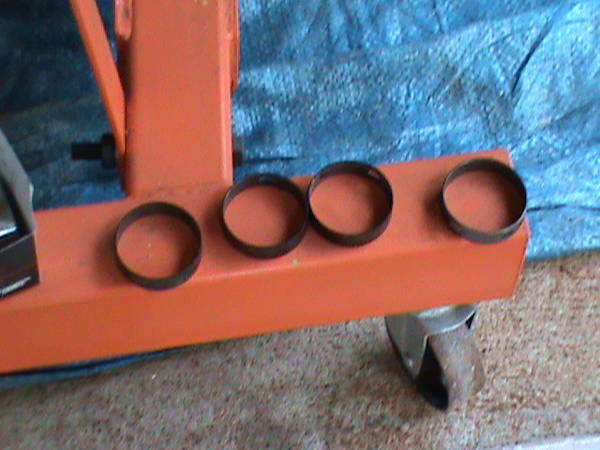
A sharp Blow from a plastic Hammer will unseat the loosened main..remove these working from the front of the engine to the rear or in order #1 main-#2 main,#3 main ect ect...lay them out in order on your table as well...
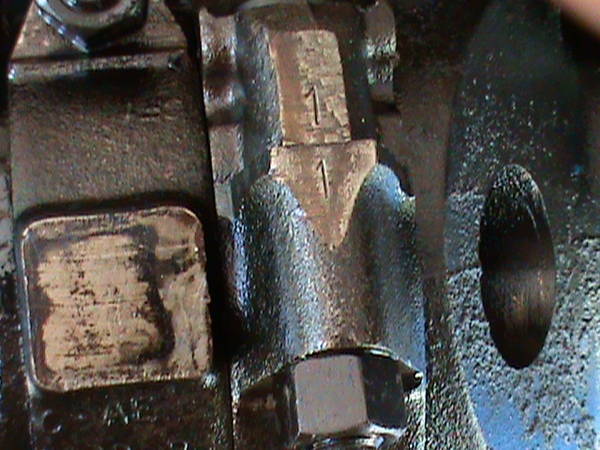
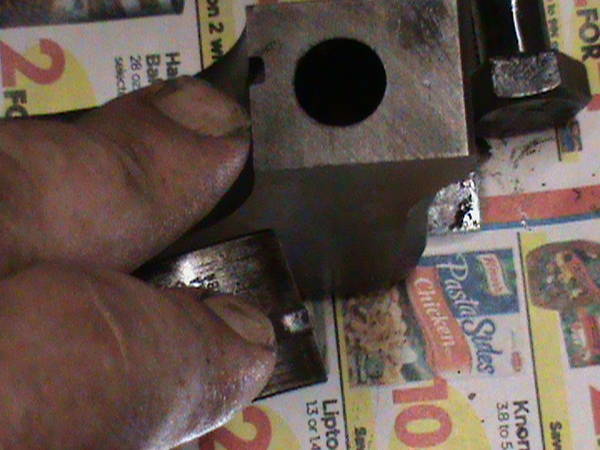
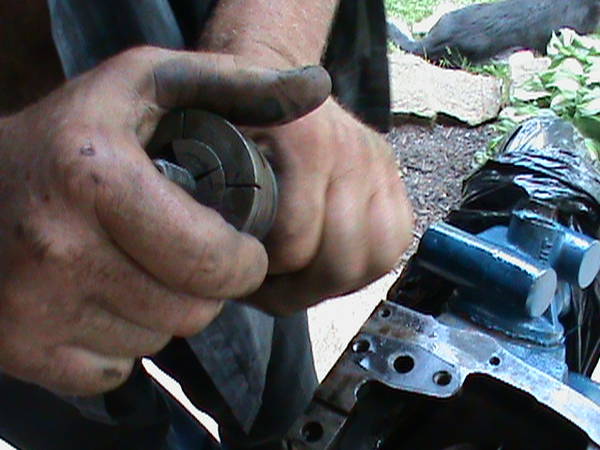
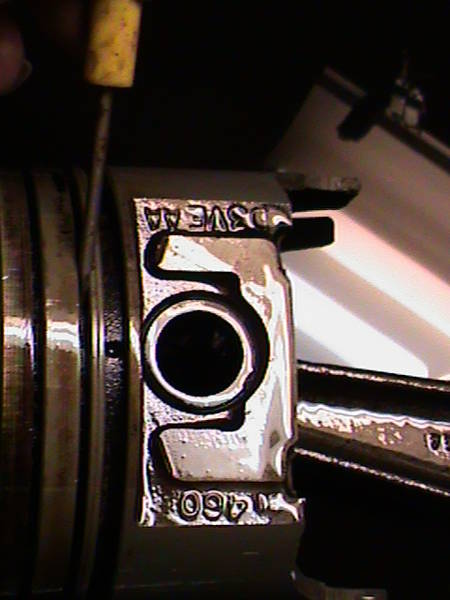
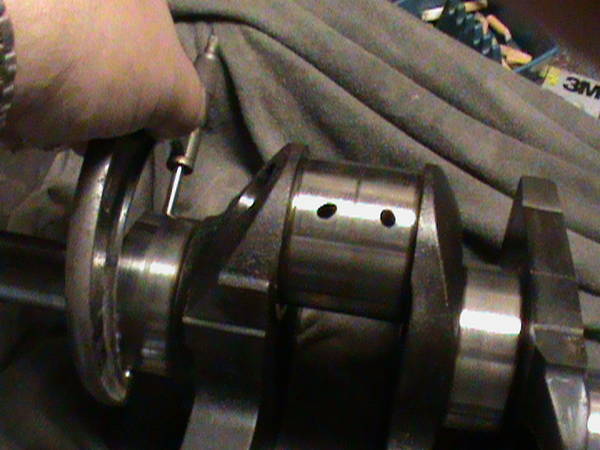
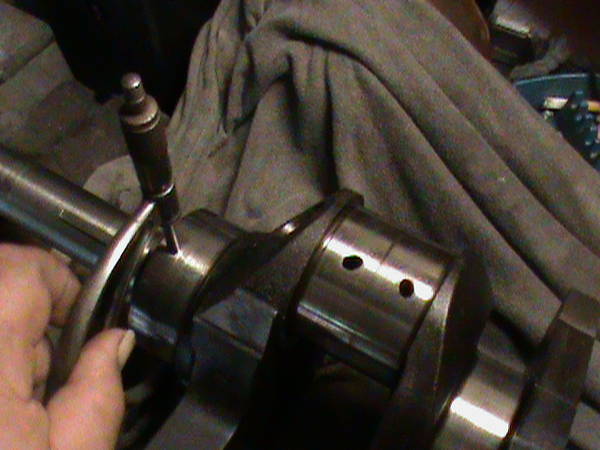
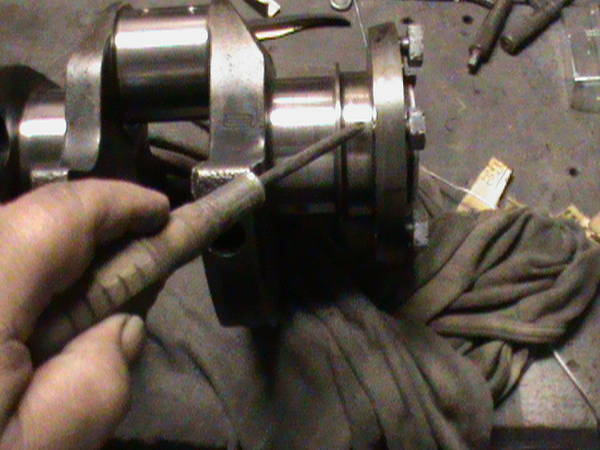
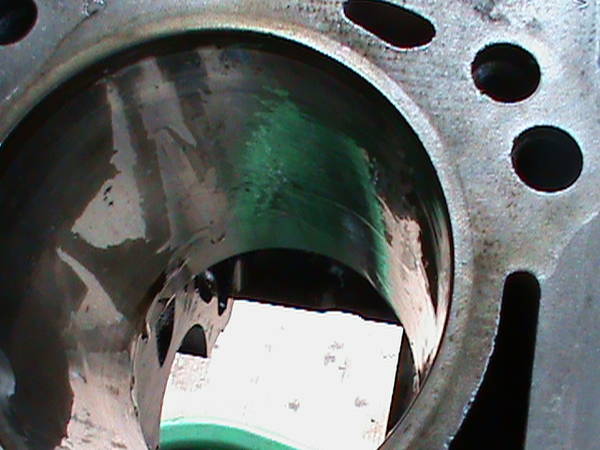
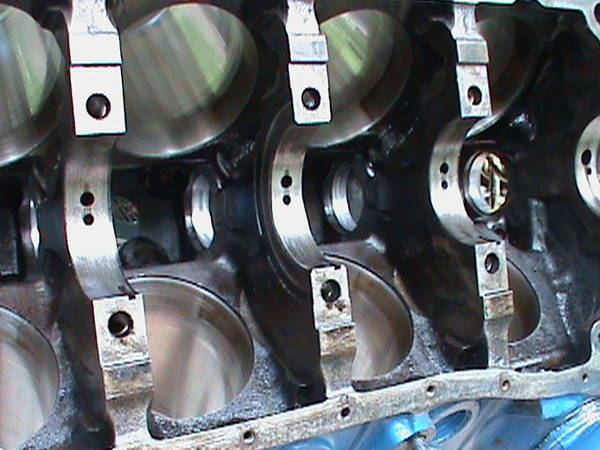
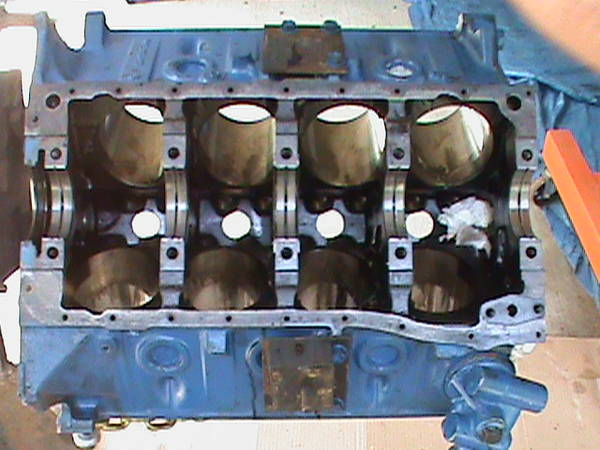
Next identify the rod caps on each individual journal...here you can see the #1 stamped on both the rod cap,along with the connecting rod as well..these numbers must coincide with its designated rod..the numbers must be kept so they can both be read on the same side.By chance thsese numbers also face the side of the block resepective to their location for example the #1 stamp on the rod and cap faces to the side of number 1 cylinder or the left (passenger side) of the engine.Not all engines are stamped..if not you WILL NEED to stamp them accordingly before disassembly..loosen, carefully remove each rod/piston assembly in order 1 at a time keeping them all in order to their respective locations on the table..while removing DO NOT LET THE ROD STUDS RUB OR SCRAPE AGAINST ITS JOURNAL OR THE CYLINDER WALLS..In basic terms Dont knick the crank journals or cylinder walls!!...
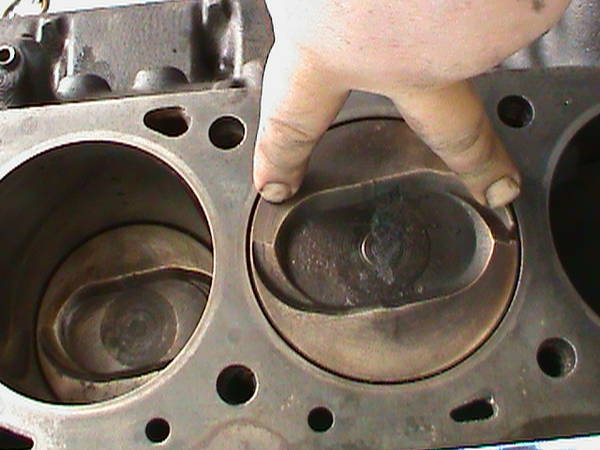
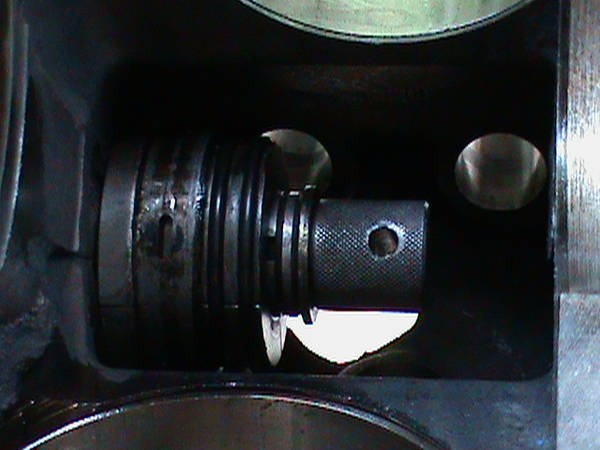
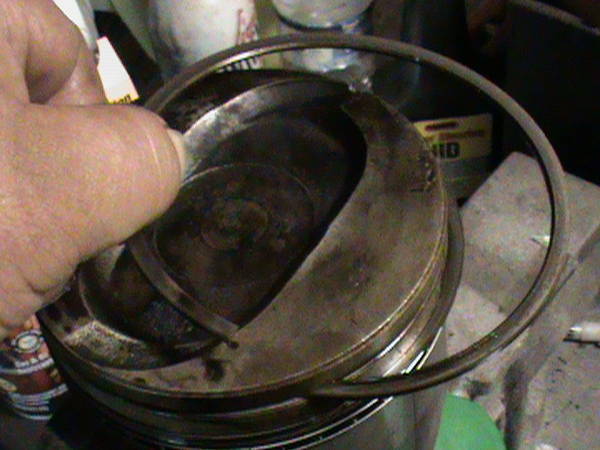
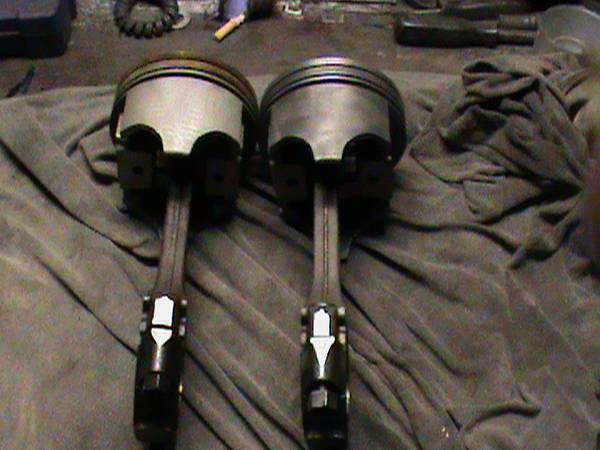
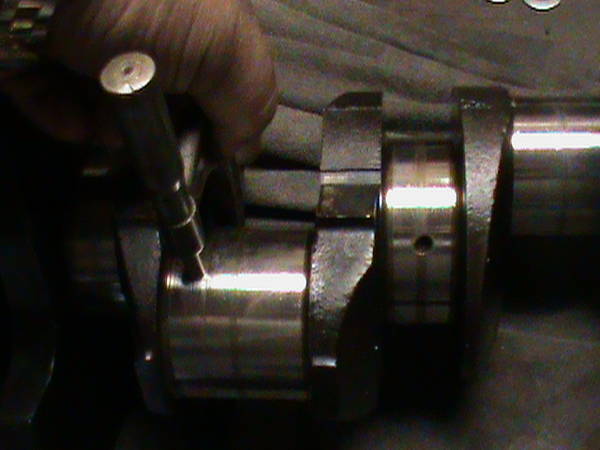
Here im identifying piston location...again some engines have a notch in the piston indicating the direction of install...These piston's have that notch the notch goes to the front of the engine..upon reinsatlling i will have to go by notch and the numbers stamped on the rods in order to install them back in correctly....
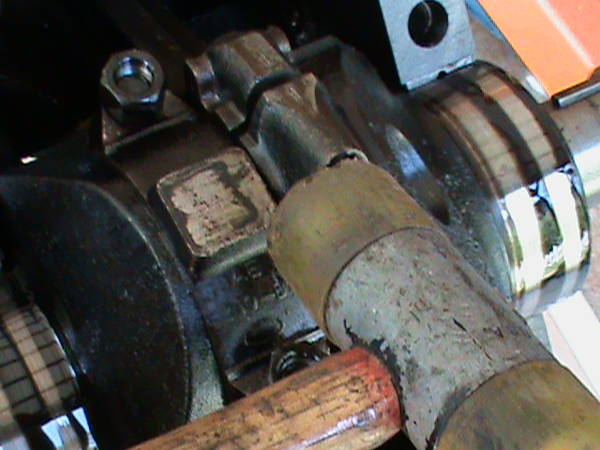
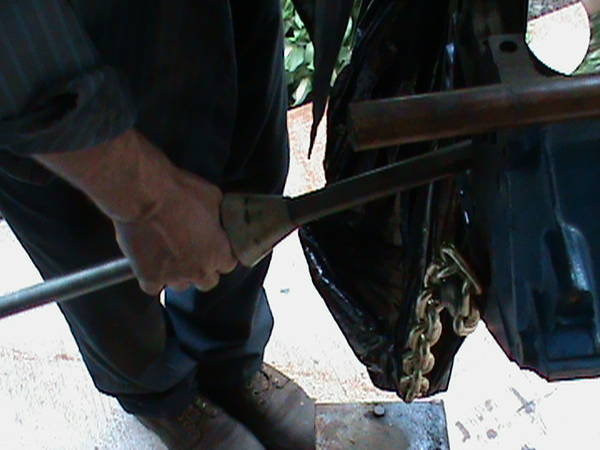
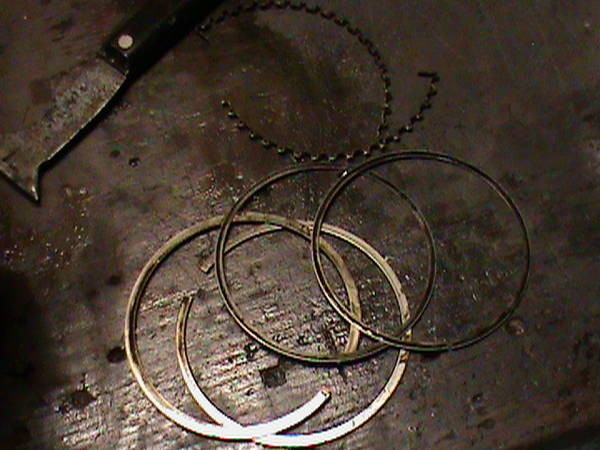
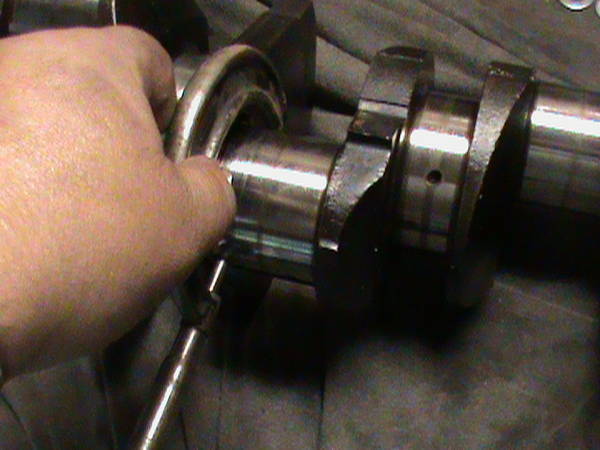
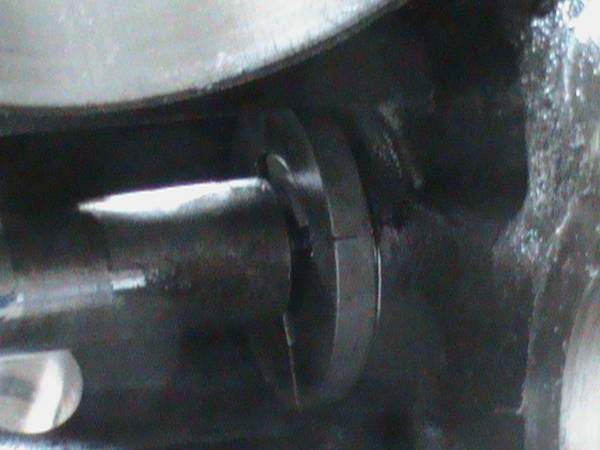
Here im usinng the plastic hammer to help seperate the cap from the rod...a light blow on the loosened nut is sufficient....REMEMBER DONT NICK THE JOURNAL OR THE CYLINDER WALLS REMOVING THE ROD ASSEMBLY!
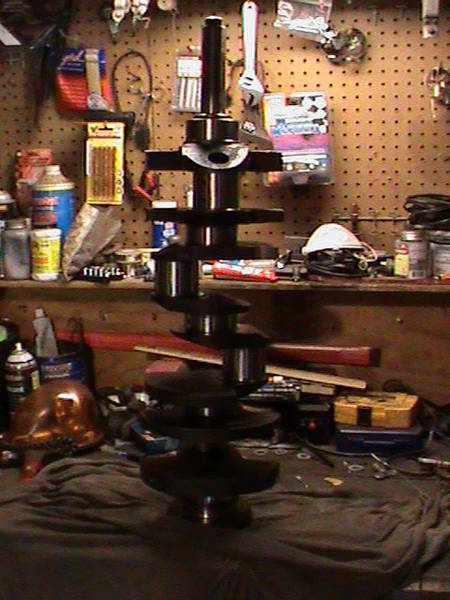
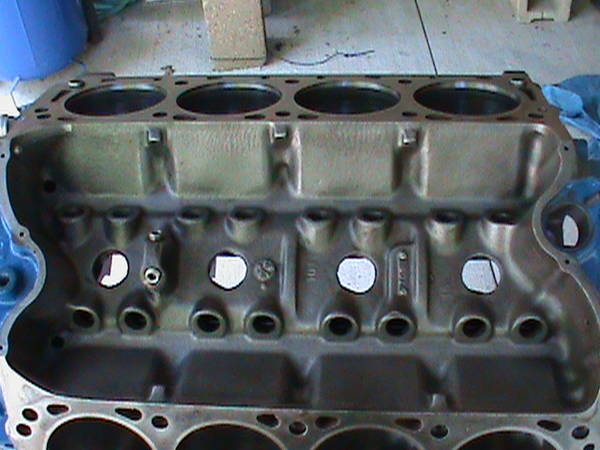
Our block is now Disassembled.....
Our block Components are laid in order on a table out of the way of traffic or interferance...We are now at the half way point...lol Guess whats Next.....
More Cleaning,preping,measuring,Painting to go... ...hehe...
")
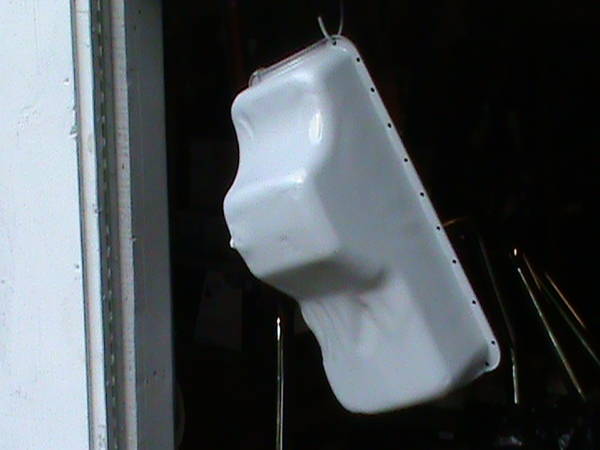
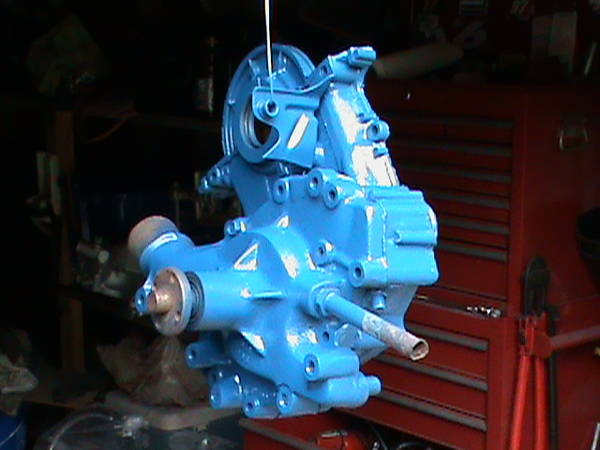
Here after the old paint has been stripped,along with sanding/power brushing to remove imperfections and rust scale...ive applied a coat of Zinc based rust inhibitng primer....Followed by....
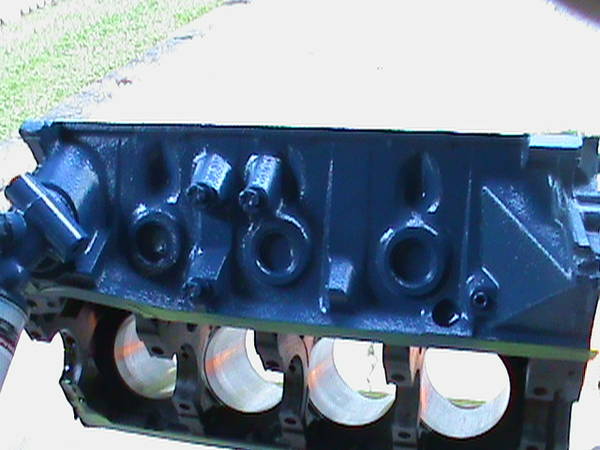
A top coat of "Metal" is applied...once dry i hit it with about 5 coats of clear for an added gloss and protection...The paint used is heat resistant to 5,000 degrees F.....
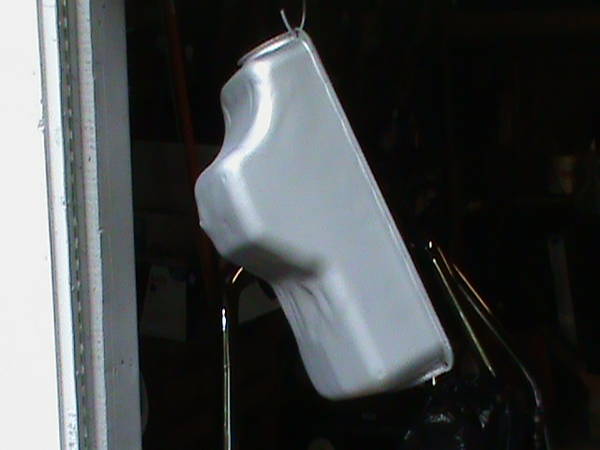
Same with the timing Cover.......
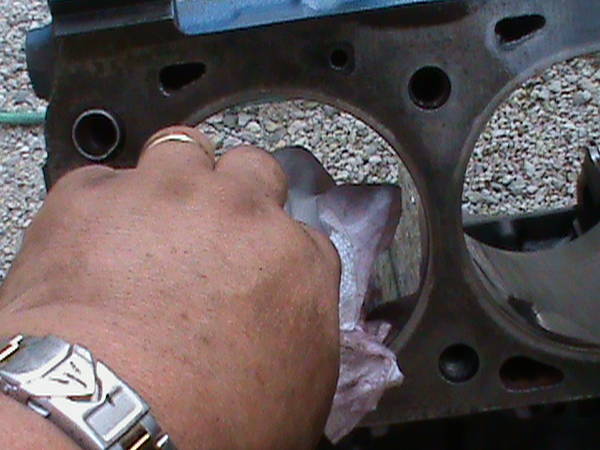
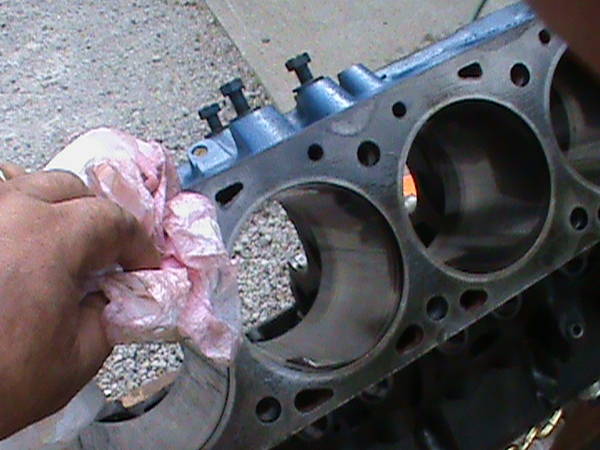
OK STOP!!....Now we cleanup/inspect/measure/paint ALL the remaing parts,bolts,nuts,block ect ect,in order to be completely ready for reassembly....Doing this will ensure and add some speed to reassembly...once reassembly is started with everything clean ensures closing up the engine in a timely manor to avoid contamination of new items placed in the engine....Stay Tuned!!
Mounted the engiine block on the engine stand...I use 4 - 5/8" Grade 8 bolts to mount the block on the stand, dont settle for less a softer bolt could snap while holding the block weight to the stand...Ive also removed the oil pan and oil pump assembly....
Pay close attention to the numbers,along with the arrows...The main bearing caps each have a respected number to their location..there for they must be kept to their respective locations with the arrows pointing to the front of the motor in this case....
Starting at the front of the engine..I have loosened all the mains...along with keeping the bolts in their respective hole and home main....
A sharp Blow from a plastic Hammer will unseat the loosened main..remove these working from the front of the engine to the rear or in order #1 main-#2 main,#3 main ect ect...lay them out in order on your table as well...
Next identify the rod caps on each individual journal...here you can see the #1 stamped on both the rod cap,along with the connecting rod as well..these numbers must coincide with its designated rod..the numbers must be kept so they can both be read on the same side.By chance thsese numbers also face the side of the block resepective to their location for example the #1 stamp on the rod and cap faces to the side of number 1 cylinder or the left (passenger side) of the engine.Not all engines are stamped..if not you WILL NEED to stamp them accordingly before disassembly..loosen, carefully remove each rod/piston assembly in order 1 at a time keeping them all in order to their respective locations on the table..while removing DO NOT LET THE ROD STUDS RUB OR SCRAPE AGAINST ITS JOURNAL OR THE CYLINDER WALLS..In basic terms Dont knick the crank journals or cylinder walls!!...
Here im identifying piston location...again some engines have a notch in the piston indicating the direction of install...These piston's have that notch the notch goes to the front of the engine..upon reinsatlling i will have to go by notch and the numbers stamped on the rods in order to install them back in correctly....
Here im usinng the plastic hammer to help seperate the cap from the rod...a light blow on the loosened nut is sufficient....REMEMBER DONT NICK THE JOURNAL OR THE CYLINDER WALLS REMOVING THE ROD ASSEMBLY!
Our block is now Disassembled.....
Our block Components are laid in order on a table out of the way of traffic or interferance...We are now at the half way point...lol Guess whats Next.....
More Cleaning,preping,measuring,Painting to go...
...hehe...
Here after the old paint has been stripped,along with sanding/power brushing to remove imperfections and rust scale...ive applied a coat of Zinc based rust inhibitng primer....Followed by....
A top coat of "Metal" is applied...once dry i hit it with about 5 coats of clear for an added gloss and protection...The paint used is heat resistant to 5,000 degrees F.....
Same with the timing Cover.......
OK STOP!!....Now we cleanup/inspect/measure/paint ALL the remaing parts,bolts,nuts,block ect ect,in order to be completely ready for reassembly....Doing this will ensure and add some speed to reassembly...once reassembly is started with everything clean ensures closing up the engine in a timely manor to avoid contamination of new items placed in the engine....Stay Tuned!!
Last edited: