Join Our Ford Truck Forum Today

Document your Ford truck project here and inspire others! Login/Register to view the site with fewer ads.

Finally got my crewcab!!

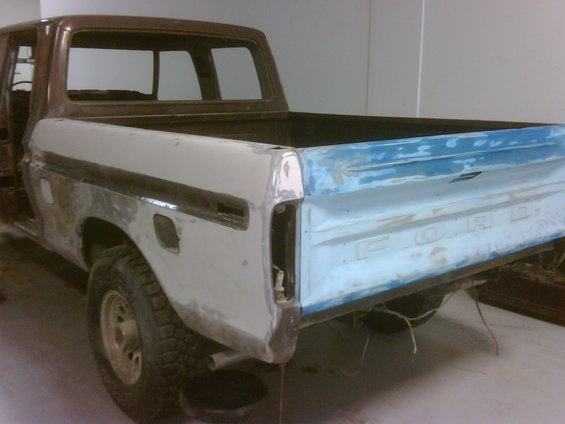
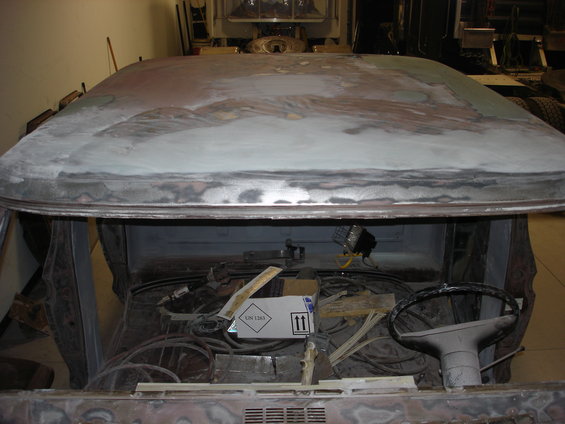
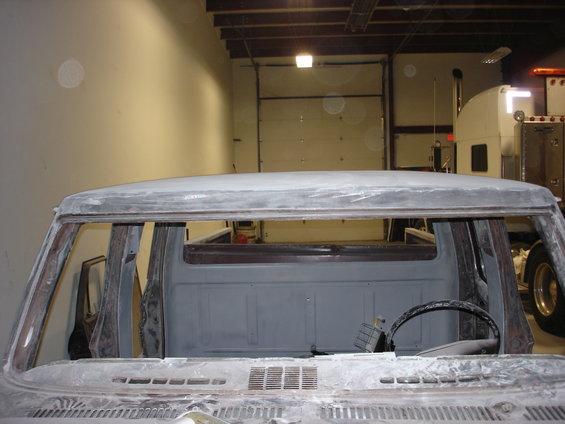
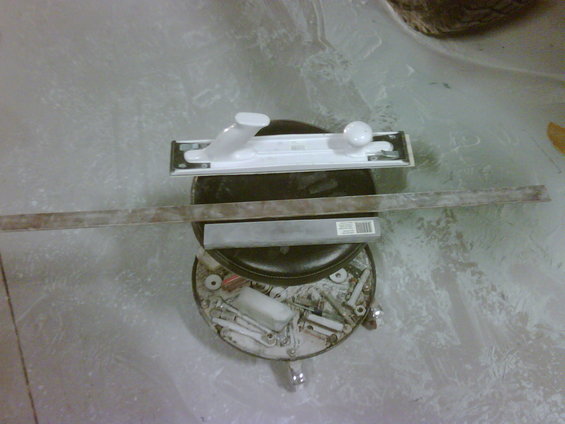
It was pretty beat up but I got her straight today. Here are the tools of choice, a longboard, a straight edge and a hand pad. If your thinking about using a DA to do this don't waste your time. If you want it straight it is going to require doing it by hand.

img00111200910021505.jpg


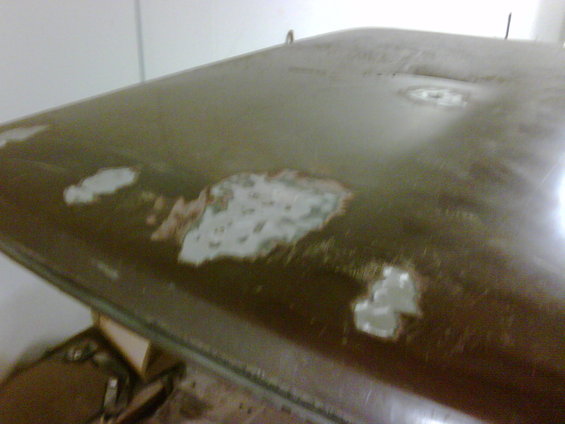
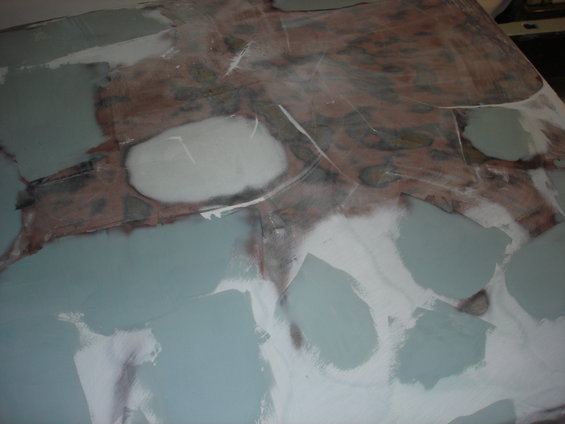
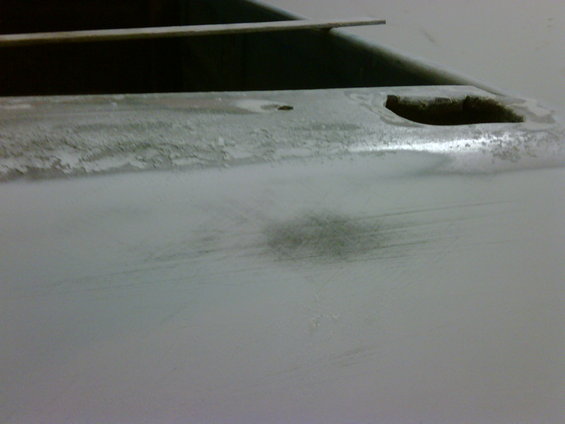
After sanding the top of the bed I sprayed some black lacquer paint on and then hit it with 320 on the long board. If you see black still on after sanding that means you have a low spot.

img00108200910021416.jpg


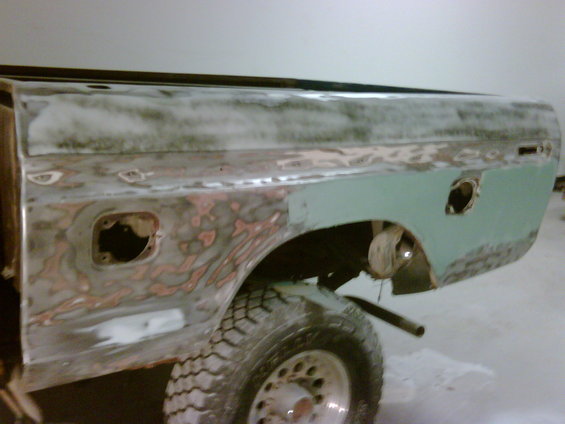
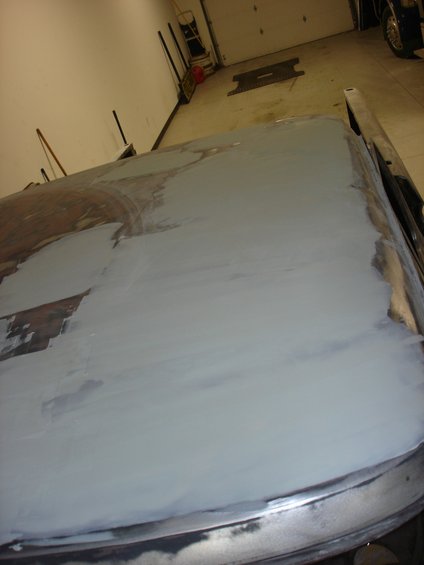
Just a little bit of black left, so minor that once it is primed and block sanded it will go away.

img00109200910021421.jpg


img00110200910021421.jpg

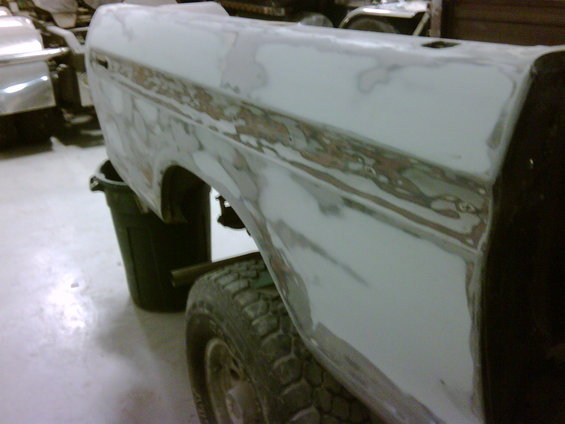
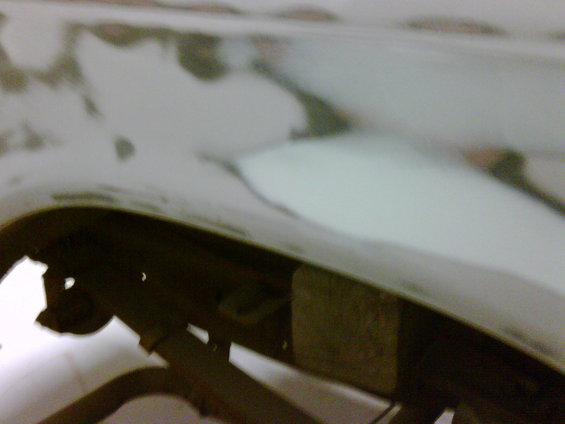
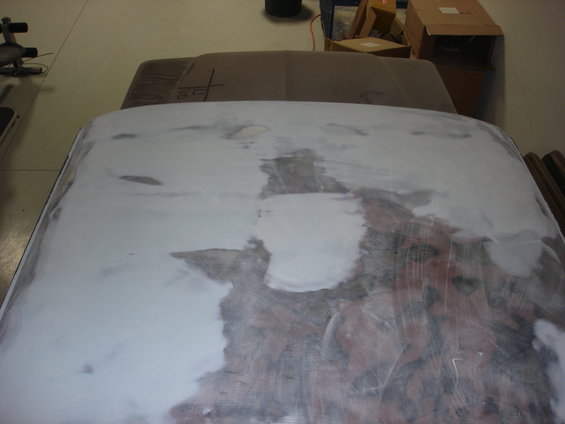
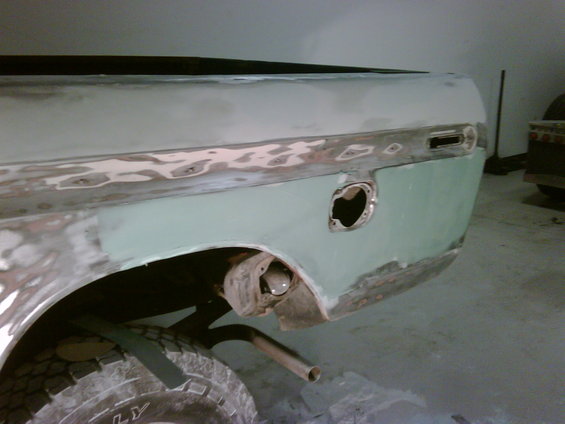
So with the topside done I started on the lower side. I'm hoping that this is the final coat of bondo. I have used about 2 quarts of bondo on this side of the bed and probably have a quart of sanding dust on the ground. It is a lot thinner than what the previous guy had done to it.

img00112200910021506.jpg
 

LEB Ben

Arrogant A-hole At-Large
34,919
1,124
outside your house
Good work Scott...and to think, I thought the bed looked decent to begin with. Just outta curiousity, what exactly are you covering up with all that bondo? Was it just that unlevel? How thick you figure that is right now?
 
Thanks guys.

Ben at one time it was in an acident, see post 99. The rear quarter was pushed in and restraightened at a body shop I presume. The top of the bedside had a bunch of hammer marks in it. Not really sure what the PO used the truck for or how it got them in the panel. Thickness, if I was to guess probably no more than 3/16" thick on the rear quarter. Upper bedside, probably 1/8" or less. Imagine taking a hammer and hitting a piece of steel lightly. Thats exactly what the upper panel looked like. It didn't require much at all to straighten. Whoever did the prior work put it on thick, you can see in this picture that they used a lot of bondo. I didn't go up over the top of the bed rail like they did. There are a couple of small dents up there but the inside of the bed will get Line-X'd so it will cover all that up. Hopefully when I strip the passenger bedside it does not have any hidden dents in it. Also that lower rear quarter still has to get final sanded. When I left it today I wanted to at least get the last coat on so more will come off.

img00085200909251339.jpg
 
Last edited:
More progress within the last week.

I found out that formica countertop is going to make a great base for my new headliner. I can get it in one piece so I won't use the center trim piece. Here is a test piece that I cut.

img00115200910051341.jpg


Finished one side of the bed, hung the door back on to remove a small dent and align.

img00116200910051518.jpg


I also talked to my neighbor, Advanced auto body and he said I could use his spray booth to paint!! That made my day.


Next on the list was to get rid of the $2.00 Taiwan cab lights. There were also 2 holes for some antennas that are now gone. Welded up all of the holes and then covered them up with more bondo. Plenty more hand sanding here. I am going to find a set of stock Ford cab lights to put back up on the roof.

img00119200910081022.jpg


img00120200910091131.jpg


Passenger side of the bed is 95% done. I have a small spot on the lower rear that needs to be finished. It had a couple of small dents but not as bad as the driver side was. Best part about it is both of the wheel wells are solid with no rust.

img00122200910091132.jpg


img00123200910091134.jpg


With any luck if progress keeps going as it is I should be able to get it painted in another month or so.
 

LEB Ben

Arrogant A-hole At-Large
34,919
1,124
outside your house
Lookin good Scott, seems like you got some good work into it over the recent weeks. Glad to hear paint is projected so soon. Can't wait to see that.
 

Lost

PA Chapter leader
3,288
33
central PA
Coming along nice ... That was one solid truck heck here those doors would be considered rust free. My dad had crews all way till 80 . He always got em Dec 20th we'd take them to sit on santies lap on way home . The memories.

I got a long bed 4x2 crew in local yard get u some pics. IF had garge room I'd haul it home just because
 
Thanks guys. 85 F-150, I can't wait to see the finished product either.

Coming along nice ... That was one solid truck heck here those doors would be considered rust free. My dad had crews all way till 80 . He always got em Dec 20th we'd take them to sit on santies lap on way home . The memories.

I got a long bed 4x2 crew in local yard get u some pics. IF had garge room I'd haul it home just because

Thanks Lost. If you happen to get to the yard and check that crew out if it has the exterior tu-tone trim I would be interested in the lower 4 pieces for the cab and the 2 pieces for the rear door. I'm also looking for the 2 short sections of the dentside trim that goes between the front and rear doors and a set of rear door panels. Let me know if you see anything out that way. Thanks
 
More progress. I finished up the roof, what a major pain that was. It is pretty flimsy and made it very hard to sand.

several coats of filler all hand sanded with the longboard.
dsc03462.jpg


Final coat of filler, waiting to be sanded.
dsc03470.jpg


Then finish it off with a coat of spot putty. This needs to be sanded as well.
dsc03477.jpg

Finished and ready for primer.
dsc03478.jpg


Looks 100% better without those cheap cab lights. I am going to try and find a set of LED cab lights that will look nice to put on it.

dsc03481.jpg


And last but not least the driver side door, it has a final coat of spot putty that needs to sanded yet also.

dsc03480.jpg


On both sides of the upper bed rail I had to redo 3 of the 4 stake pockets. They were pretty busted up so I reshaped the holes. Both sides of the bed rails had a bunch of dents in them as well so those needed some straightening.
dsc03479.jpg


So as it is right now I have one spot left on the lower passenger bedside that needs to be done, the back of the cab needs to be sanded, the passenger rear door needs to be hung and checked, hood needs to be finished and I need to finish up the cowl. Once those are done I ready to spray some primer.
 
Thanks Mark.

You know you can register over there, we don't bite.

I had planned on changing mine over to an electric or hand winch but with the soft top now the hard top never gets used anymore.
 
Thank you Dan.

I had a couple hours to burn today so I took the NOS doors and fenders down and fit the driver side. I also have to prealign the side molding and drill the mounting holes for the mirror blind nuts. Once they are set in there final place I'll drill a pilot hole thru the hinges to the cab so when it comes time to remount the doors it will be a little easier.

dsc03486.jpg


dsc03488.jpg
 

Lost

PA Chapter leader
3,288
33
central PA
Thanks guys. 85 F-150, I can't wait to see the finished product either.


Thanks Lost. If you happen to get to the yard and check that crew out if it has the exterior tu-tone trim I would be interested in the lower 4 pieces for the cab and the 2 pieces for the rear door. I'm also looking for the 2 short sections of the dentside trim that goes between the front and rear doors and a set of rear door panels. Let me know if you see anything out that way. Thanks
No side moldings on the truck But I do know of asitting in the weeds I'll look if get down that way . About 2 hours away.
 

bucks77ford

We will Rise Again
I had a couple hours to burn today so I took the NOS doors and fenders down and fit the driver side. I also have to prealign the side molding and drill the mounting holes for the mirror blind nuts. Once they are set in there final place I'll drill a pilot hole thru the hinges to the cab so when it comes time to remount the doors it will be a little easier.

dsc03486.jpg


dsc03488.jpg

I hated drilling the holes for molding. Of course it wouldn't have been so bad if everything wasn't painted first. I was sweating pretty bad. One thing that made the drilling easier was using a step bit. That way the bit gradually went through to where I wanted it rather than trying to hold the drill back when it punched through so I wouldn't scratch or dent.
 

Fordzilla80

Ranger Lariat
6,372
262
Narnia
I hated drilling the holes for molding. Of course it wouldn't have been so bad if everything wasn't painted first. I was sweating pretty bad. One thing that made the drilling easier was using a step bit. That way the bit gradually went through to where I wanted it rather than trying to hold the drill back when it punched through so I wouldn't scratch or dent.
If you don't mind me asking,how come you didn't drill the holes first,then paint?
 

Ford Truck Articles

Recent Forum Posts

Top