mrfixit
Chief Chaotic Engineer
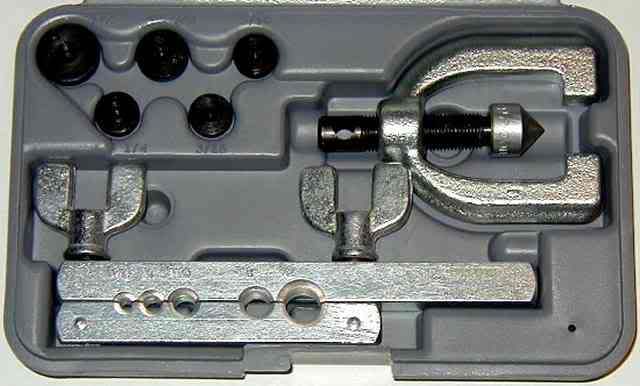
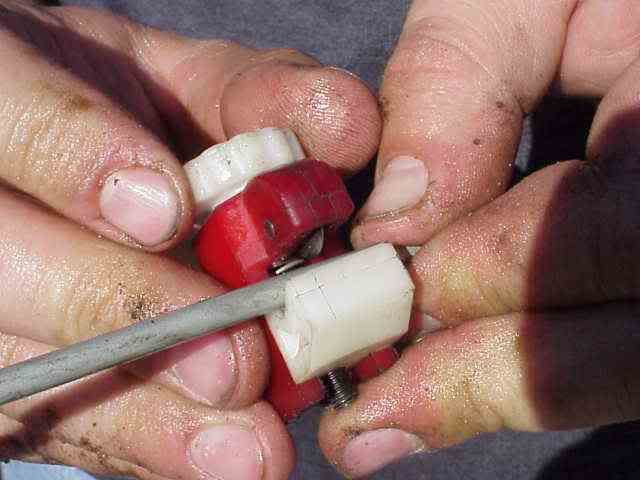
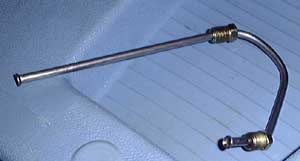
First, you have to start the process by getting your fingers all nasty and dirty. Once you do that, you can take a tubing cutter and cut the brake line to the desired length. Given the chance, I fully support the idea of putting a slight bend in the tube (in the middle if possible) that will allow you to flex the tube to make it shorter or longer since I've already figured out that one can measure it 10 times and it still won't quite come out right.
there are two ways to go about this. I've used a cut-off wheel on my Dremel tool to cut the brake line tube and then a small fine tooth file to de-burr the edges. I used the same model Flaring tool you are considering. I got a great flare on the first try and all others in my practice mode with this method. I would not consider myself a master at this by any stretch but, using this method worked for me.
I use a tubing cutter, but, I also have a 1/4" multi-flute countersink that I de-burr the ID with. Probably removes most of the work hardening. I know if I don't use it my flares suck. Another thing is to make sure you have the clamp as tight as you can get it without breaking the wing nuts. (you can bend them a little, just not too much)
If you don't get it tight, the first part of the flare will push the tube down and then there won't be enough to double over.
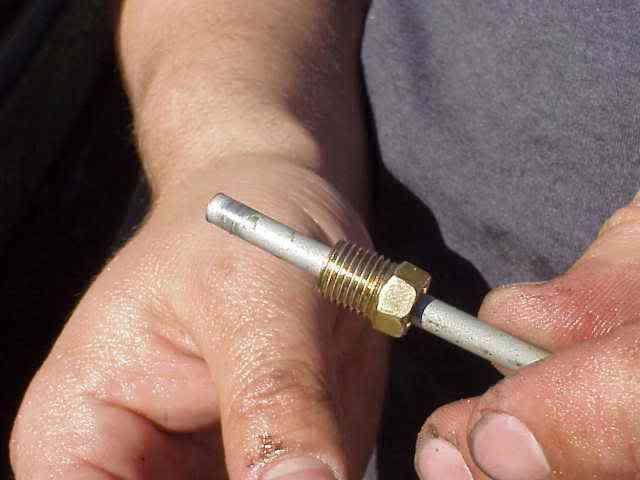
After the tubing is cut, immediately place the fitting over the tubing. Do it now....don't wait till later, don't stop to go get a drink, don't go to the bathroom, do not pass GO, do not collect $200....DO IT NOW! Been there, done that, lost the t-shirt! Yes, it is so easy to immediately start flaring and then realize the fitting is sitting on the work bench and you have a PERFECT flare on the end of the tubing that is now going to get cut off! (Remember....then it will probably be too short too!)
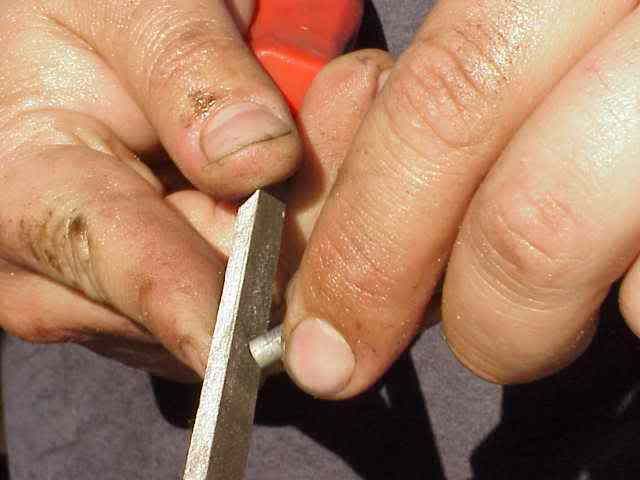
If the end of the tubing is not quite square or clean, you can dress it up a bit with a fine file.
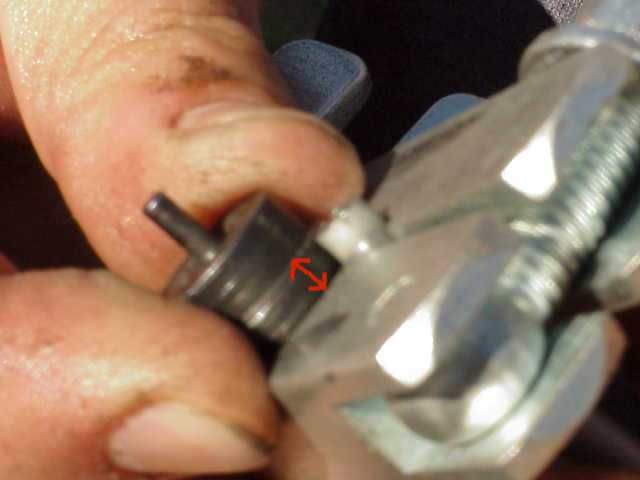
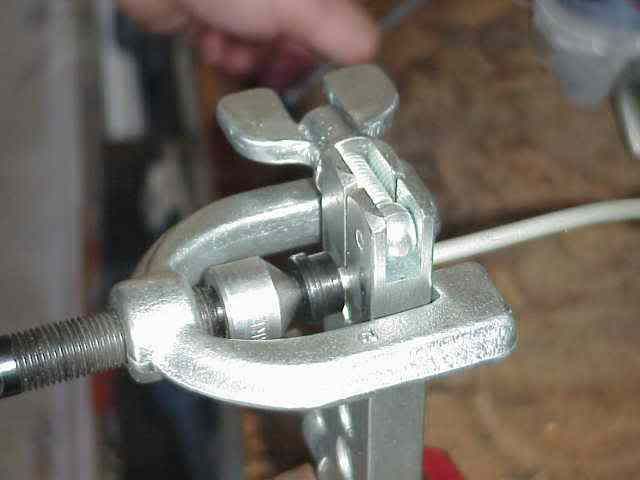
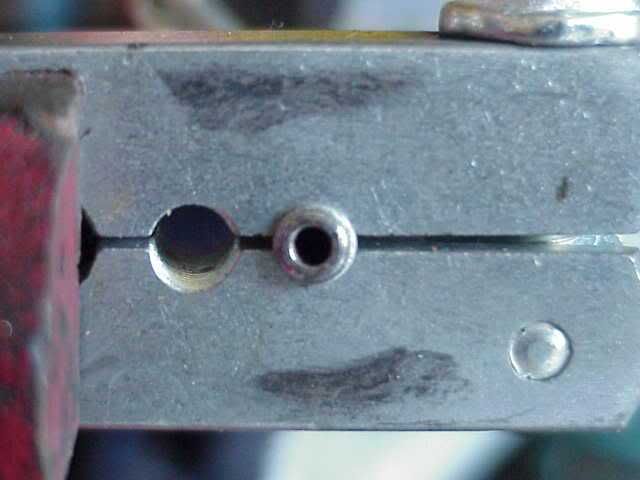
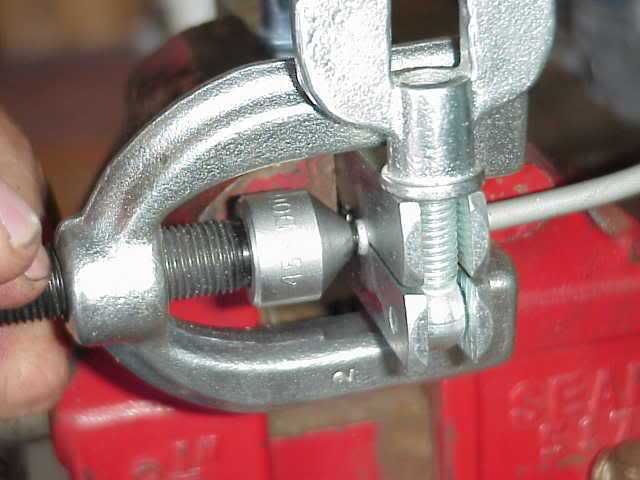
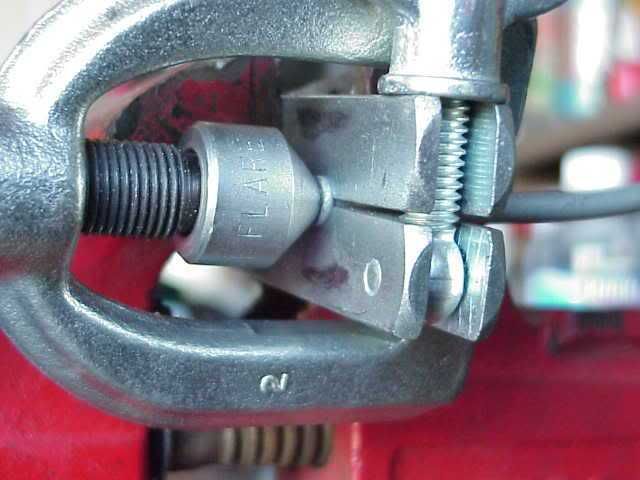
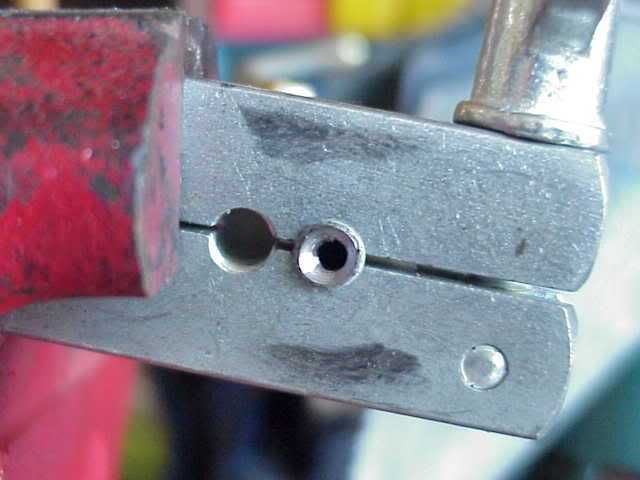
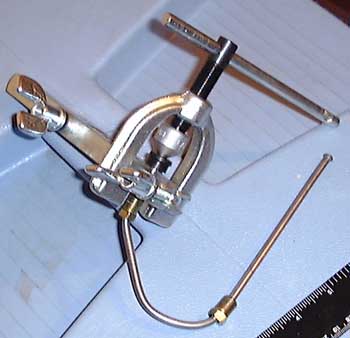
It is important to clamp the tubing at the correct length so the flare will come out correctly. In this photo, the small disc anvil is also used to gauge the tubing for the correct length. I've drawn a double ended arrow on the raised section of the anvil. Place the anvil flush against the clamp, adjacent to the protruding section of tubing, and adjust the tubing in the clamp until they are even with each other (as can be seen in the above picture). Tighten the wing nuts on the clamp as tight as you can so the tubing does not move while the flare is being formed.
Read on to page two.

