LEB Ben
Arrogant A-hole At-Large
I hear ya Scott, I was just giving you chit cuz you always seem to be able to find the good stuff.

nice. i wish i could have the time, money, and skills to do what you do. (wipes drool from chin)
I just read this whole thread and you are giving me motivation to get started on mine great work I love that gray I might have to steal that idea from you!
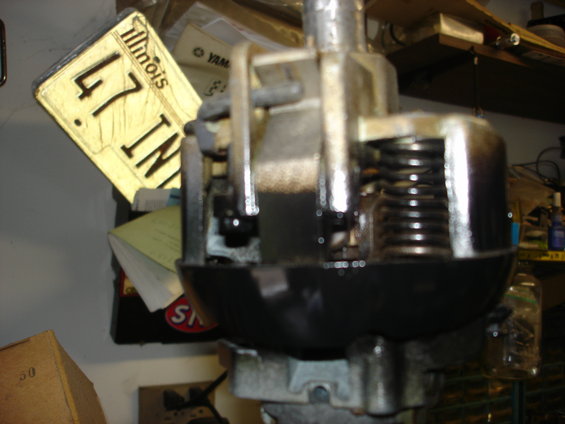
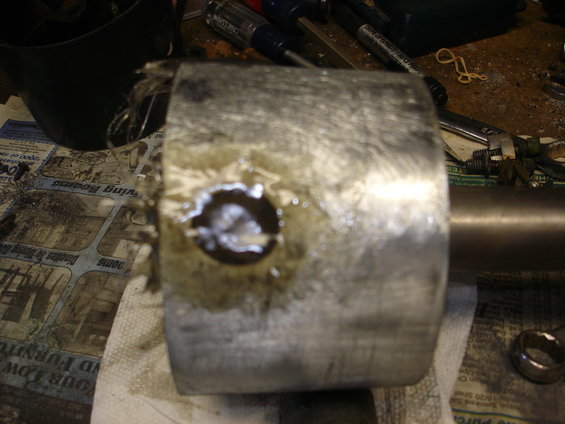
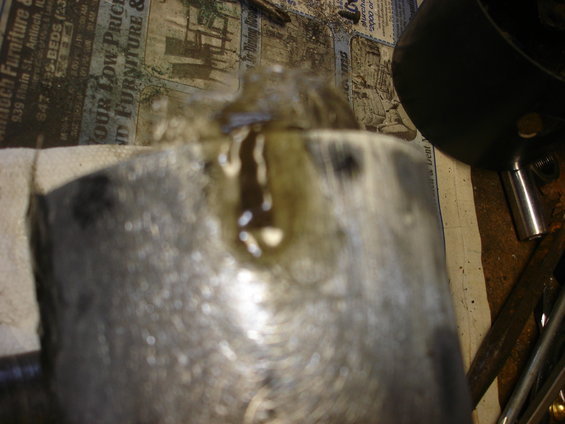
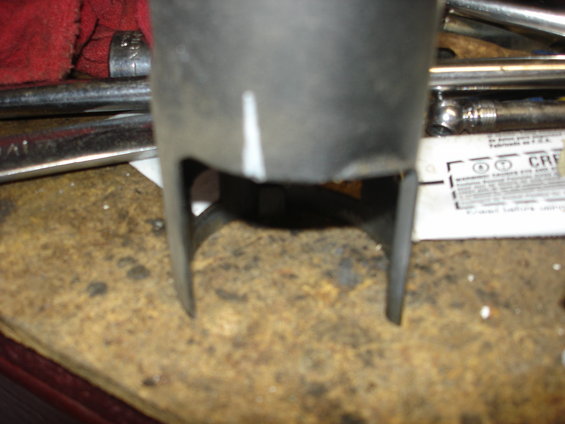
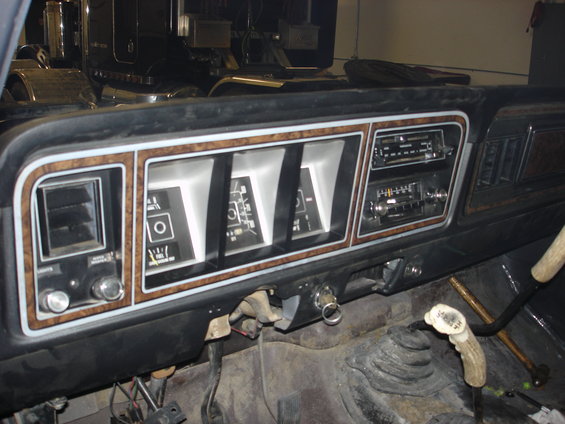
 I don't think they'll fit my style but if I do decide to stick with the 4 speed I need to find a new shifter handle for the 4 speed box before replacing it. I don't know what the hell he used to install them but I can't get them off short of grinding them off.
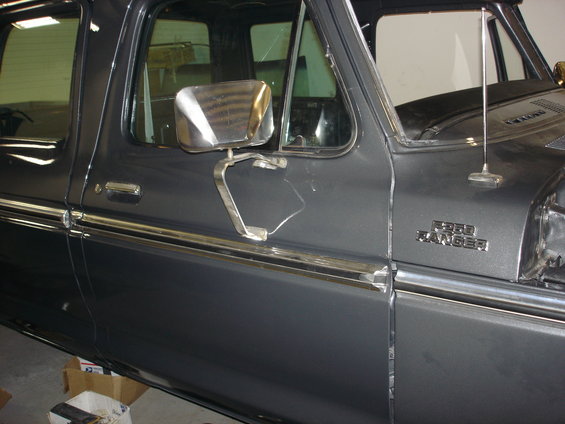
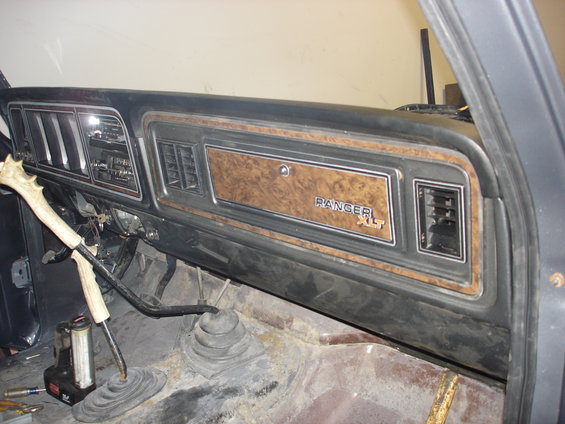
Looking good! I thought that the XLT was part of the emblem?
No...it's a little red rectangle that say 'XLT'...completely separate. And I'll defer to Scott, did the originals have pegs on the back or were those stick ons like the ones being reproduced today?
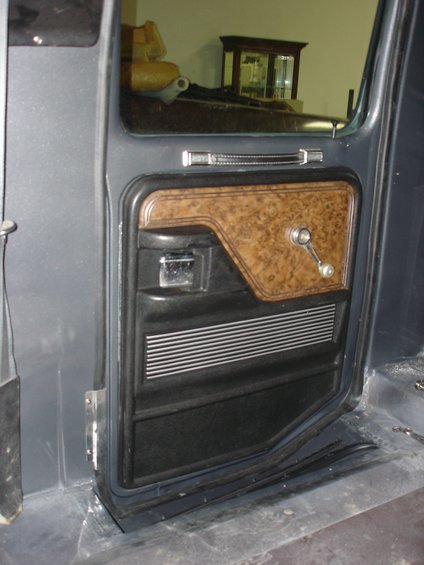
Coming down the home stretch, ehh Scott? Musta been rough finding and paying for those rear door panels, huh? Anything good left on Scrappy?
No...it's a little red rectangle that say 'XLT'...completely separate. And I'll defer to Scott, did the originals have pegs on the back or were those stick ons like the ones being reproduced today?
 All black XLT stuff, even included the black pull handles for the back door and the taller window crank handles. I got it all for less than 350. I ended up selling the black front door panels on ebay for just about what I had in all of it. I had a mint set of XLT panels in the basement I'm using on this.