O'Rattlecan
Redneck Prognosticator
Alright guys... I was outside tonight working on Eva's truck, took a few photos and thought I'd do a write-up.
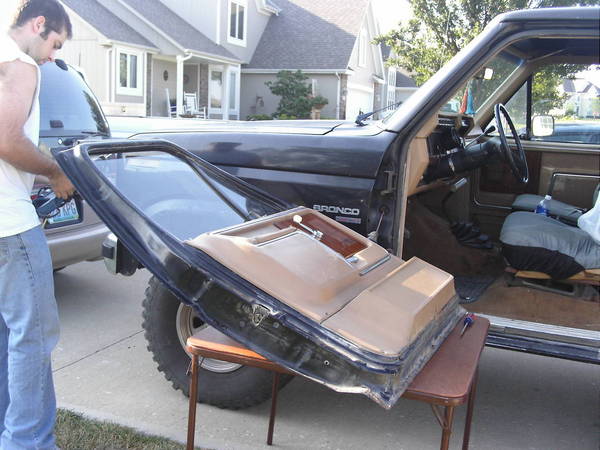
First off, to remove the door you'll probably need something to prop the door on while you're working. The electrical wires in vehicles with power windows and locks may cause a problem if you cannot get the door properly supported. In my case, all I had was a single speaker wire with generous slack, so take care. There are 4 bolts holding on two hinges. The easiest tool for this job was a self-ratcheting 1/2" wrench.
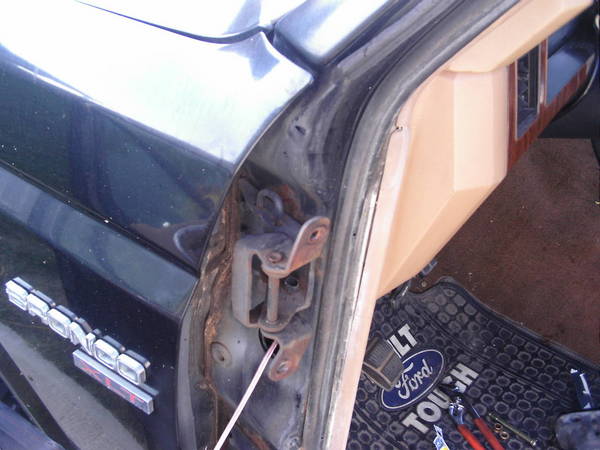
Here's a photo of the hinge when the door is removed:
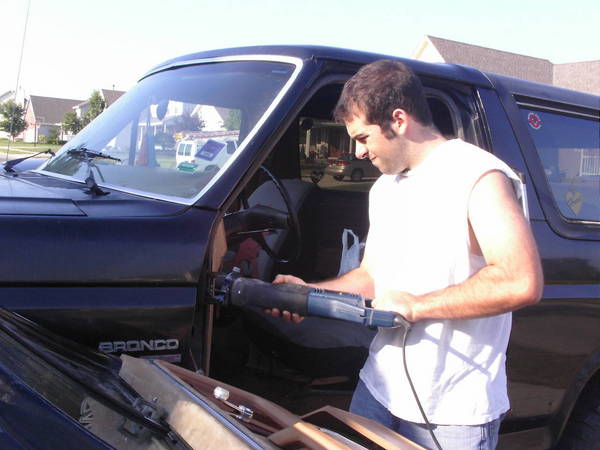
The next step may vary depending on tools available. As a tip, do not do this on a sunday evening when all the hardware and auto parts stores are closed. The easiest way to do this would probably be a medium-large set of bolt cutters. The stock pins are 'riveted,' if you will, into place. There's no way to unfasten the stock pins.

Unfortunately, this was the only option I could come up with in my house. So yes, cut the pin in the center and don't bother about trying to remove either head. After a few moments of cutting it this way, I realized I should have a pair of safety goggles. So be smart and put those on from the beginning.
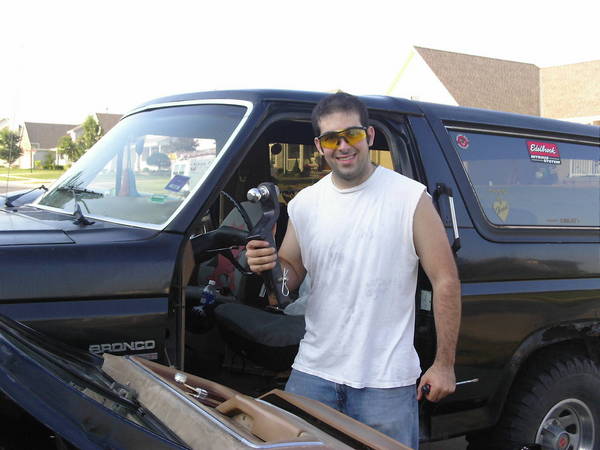
Now my blades went dull with about 3/32" left to go through. Since the pin was hot, I used a highly specialized bludgeoning tool to help encourage seperation of the pin in the designated area. Safety first.
The pins should slide out. At this point, you can remove the outer half of the hinge with ease. Do so and set it somewhere you wouldn't forget. The reason you're interested in changing the hinge pins is probably because of the brass bushings. If they're as old as the ones I had, they'll shatter under any kind of pressure. I used a straight edge screwdriver and my highly specialized bludgeoning tool to knock them free and they fell out. Some broke, and some slid out with ease. There are 2 bushings in each hinge.
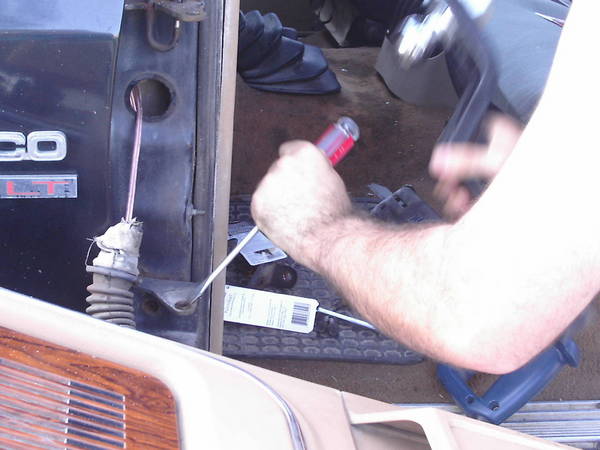
Now you're ready to start moving in the opposite direction... Reassembly. Insert the new Brass bushings. Clean up the hinge a little if needed, and these should knock in with a small amount of pressure. Try to keep them round. If you bend them, you'll have problems getting your pin inserted.
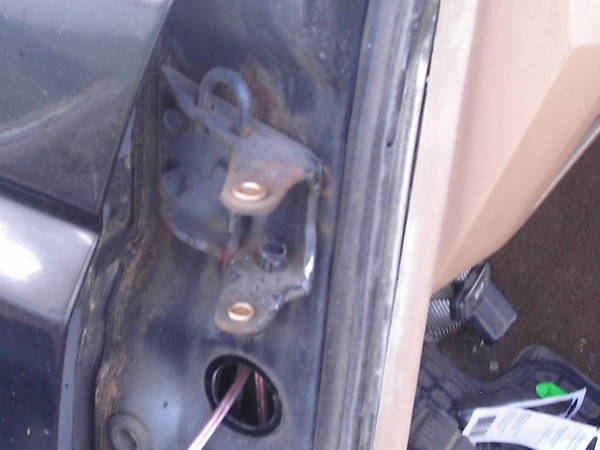
Go find the outer half of the hinge you hid under the floor mat or in the yard. Line it up with other half and insert your hinge pin. The pins I have used E Clips to keep the pin in place rather than bending metal to keep it restrained. Much smarter...
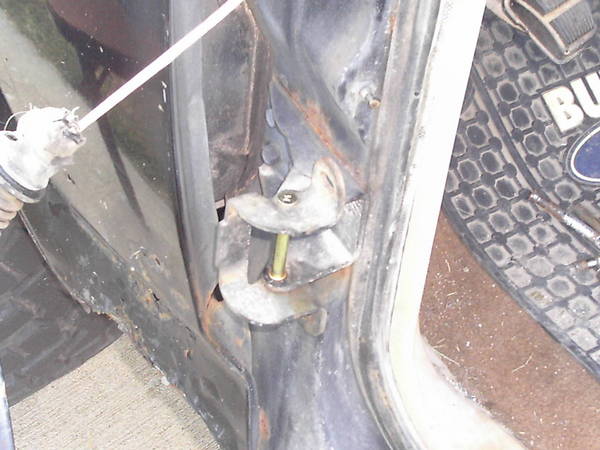
Time to reattach the door. Make sure both hinges are aimed generally in the same direction for reattachment. Make sure you also have the bottom one attached in the right direction. Put the 4 bolts back in that you removed earlier. Attach them loosely. Alignment of the door is very important, otherwise you'll create more of a problem than you fixed. It's going to take 2 people to make this job reasonably simple. Tighten the bottom hinge first and use it as a pivot for the top hinge. Vertical alignment is just as important as horizontal alignment! Keep it in mind when you're putting the door back on.
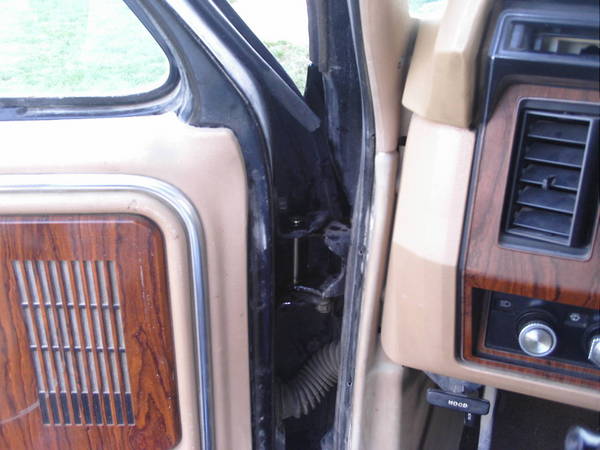
A properly aligned door should look something like this and close easily:
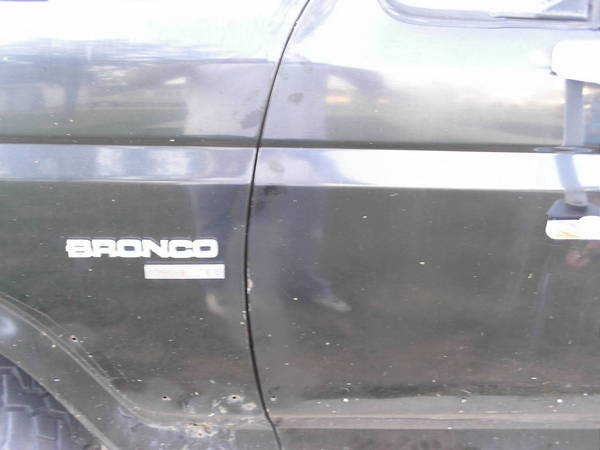
The 24 year old Bronco door closes just like a new car.
I hope I can help someone by typing this up, as my google results were not helpful. Good luck! It's not as difficult as some people may initially think. Hell, I did it!
Ryan
First off, to remove the door you'll probably need something to prop the door on while you're working. The electrical wires in vehicles with power windows and locks may cause a problem if you cannot get the door properly supported. In my case, all I had was a single speaker wire with generous slack, so take care. There are 4 bolts holding on two hinges. The easiest tool for this job was a self-ratcheting 1/2" wrench.
Here's a photo of the hinge when the door is removed:
The next step may vary depending on tools available. As a tip, do not do this on a sunday evening when all the hardware and auto parts stores are closed. The easiest way to do this would probably be a medium-large set of bolt cutters. The stock pins are 'riveted,' if you will, into place. There's no way to unfasten the stock pins.
Unfortunately, this was the only option I could come up with in my house. So yes, cut the pin in the center and don't bother about trying to remove either head. After a few moments of cutting it this way, I realized I should have a pair of safety goggles. So be smart and put those on from the beginning.
Now my blades went dull with about 3/32" left to go through. Since the pin was hot, I used a highly specialized bludgeoning tool to help encourage seperation of the pin in the designated area. Safety first.
The pins should slide out. At this point, you can remove the outer half of the hinge with ease. Do so and set it somewhere you wouldn't forget. The reason you're interested in changing the hinge pins is probably because of the brass bushings. If they're as old as the ones I had, they'll shatter under any kind of pressure. I used a straight edge screwdriver and my highly specialized bludgeoning tool to knock them free and they fell out. Some broke, and some slid out with ease. There are 2 bushings in each hinge.
Now you're ready to start moving in the opposite direction... Reassembly. Insert the new Brass bushings. Clean up the hinge a little if needed, and these should knock in with a small amount of pressure. Try to keep them round. If you bend them, you'll have problems getting your pin inserted.
Go find the outer half of the hinge you hid under the floor mat or in the yard. Line it up with other half and insert your hinge pin. The pins I have used E Clips to keep the pin in place rather than bending metal to keep it restrained. Much smarter...
Time to reattach the door. Make sure both hinges are aimed generally in the same direction for reattachment. Make sure you also have the bottom one attached in the right direction. Put the 4 bolts back in that you removed earlier. Attach them loosely. Alignment of the door is very important, otherwise you'll create more of a problem than you fixed. It's going to take 2 people to make this job reasonably simple. Tighten the bottom hinge first and use it as a pivot for the top hinge. Vertical alignment is just as important as horizontal alignment! Keep it in mind when you're putting the door back on.
A properly aligned door should look something like this and close easily:
The 24 year old Bronco door closes just like a new car.
I hope I can help someone by typing this up, as my google results were not helpful. Good luck! It's not as difficult as some people may initially think. Hell, I did it!
Ryan
Last edited:


 before i can do it again.