Join Our Ford Truck Forum Today

Document your Ford truck project here and inspire others! Login/Register to view the site with fewer ads.

How to: Headlight Restoration

Austin

FTF's #1 Knob Polisher
10,350
297
Cumming, GA
Here's a how to for ya! (I'd like to contribute a few more as I get the time)

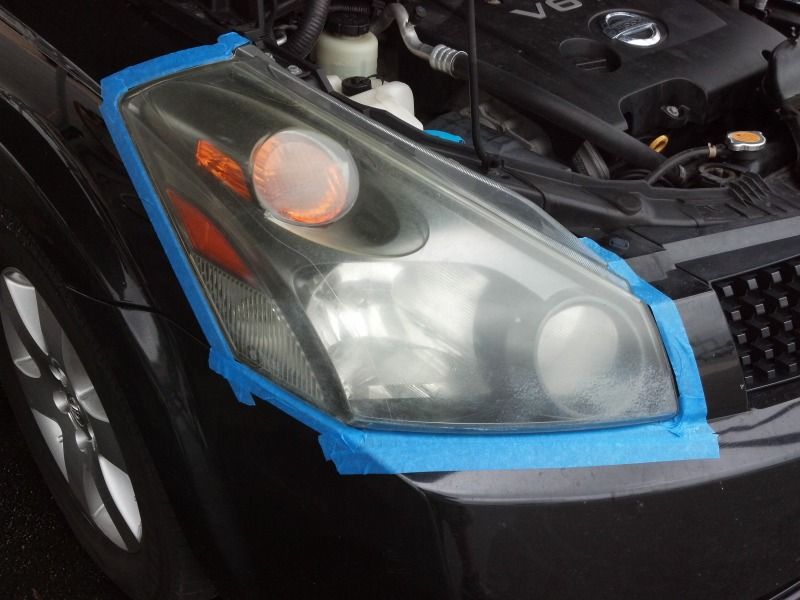
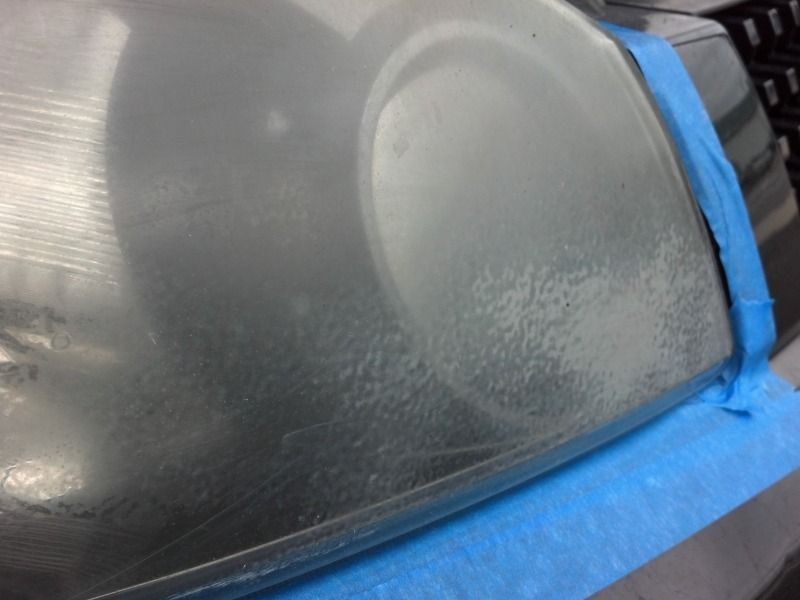
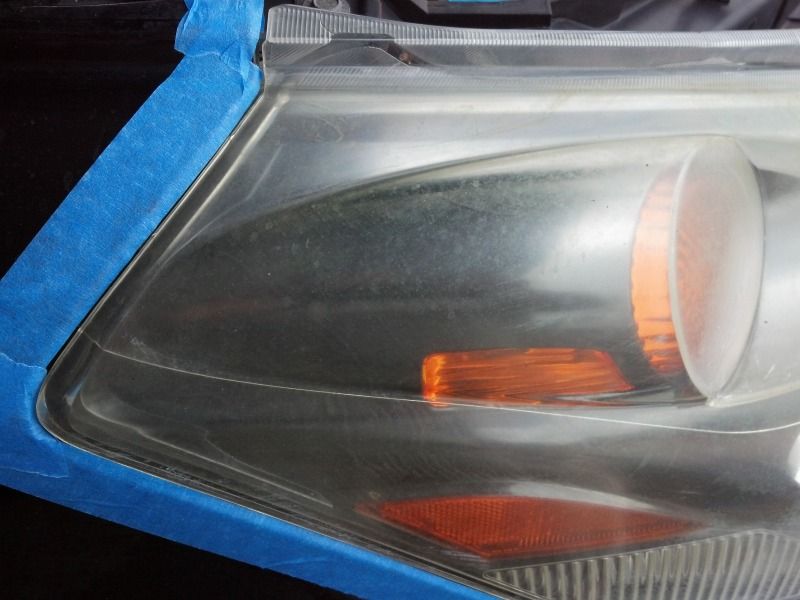
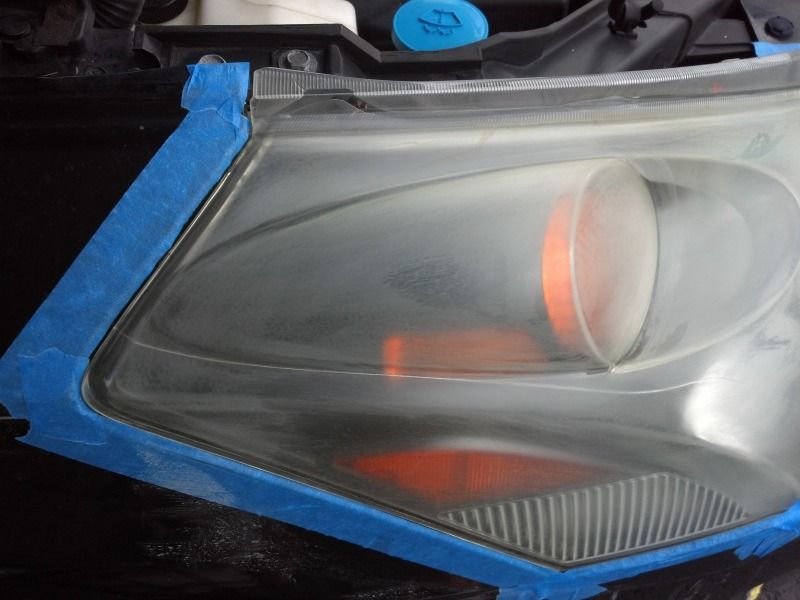
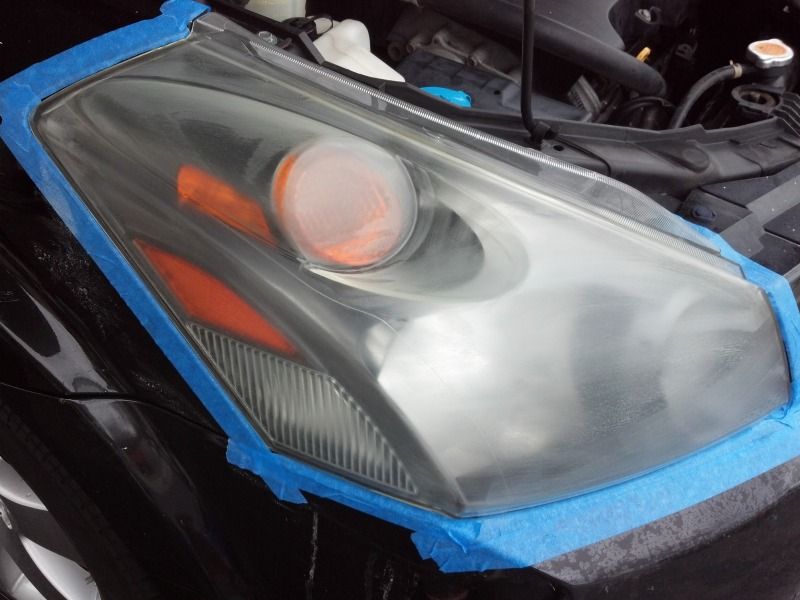
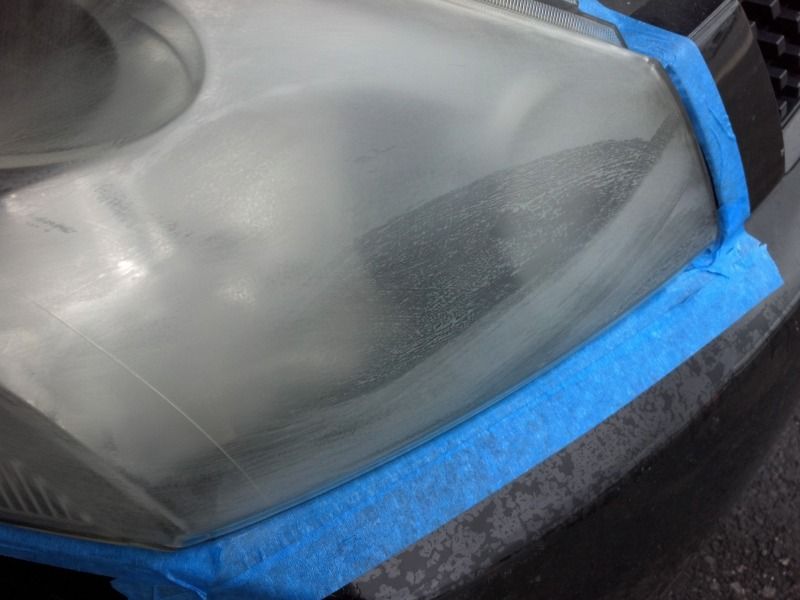
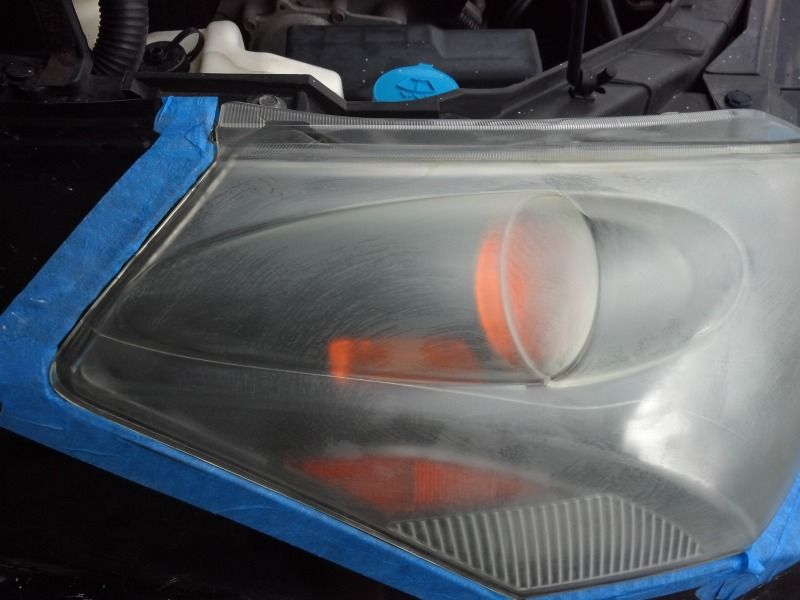
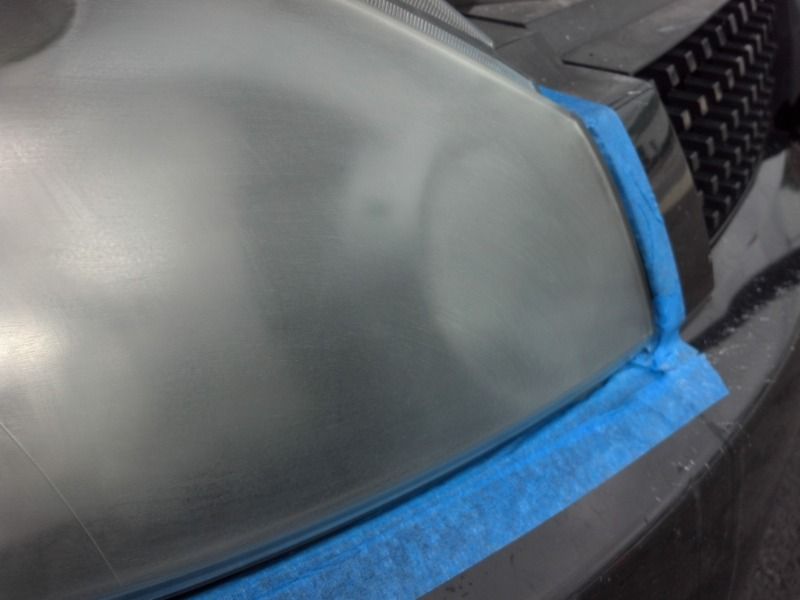
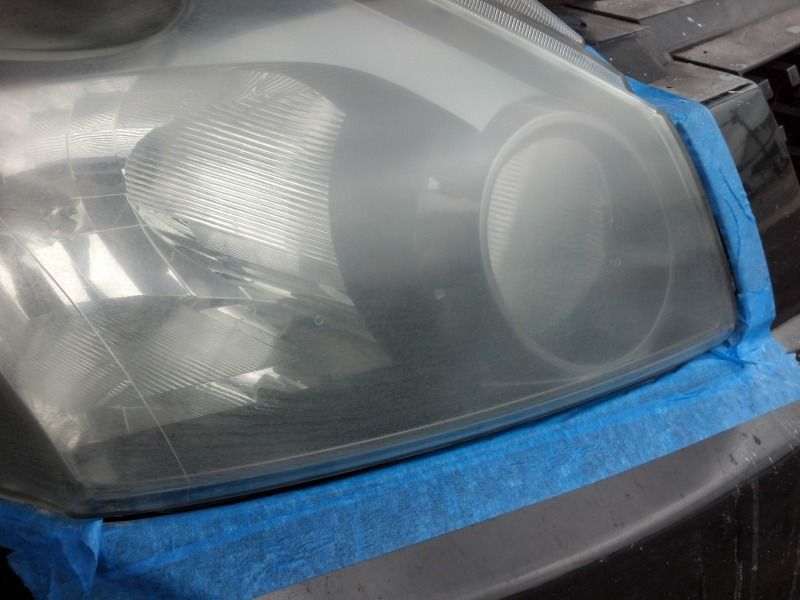
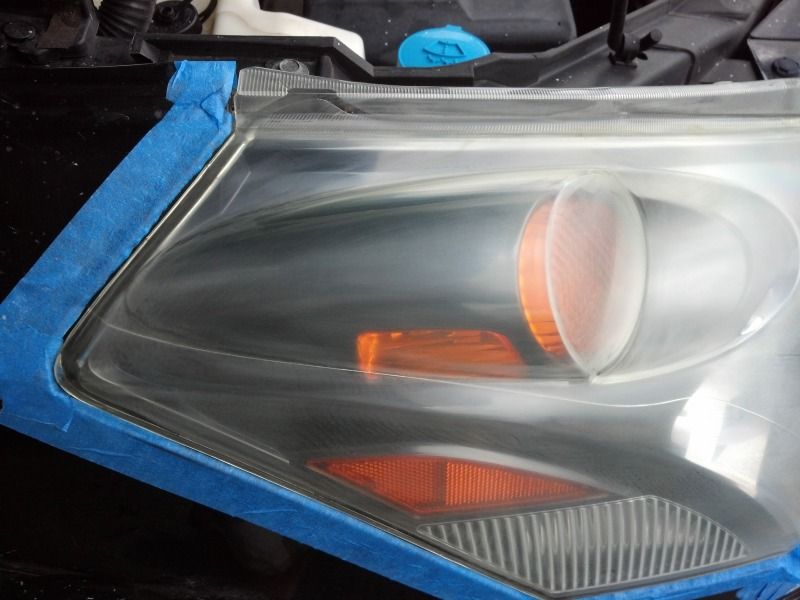
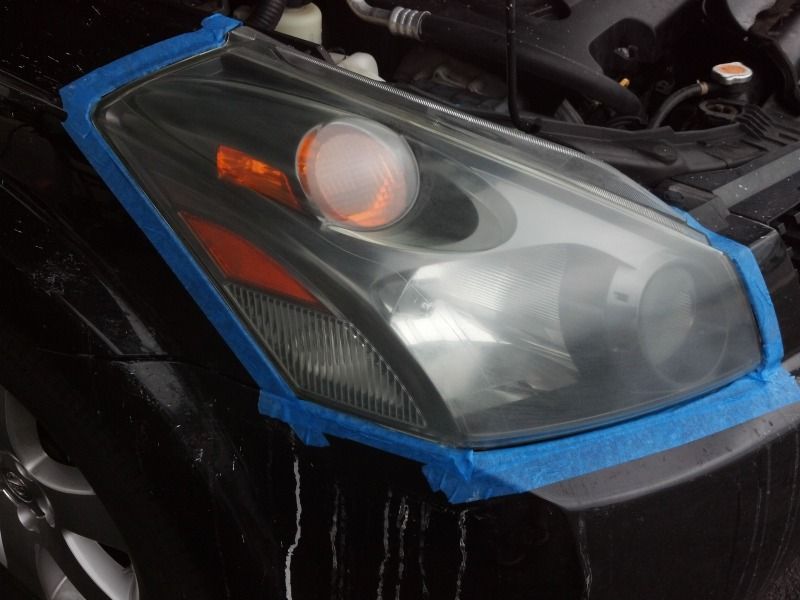
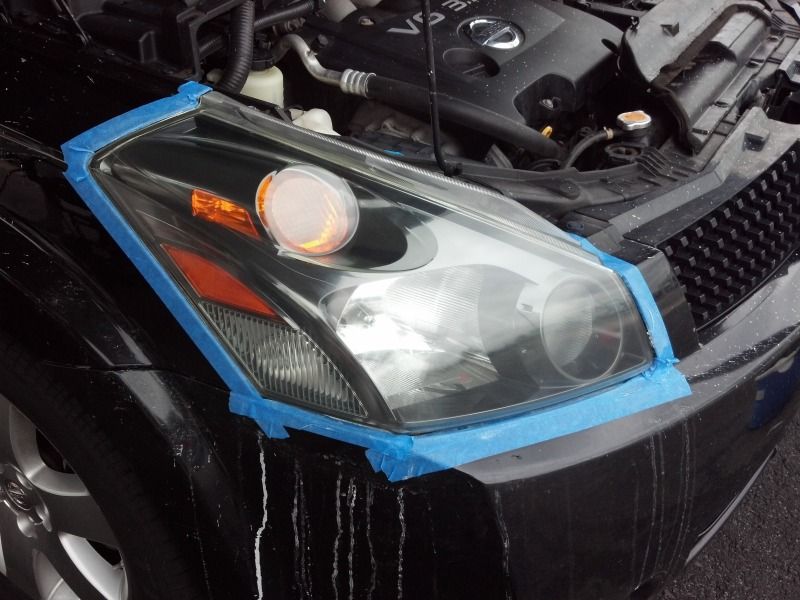
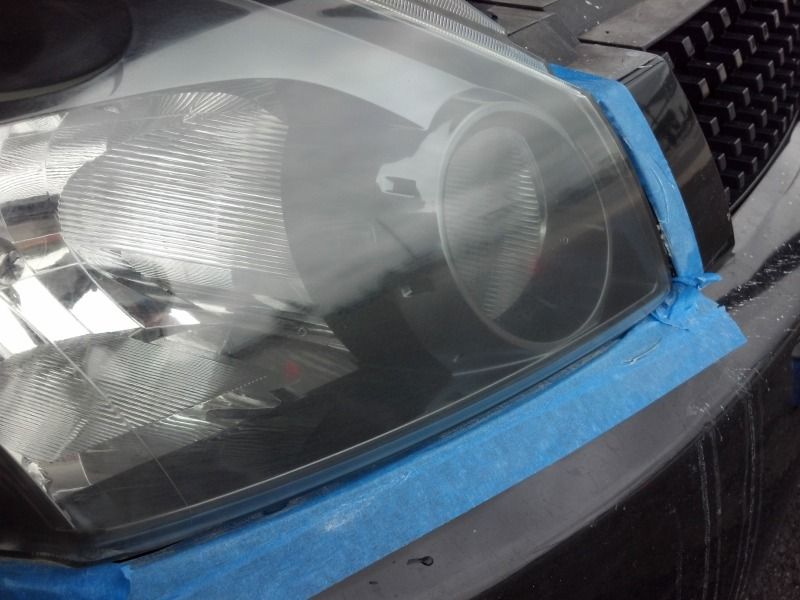
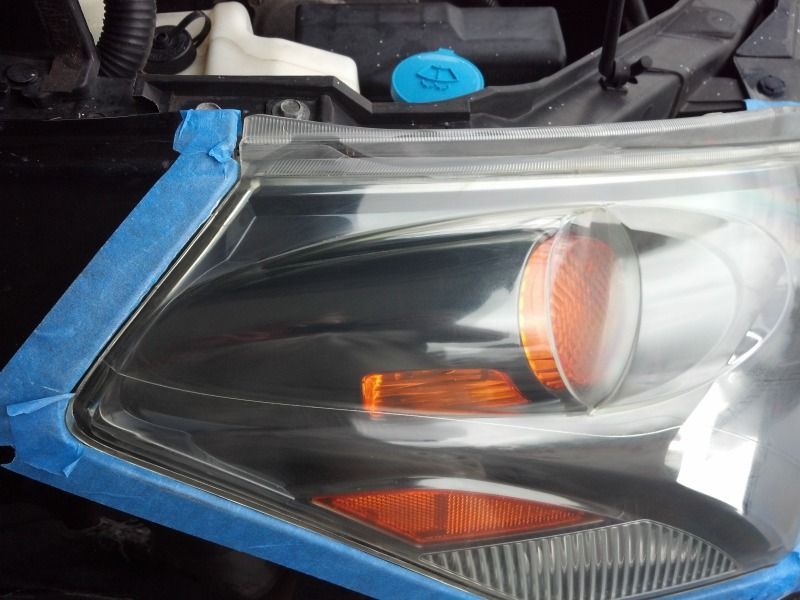
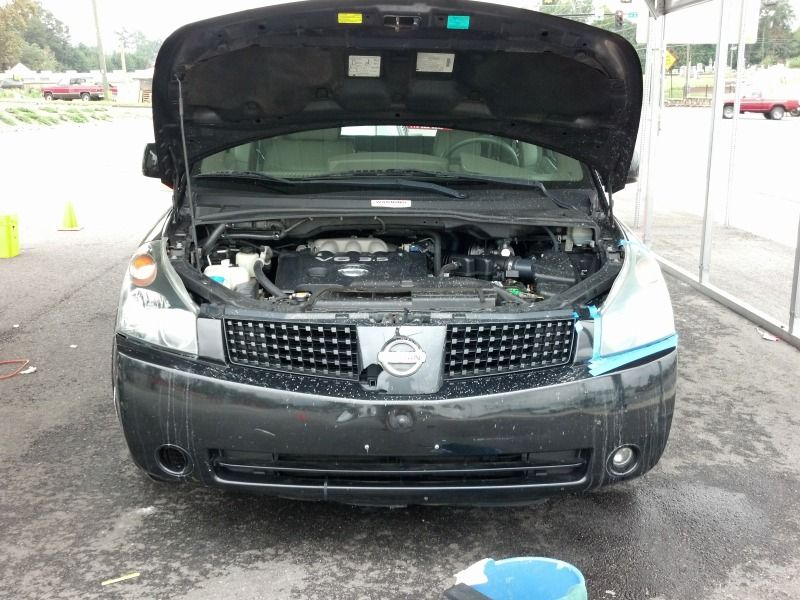
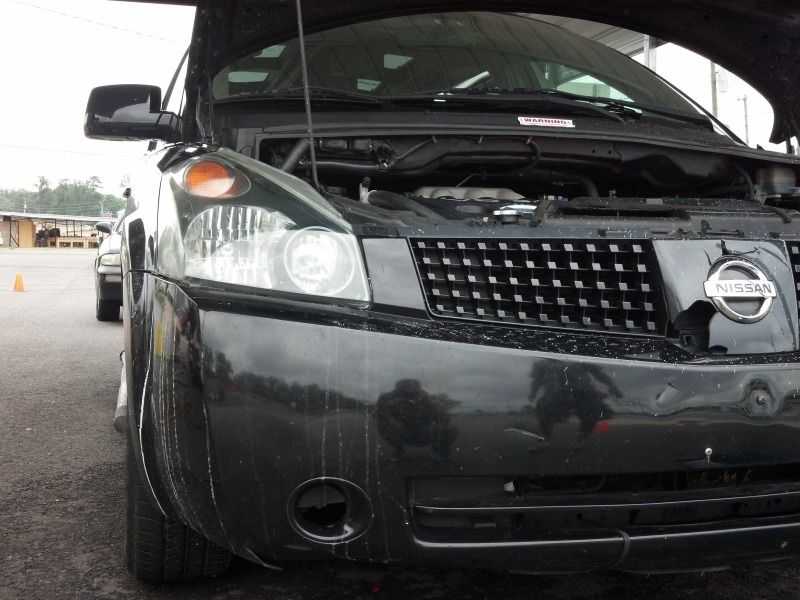
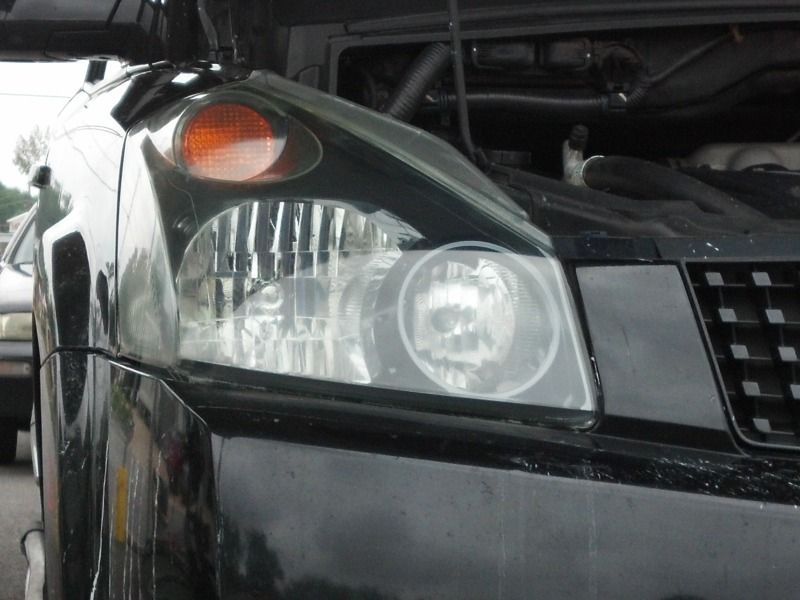
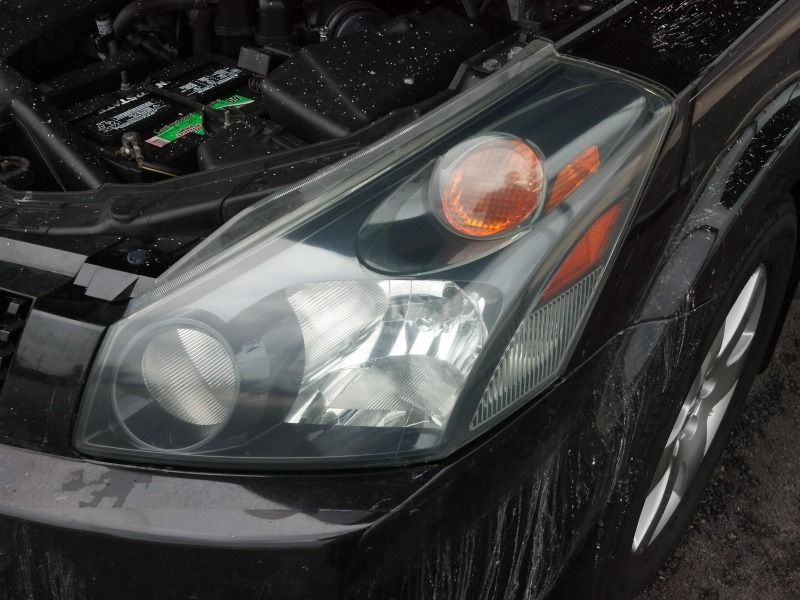
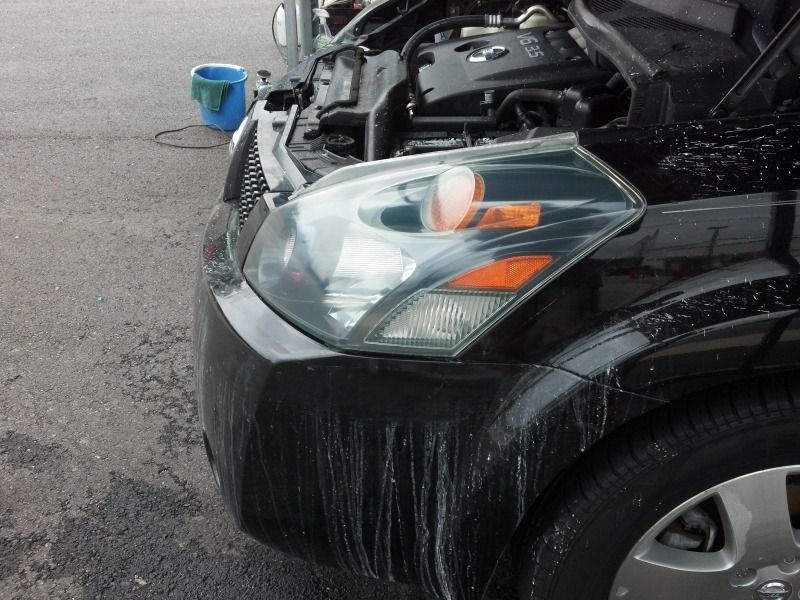
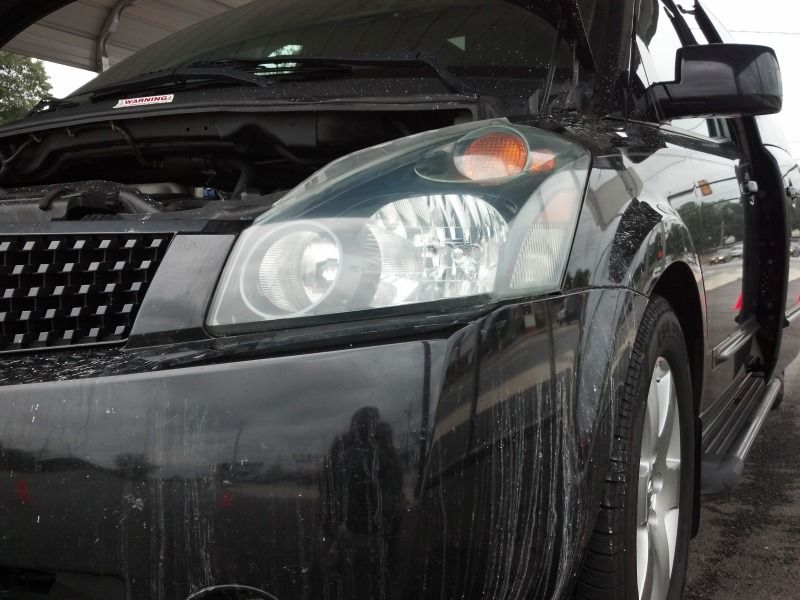
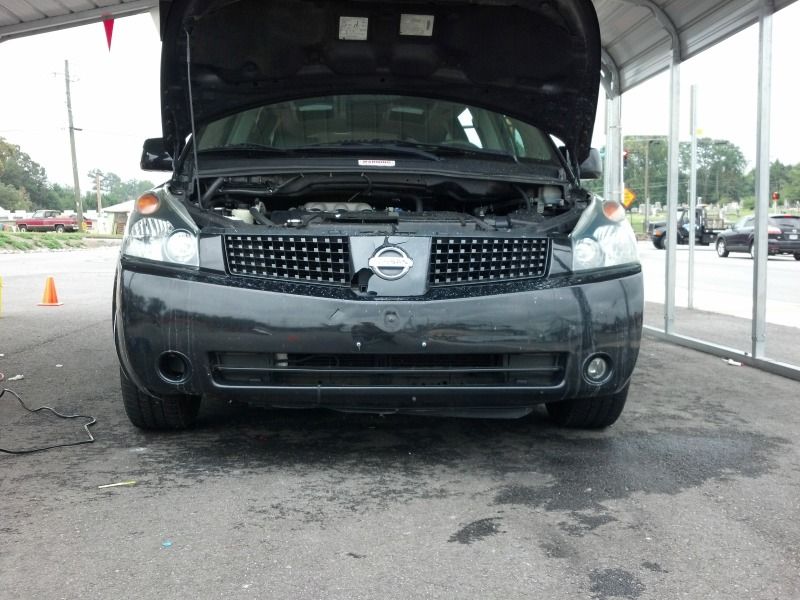
Today I restored the headlights on a Nissan minivan, they were in desperate need of fixing. Today's article will be using several different products, using a few things that may not be readily available at a chain store (I'll cover some alternatives).

What you'll need:

High speed drill (variable)
3M Headlight restoration kit
Compound (Meguiar's Ultimate Compound works well, available at AutoZone or the like)
Polish (Meguiar's Ultimate Polish, read above)
Tape (1/2"-1", depends on how ballsy you are!)

-OPTIONAL- rotary buffer & plastic sealant


Refer to post 2 for the rest of the story!
 

Austin

FTF's #1 Knob Polisher
10,350
297
Cumming, GA
First thing's first, tape off your lights. You want to make sure that any immediate paint around the headlights gets covered; you can easily damage the surround paint if not masked.

2012-08-30_12-31-37_232.jpg


Now, inspect your headlight, looking for rougher spots that may need more sanding attention.

2012-08-30_12-31-48_192.jpg


2012-08-30_12-31-43_249.jpg
 

Austin

FTF's #1 Knob Polisher
10,350
297
Cumming, GA
Using the 3M kit, attach the 400 grit sand paper disk (after soaking it in water for a few minutes) to the backing pad, then attach the pad to your drill.
Begin to sand making sure to keep the surface wet.

2012-08-30_12-41-49_66.jpg


2012-08-30_12-41-43_420.jpg


2012-08-30_12-41-54_570.jpg
 

Austin

FTF's #1 Knob Polisher
10,350
297
Cumming, GA
As you can see above, there were a few spots that needed to be touched again with the sand paper. Dry the light occasionally to reveal these areas.

Now attach the finer sand paper to the backing pad, following the same procedure above.

2012-08-30_12-51-04_521.jpg


2012-08-30_12-50-59_404.jpg
 

Austin

FTF's #1 Knob Polisher
10,350
297
Cumming, GA
An optional step is to follow behind this finer sand paper with a 2000 grit wetsand. You'll need a sanding foam for proper pressure.

The 3M kit has a foam pad, attach that after soaking it in water. As you begin with this pad, you'll notice a white slurry.

2012-08-30_12-55-55_759.jpg


2012-08-30_12-56-02_837.jpg


2012-08-30_12-55-45_711.jpg
 

Austin

FTF's #1 Knob Polisher
10,350
297
Cumming, GA
At this point you're ready for compound. Attach the cutting pad and prime it by spreading some compound onto the pad, then working it into the pores. Then apply a few dime-sized dots of compound to the pad. Spread this onto the headlight without running the drill to cut down on sling.

Polish is applied after compound using the same method. These two steps can be done with a rotary buffer if your drill isn't powerful enough to work the product in.

2012-08-30_13-32-12_442.jpg


2012-08-30_13-32-17_288.jpg


2012-08-30_13-32-22_317.jpg


2012-08-30_14-31-34_923.jpg


2012-08-30_14-34-20_71.jpg


2012-08-30_14-34-27_876.jpg
 
Last edited:

Austin

FTF's #1 Knob Polisher
10,350
297
Cumming, GA
A quick note, the headlight featured in this write up was not sanded with the follow-up 2000 grit, but the driver's side was. (After compound you may notice sand marks remaining in the plastic) The difference can be seen up close.

Plastic sealant - this is used to, obviously, seal the plastic after the restoration. Using a sealant extends the life of the job you've done.

2012-08-30_14-49-57_856.jpg


2012-08-30_14-50-10_418.jpg


2012-08-30_14-49-50_692.jpg


2012-08-30_14-49-40_523.jpg
 
Last edited:

Austin

FTF's #1 Knob Polisher
10,350
297
Cumming, GA
Thanks Chris!
 

taxreliever

Licensed to Represent!
14,695
287
Maine
What grit sandpaper is used after the 400 and before the optional 2000?
 

taxreliever

Licensed to Represent!
14,695
287
Maine
^^^Thanks....think I'm going to try this....some day when I get some time....:headbang:
 

Ford Truck Articles

Recent Forum Posts

Top