Mr. Stroker
CASE IH
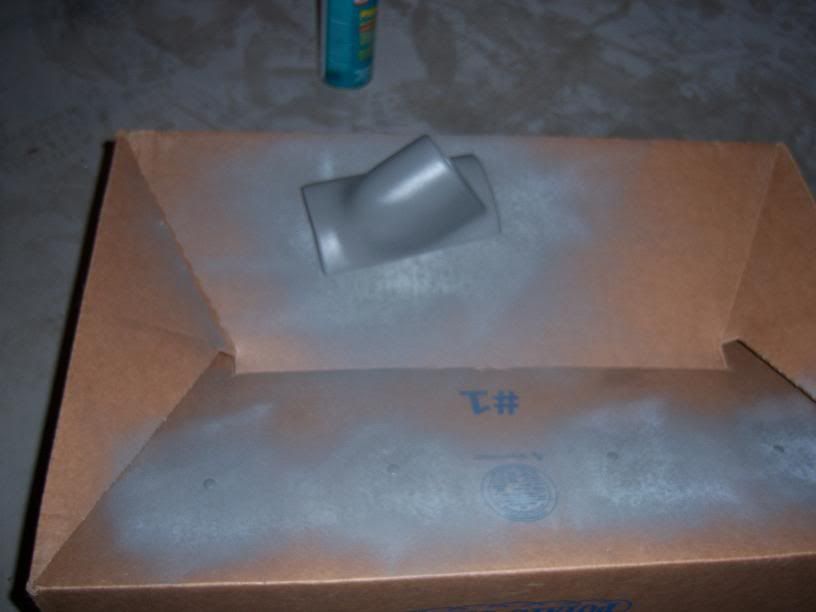
Well almost, i just have to wait for the paint to dry and drill some holes and it should be pretty well wrapped up.
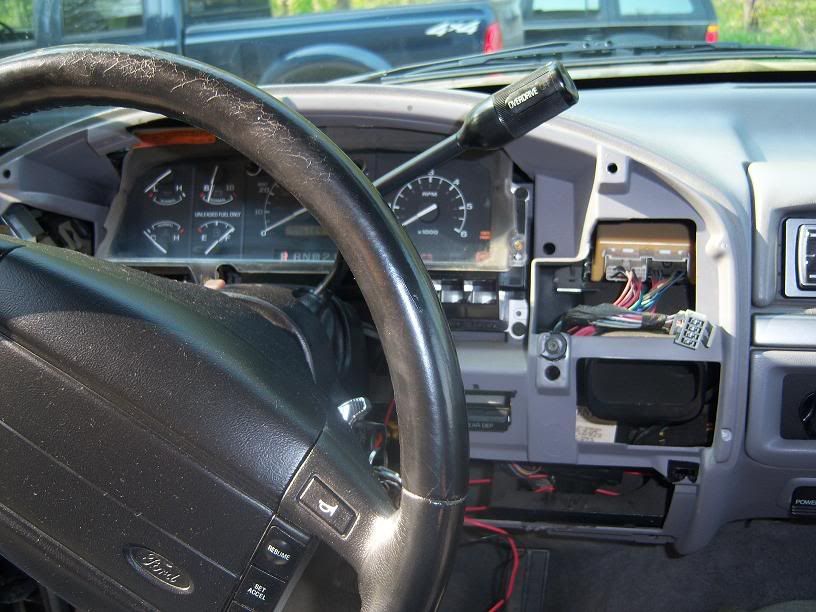
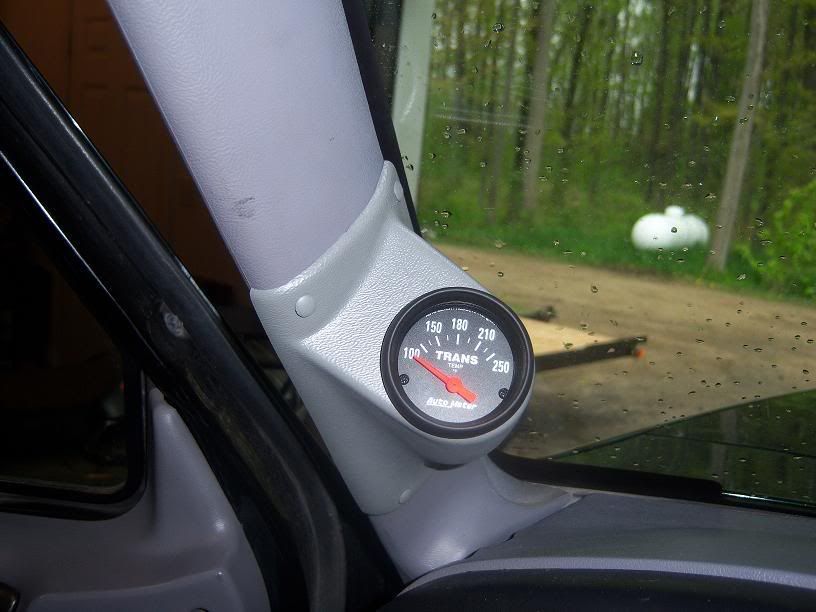
Ok i went with the Autometer Z series trans temp guage, and autometer pod. People have asked me what wire i used off the back of the light switch to make my guage lights come on with the running lights, main lights, and dim with the guage lights. Well i couldnt give them an answer because i installed guages on a superduty, and not our style trucks. Well i have an answer now.
Also a question was brought up on where i got my 12V from.
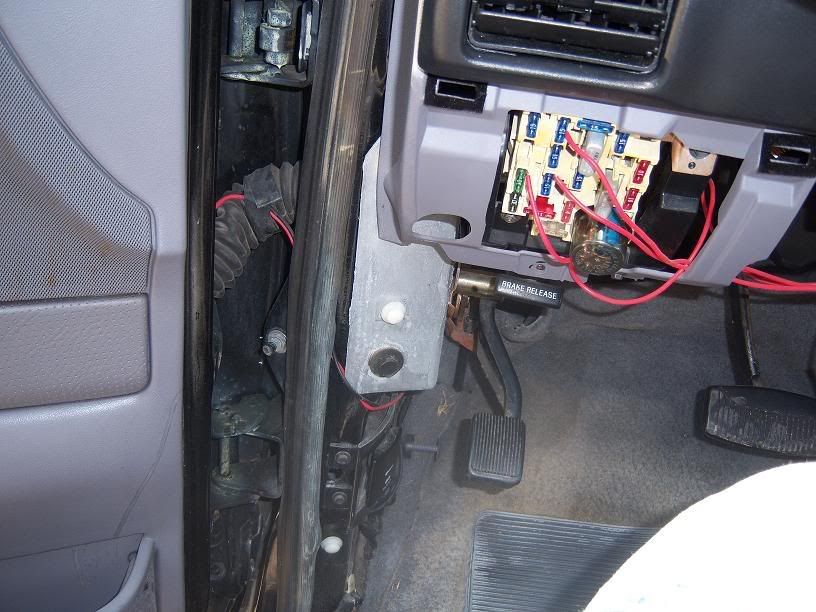
First thing u gotta do is tear into the dash, The A pillar has to come off, the lower plastic piece (under the black one) The main guage surround (black) and the kick panel. MAKE SURE YOU TAKE THE SILVER INLAYS OUT TO GET TO THOSE BOLTS!!! As well as the light switch knob and any clips for the rear window (in my case) or dual tanks, and the 4x4 switch if used..
After all that is off you need to take the two bolts holding the light switch in, and pull it out as far as you can. Then find a good ground for your test light and with the light switch off, probe around the pins so you can rule out the ones that make it light up with the light switch off, (If you hook your guage to this you'll your guage lighted up all the time.
Well after you find the wire that doesnt have power with the switch off, you pull the switch out to running lights, and the test light should light, then the head lights and it should still stay lit, then turn the knob and the test light should dim along with the dash lights. This will be your wire to 3 way connect the white wire coming from the light bulb in the back of the guage. ( I found the wire to use was the White with a blue stripe wire.) If you was to do it i would check to make sure anyways with a test light.
As for my grounds, i took the ground wire for the light, and the ground wire for the guage, and crimped those together (3 way connection) Then used one wire to a ground location on my kick panel. Painless.
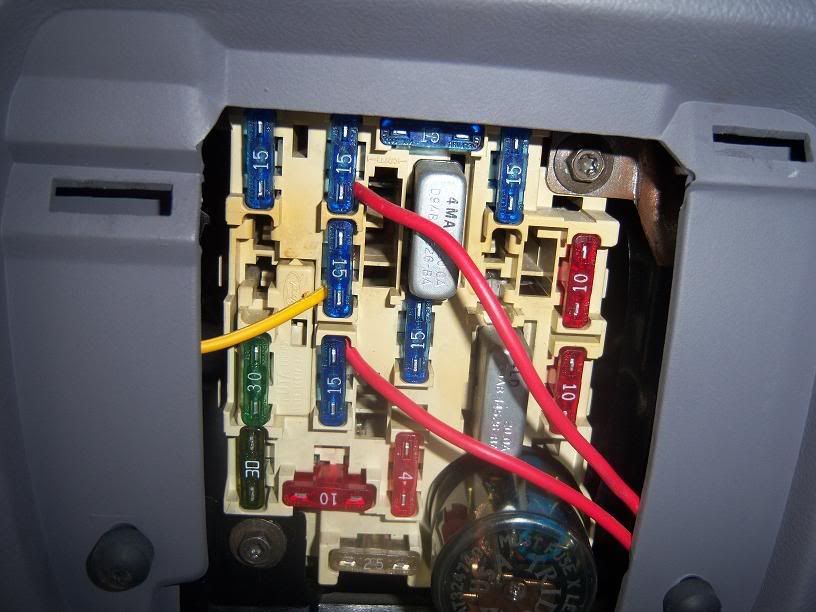
Now for the Ignition wire, for 12 volt. I went to the dash fuse panel, and with my test light probed around to find one that was not lit up while my truck was on Accessories, and then held the test light on the top of the fuse, turned the key to Run position and it lit up. The reason i did this is because i dont want power to the guage while im sitting in the parking lot listening to the radio (if needed). So i just took the fuse out and placed the wire to one of the prongs and shoved it back in. (It was Fuse Number 7 (15 AMP)
For the sender wire, its just one wire going to a fitting supplied by autometer that you use an O style wire connector, and run it through the firewall. Simple as that.
Well lunch is over, and im sure the pod is dry now, im going to go install it the rest of the way and take some pics. For now here are some pictures that ive taken.
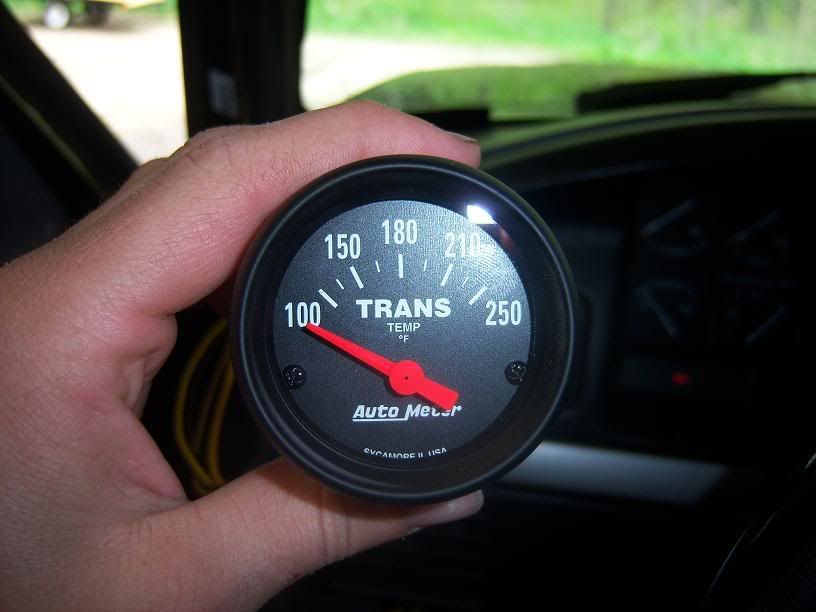


Ok i went with the Autometer Z series trans temp guage, and autometer pod. People have asked me what wire i used off the back of the light switch to make my guage lights come on with the running lights, main lights, and dim with the guage lights. Well i couldnt give them an answer because i installed guages on a superduty, and not our style trucks. Well i have an answer now.
Also a question was brought up on where i got my 12V from.
First thing u gotta do is tear into the dash, The A pillar has to come off, the lower plastic piece (under the black one) The main guage surround (black) and the kick panel. MAKE SURE YOU TAKE THE SILVER INLAYS OUT TO GET TO THOSE BOLTS!!! As well as the light switch knob and any clips for the rear window (in my case) or dual tanks, and the 4x4 switch if used..
After all that is off you need to take the two bolts holding the light switch in, and pull it out as far as you can. Then find a good ground for your test light and with the light switch off, probe around the pins so you can rule out the ones that make it light up with the light switch off, (If you hook your guage to this you'll your guage lighted up all the time.
Well after you find the wire that doesnt have power with the switch off, you pull the switch out to running lights, and the test light should light, then the head lights and it should still stay lit, then turn the knob and the test light should dim along with the dash lights. This will be your wire to 3 way connect the white wire coming from the light bulb in the back of the guage. ( I found the wire to use was the White with a blue stripe wire.) If you was to do it i would check to make sure anyways with a test light.
As for my grounds, i took the ground wire for the light, and the ground wire for the guage, and crimped those together (3 way connection) Then used one wire to a ground location on my kick panel. Painless.
Now for the Ignition wire, for 12 volt. I went to the dash fuse panel, and with my test light probed around to find one that was not lit up while my truck was on Accessories, and then held the test light on the top of the fuse, turned the key to Run position and it lit up. The reason i did this is because i dont want power to the guage while im sitting in the parking lot listening to the radio (if needed). So i just took the fuse out and placed the wire to one of the prongs and shoved it back in. (It was Fuse Number 7 (15 AMP)
For the sender wire, its just one wire going to a fitting supplied by autometer that you use an O style wire connector, and run it through the firewall. Simple as that.
Well lunch is over, and im sure the pod is dry now, im going to go install it the rest of the way and take some pics. For now here are some pictures that ive taken.
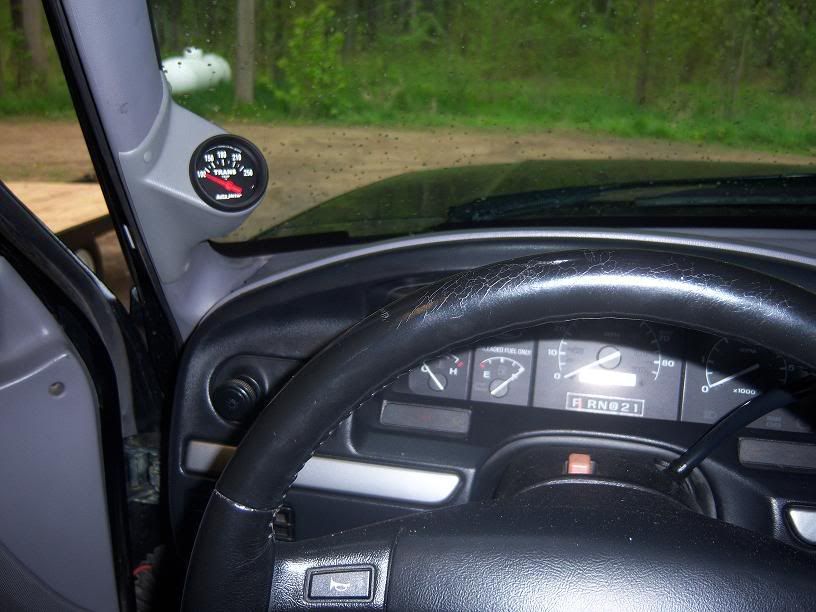
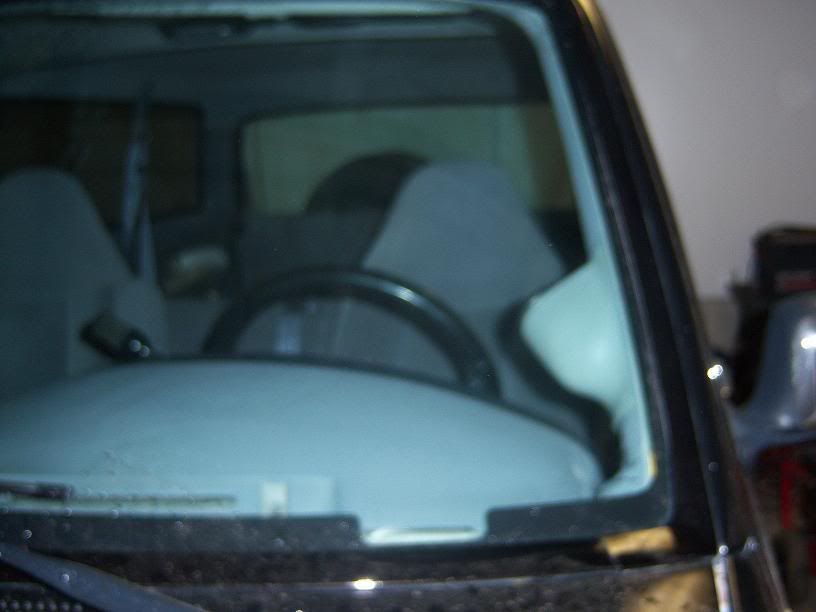

") Cept the paint don't match
Cept the paint don't match 


 I think im gonna go get a used A pillar and try something different when i go get my E fan.