TexasNomad
FTFS Designated DRINKER!
This is a update version of Hi-PO's cluster LED kit install I was asked to do again this time showcasing HI-PO's new 5xLED bulb...
Tonight I finished installing HI-POs updated 5x version of their LED cluster upgrade and it is far superior to the old kit led kit.
These kits are easy and kinda fun to install especially if you like to tinker like me.
The only tools needed is 2 sockets 1/4,8mm (NO RATCHETS) a screw driver a jar some white vinegar
and compressed air.
=========================================================
(WARNING!!)
If you have never dealt with these old gauge houses be very very careful when taking out and handling the housing they are made of plastic and after nearly 30+ years they become very brittle I've had a few of these housings turn to dust in my hands so great care must be taken when dealing with
these housings..
=========================================================
First off you're going to need to take out the cluster this is easy there is usually only 4 screws 90% of the time they are Phillips head screws some times they are small bolts
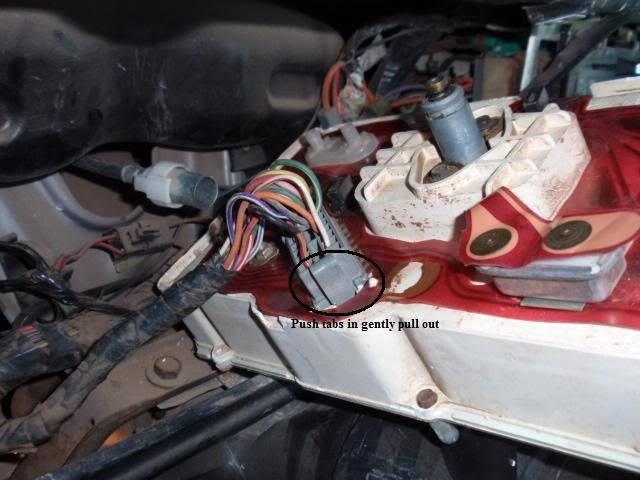
After the housing is free you'll take out the speed cable and the main power plug in the back of the cluster this has two clips you need to push in and the plug should pull right out.
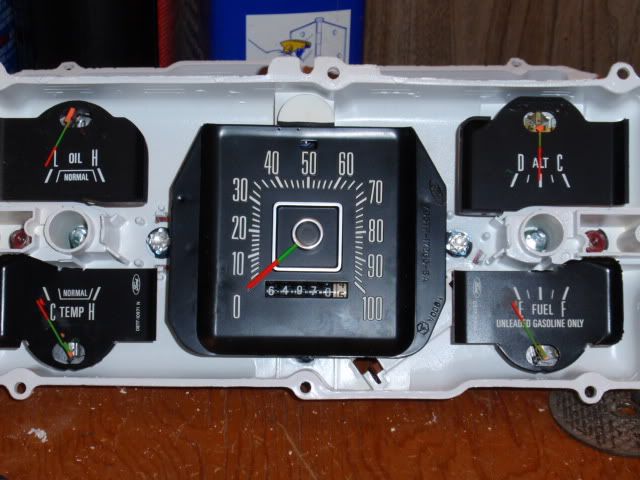
So now your cluster should be out
At this point if you have a new housing and plug sockets or have opened and cleaned the housing before then you should just be able to swap out the old bulbs for the new 5x bulbs and take out the old blue green filters and you're done.
If not and you have never opened your cluster then you may want to spend the extra time in doing this install right which means taking the cluster apart and doing some things to get the most out of this kit.
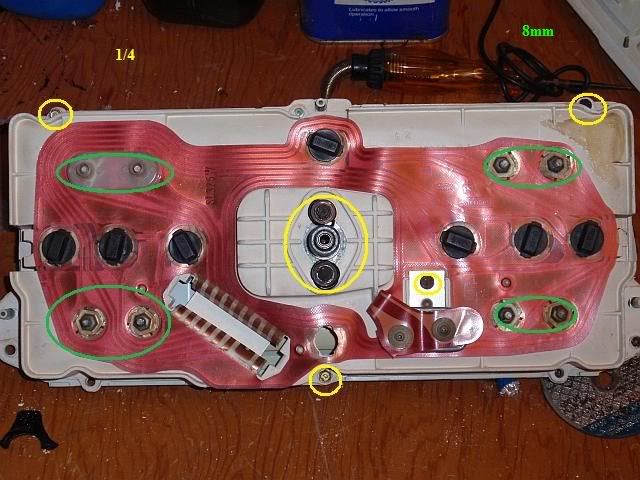
First off you're going to need to strip the cluster this is where you need the sockets
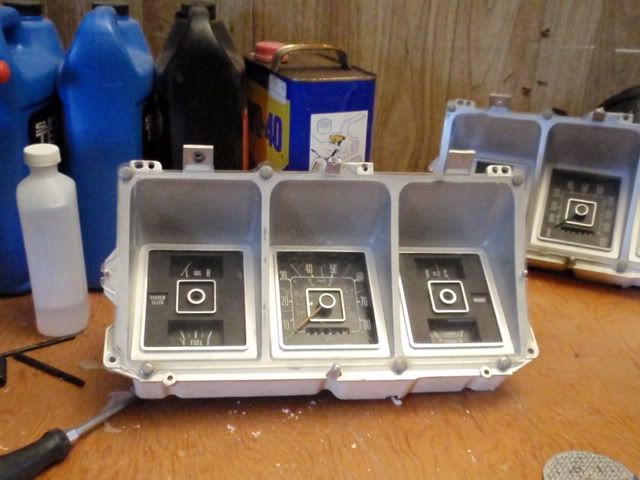
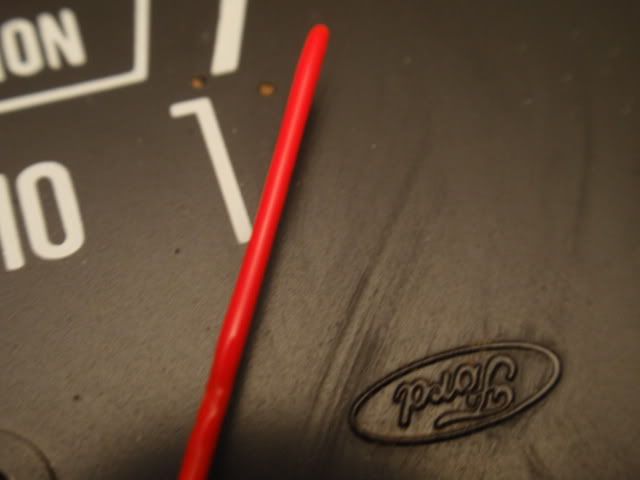
The outmost 1/4 screws hold the clear gauge cover once these are out you can remove the clear front once that's done you can see all the gauges and you can see how dirty these housings get
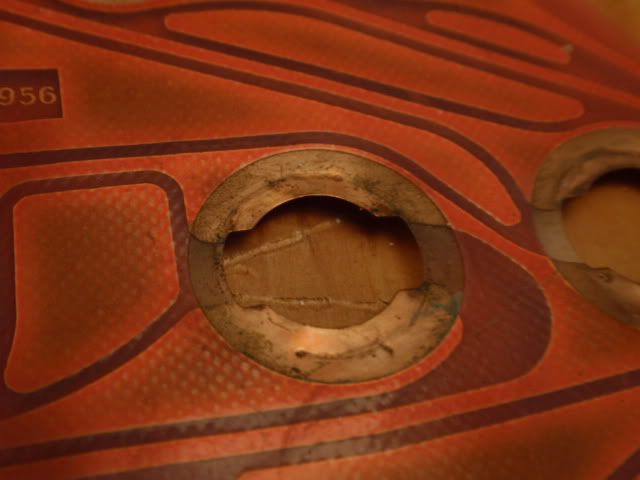
now that that's done time to get the gauges out this is easy but great care needs to be taken when removing the gauges each gauge is held in place with a small metal washer/bolt
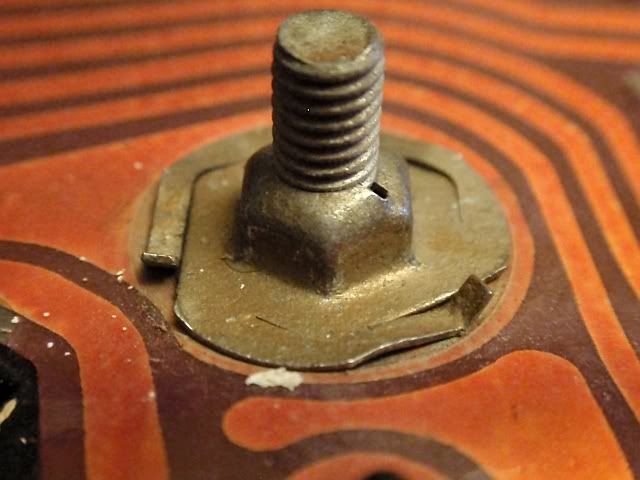
These are 8mm and should be taken off by hand only! or you can bust the gauge stud rendering the gauge USELESS, the Volt meter gauge has a soft plastic covering over the studs this should pop right off
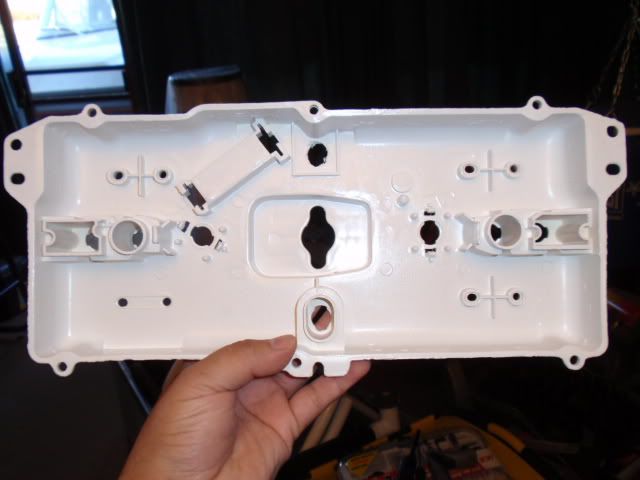
the speedO has two bolts holding it in after all the gauges are out then carefully twist the bulb sockets out and after the small metal control box is taken off lift the printed circuit off the back of the housing and now you should have the bare housing with only the bluegreen filters left these need to also be taken out
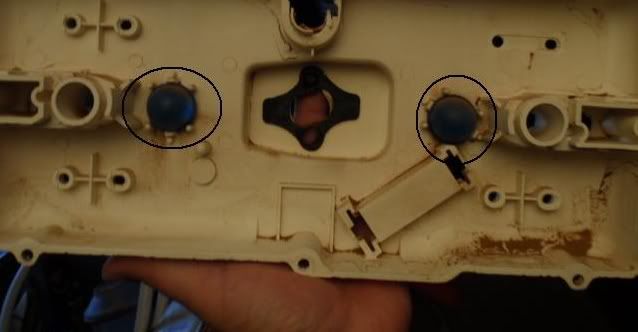
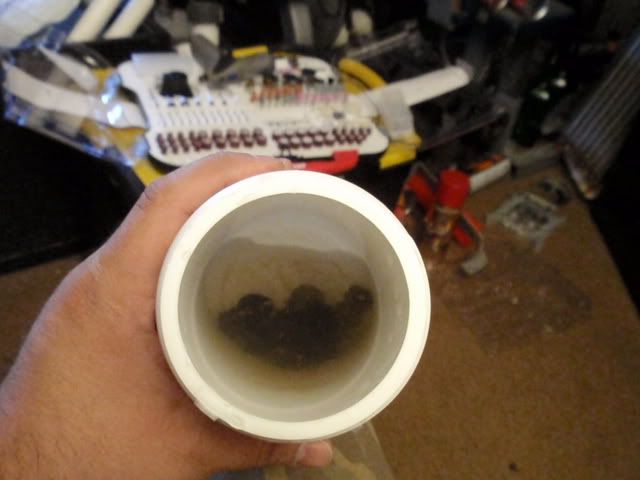
But before we do any thing to the housing let's take a look at these little bulb sockets
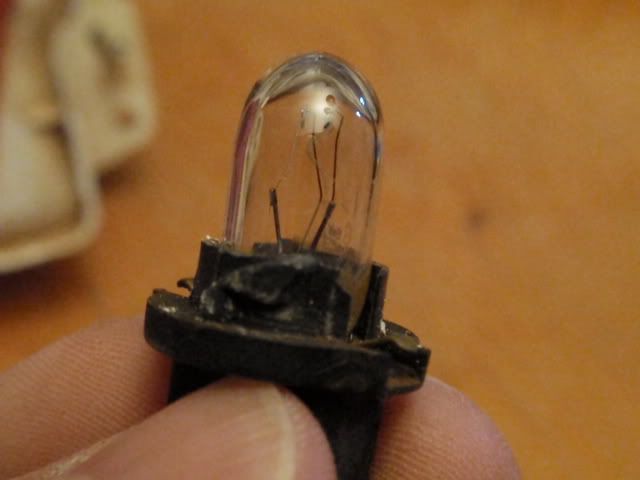
Eww before we put our new bulbs in let's clean these little guys up get your jar or can fill with some vinegar, cap and give them a good little shake and leave them for a while.
Now let's look at that housing again its pretty dirty and not very reflective to rid the dirt just wash with warm water I wouldn't use any kind soap or plastic cleaners this could ruin the housing just wash with warm water let dry and if you want to take the time and paint it then pick up some Krylon fusion plastic white high gloss paint http://www.hardwarestore.com/media/product/103213_front200.jpg
After the housing is dry take outside and give it a few good coats this will make a HUGE difference in the performance of this kit so give it a good spraying while that's drying let's go back to our printed circuit and bulb sockets.
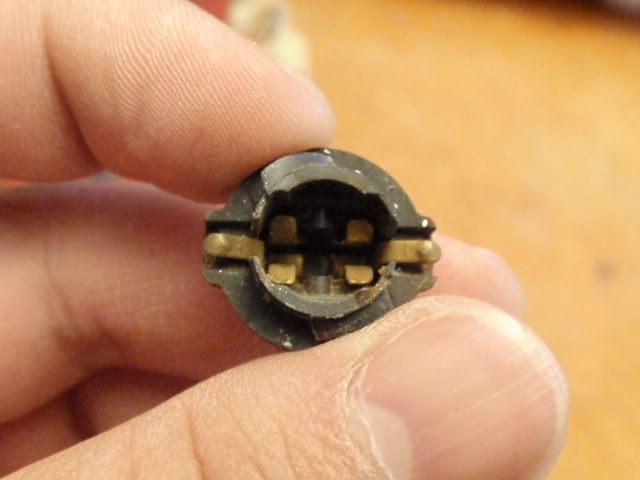
Yuck! get the buggers out rinse with water and use your compressed air to dry them out if they are left wet they will corrode badly

Now that's what I'm talking about!
The printed circuit needs some work too, after all it is just some copper sandwiched in thin plastic
To clean the contact areas up just use a pencil eraser and give them a good rubbing it may take a few erasers but it's the safest and easiest way to clean them

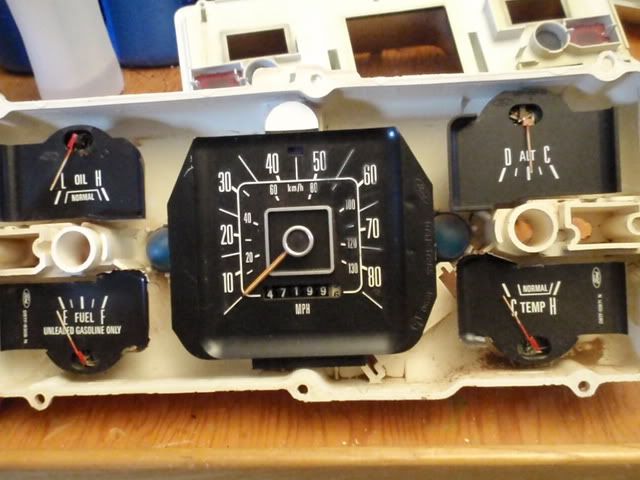
After you're done with that let's look at the gauges
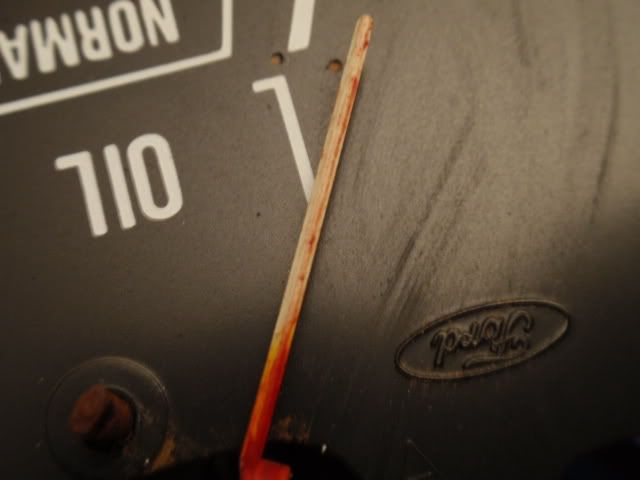
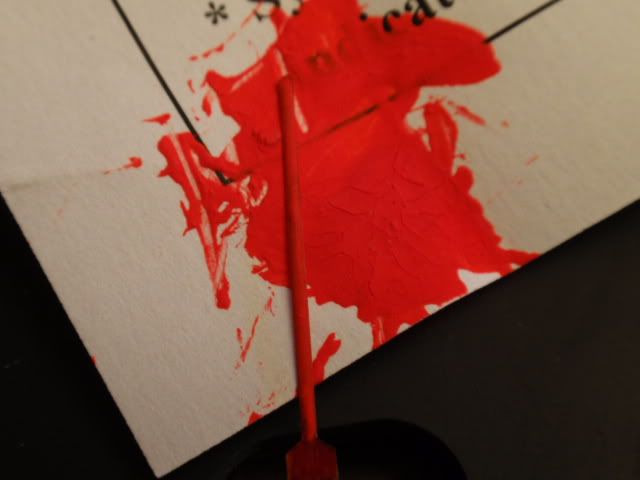
If you opted for the gauge paint it's easy to fix them up with and this paint comes in all colors just slide the edge of a piece of paper under the gauge pointers and paint them with a small brush be very gentle with these gauge pointers they can be damaged easily
Good as new after these are all done let's get back to the housing
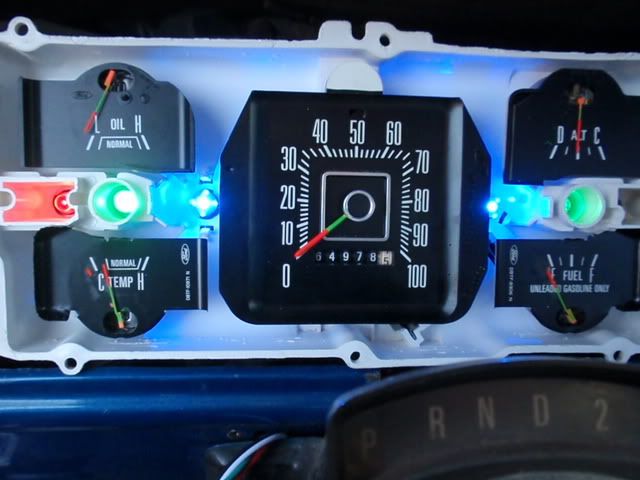
Very nice! Ok all most done after this is done reinstall the printed circuit and all the gauges get your bulb sockets and plug in the new 5x LED bulbs these little bulbs are titans compared to the old ones

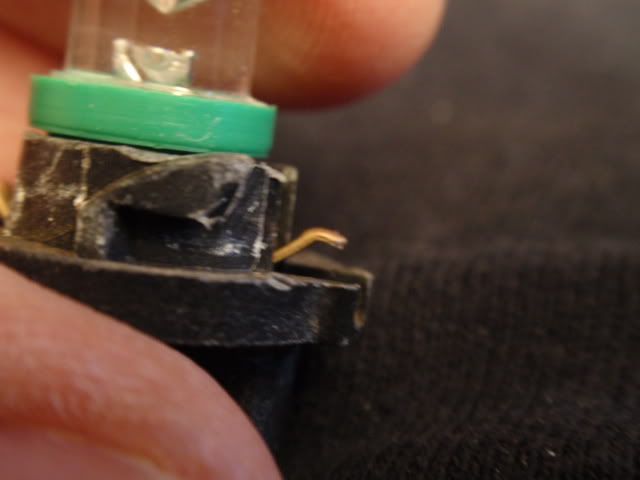
After you install them into the sockets look closely on the sides of the socket and you will see two small copper leads
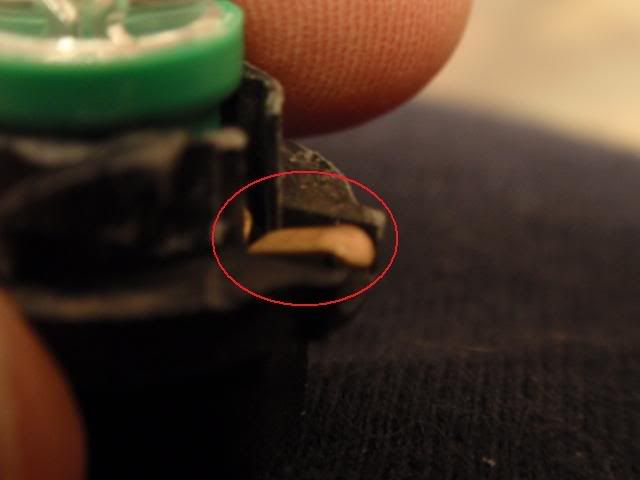
With your thumb nail gently bend these up for much better contact on to the printed circuit do not bend these little guys too hard or they will snap off
After everything is back into the housing you should now have a close to brand new looking cluster
don't put the clean plastic front on yet at this point you're going to want to do a test to make sure everything is in right and working so take it out to your truck and plug back into the dash and make sure all your gauges and lights work
If everything works then unplug and put your clear plate back on and install in your truck and YOU'RE done!!
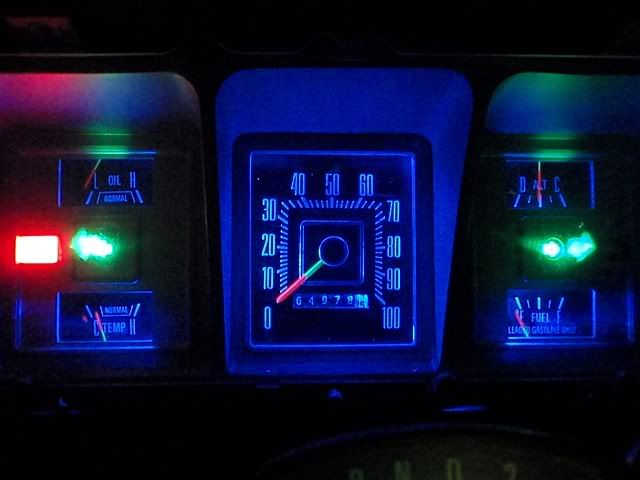
This may sound like way too much trouble for just a L.E.D bulb upgrade but trust me the results are well worth the time spent
For less then 40 bucks nothing I can find beats The HI-PO Ford Truck LED Full Gauge Conversion kit years 70 to79 and also classic mustangs
So if you're looking to give your worn out dash some attitude I would highly recommend picking up this kit they come in more colors then blue and if you just want to restore to the OE look, Hi-PO also has a kit to go back to the stock ford Blue/green color if the flashy LED isn't your cup of tea
check them out..
http://www.hipoparts.com/
=========================================================
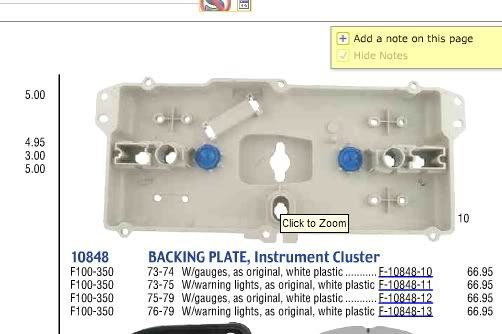
I thought I would give some links to give you a hand if your cluster housing is in too bad of shape to even touch you can pick up a replacement housing at a local junk yard or you can get a new housing at NPD
=========================================================
Tonight I finished installing HI-POs updated 5x version of their LED cluster upgrade and it is far superior to the old kit led kit.
These kits are easy and kinda fun to install especially if you like to tinker like me.
The only tools needed is 2 sockets 1/4,8mm (NO RATCHETS) a screw driver a jar some white vinegar
and compressed air.
=========================================================
(WARNING!!)
If you have never dealt with these old gauge houses be very very careful when taking out and handling the housing they are made of plastic and after nearly 30+ years they become very brittle I've had a few of these housings turn to dust in my hands so great care must be taken when dealing with
these housings..
=========================================================
First off you're going to need to take out the cluster this is easy there is usually only 4 screws 90% of the time they are Phillips head screws some times they are small bolts
After the housing is free you'll take out the speed cable and the main power plug in the back of the cluster this has two clips you need to push in and the plug should pull right out.
So now your cluster should be out
At this point if you have a new housing and plug sockets or have opened and cleaned the housing before then you should just be able to swap out the old bulbs for the new 5x bulbs and take out the old blue green filters and you're done.
If not and you have never opened your cluster then you may want to spend the extra time in doing this install right which means taking the cluster apart and doing some things to get the most out of this kit.
First off you're going to need to strip the cluster this is where you need the sockets
The outmost 1/4 screws hold the clear gauge cover once these are out you can remove the clear front once that's done you can see all the gauges and you can see how dirty these housings get
now that that's done time to get the gauges out this is easy but great care needs to be taken when removing the gauges each gauge is held in place with a small metal washer/bolt
These are 8mm and should be taken off by hand only! or you can bust the gauge stud rendering the gauge USELESS, the Volt meter gauge has a soft plastic covering over the studs this should pop right off
the speedO has two bolts holding it in after all the gauges are out then carefully twist the bulb sockets out and after the small metal control box is taken off lift the printed circuit off the back of the housing and now you should have the bare housing with only the bluegreen filters left these need to also be taken out
But before we do any thing to the housing let's take a look at these little bulb sockets
Eww before we put our new bulbs in let's clean these little guys up get your jar or can fill with some vinegar, cap and give them a good little shake and leave them for a while.
Now let's look at that housing again its pretty dirty and not very reflective to rid the dirt just wash with warm water I wouldn't use any kind soap or plastic cleaners this could ruin the housing just wash with warm water let dry and if you want to take the time and paint it then pick up some Krylon fusion plastic white high gloss paint http://www.hardwarestore.com/media/product/103213_front200.jpg
After the housing is dry take outside and give it a few good coats this will make a HUGE difference in the performance of this kit so give it a good spraying while that's drying let's go back to our printed circuit and bulb sockets.
Yuck! get the buggers out rinse with water and use your compressed air to dry them out if they are left wet they will corrode badly
Now that's what I'm talking about!
The printed circuit needs some work too, after all it is just some copper sandwiched in thin plastic
To clean the contact areas up just use a pencil eraser and give them a good rubbing it may take a few erasers but it's the safest and easiest way to clean them
After you're done with that let's look at the gauges
If you opted for the gauge paint it's easy to fix them up with and this paint comes in all colors just slide the edge of a piece of paper under the gauge pointers and paint them with a small brush be very gentle with these gauge pointers they can be damaged easily
Good as new
after these are all done let's get back to the housing
Very nice! Ok all most done after this is done reinstall the printed circuit and all the gauges get your bulb sockets and plug in the new 5x LED bulbs these little bulbs are titans compared to the old ones
After you install them into the sockets look closely on the sides of the socket and you will see two small copper leads
With your thumb nail gently bend these up for much better contact on to the printed circuit do not bend these little guys too hard or they will snap off
After everything is back into the housing you should now have a close to brand new looking cluster
don't put the clean plastic front on yet at this point you're going to want to do a test to make sure everything is in right and working so take it out to your truck and plug back into the dash and make sure all your gauges and lights work
If everything works then unplug and put your clear plate back on and install in your truck and YOU'RE done!!
This may sound like way too much trouble for just a L.E.D bulb upgrade but trust me the results are well worth the time spent
For less then 40 bucks nothing I can find beats The HI-PO Ford Truck LED Full Gauge Conversion kit years 70 to79 and also classic mustangs
So if you're looking to give your worn out dash some attitude I would highly recommend picking up this kit they come in more colors then blue and if you just want to restore to the OE look, Hi-PO also has a kit to go back to the stock ford Blue/green color if the flashy LED isn't your cup of tea
check them out..
http://www.hipoparts.com/
=========================================================
I thought I would give some links to give you a hand if your cluster housing is in too bad of shape to even touch you can pick up a replacement housing at a local junk yard or you can get a new housing at NPD
=========================================================