- 885
- 53
So I'm not big on the aluminum rail screwed in the body of the Bronco nor do I much care for the look of it while the top is off. I decided to take an old hard top and modify it to accept my soft top. The screw holes in the body I plan on putting some paintable silicone over and then touching up with some paint. I wish I had done this before I had the body repainted but live and learn. Well here's the pics.
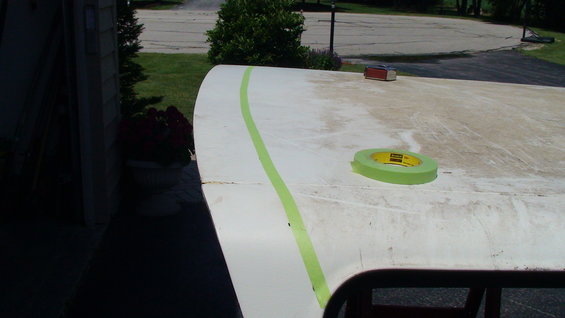
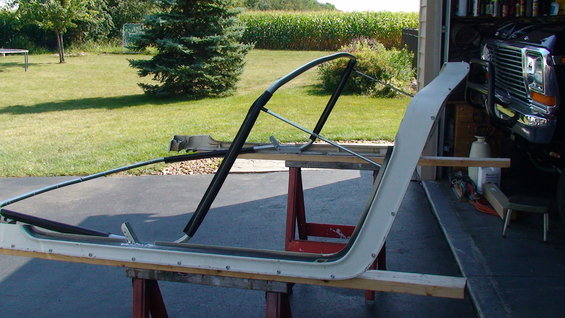
1st thing to do was figure out the cut line. I wanted to keep enough of the old top to keep the rigidity of the top.
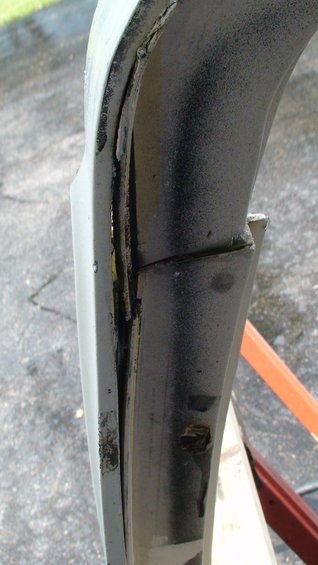
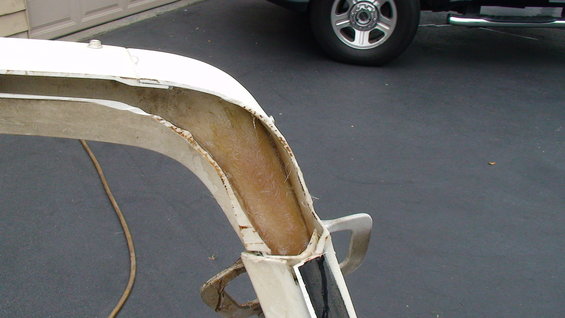
When I cut the top off the sides had broken the bonding. I'll get this fixed later.
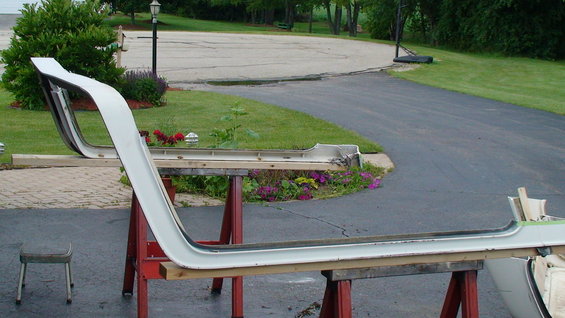
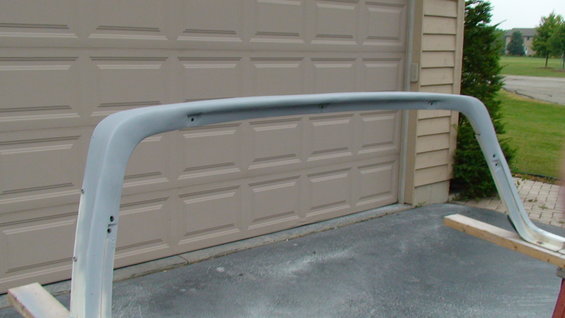
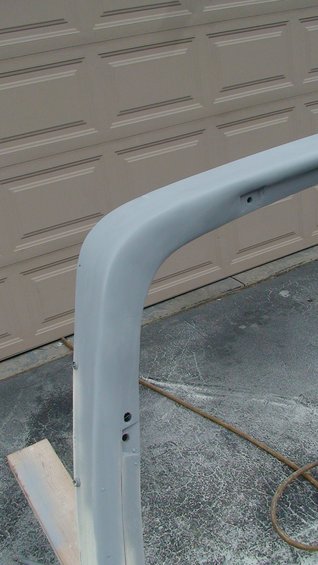
What I ended up with after cutting.
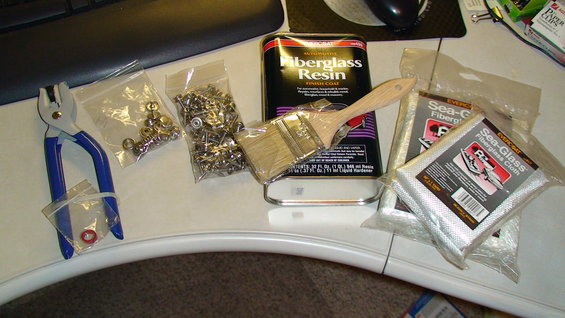
I found a guy on ebay that had the snaps I needed. I also hit the parts store for the fiberglass material.
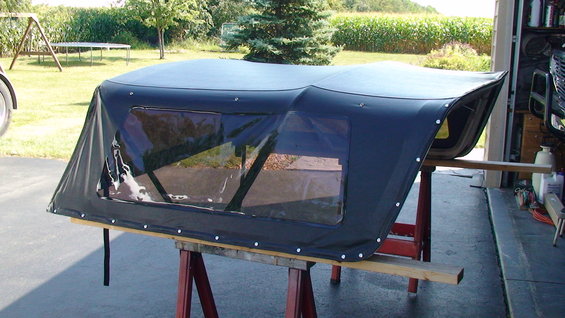
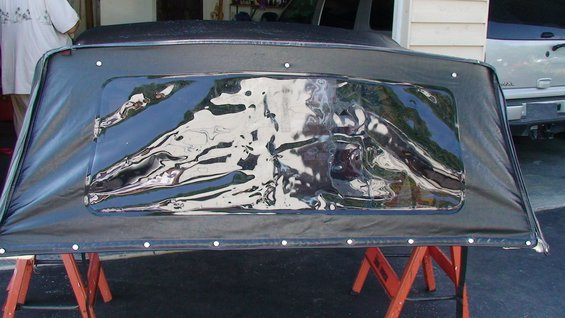
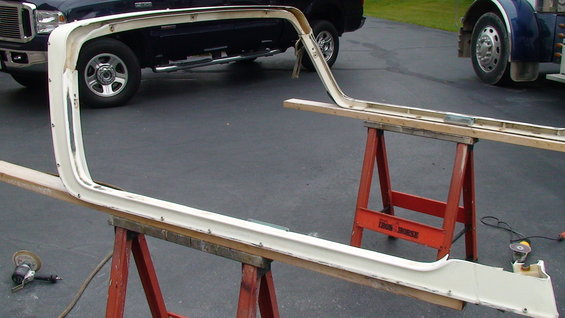
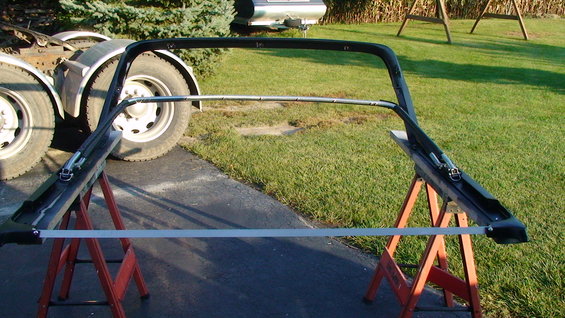
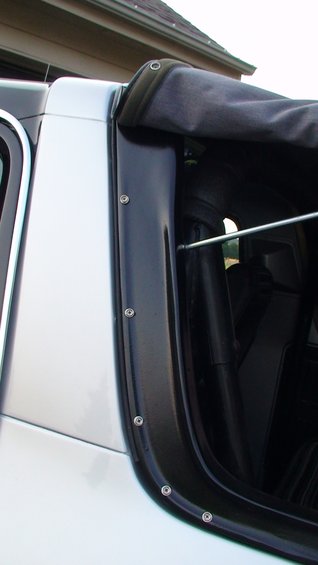
So after test fitting the top and getting some snaps in place this is how it is going to look.
For the back I am going to use a piece of aluminum angle iron to mount the snaps to.
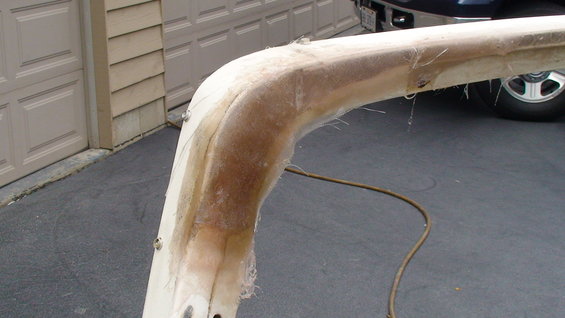
Now comes the fun, fiberglass. I'd suggest wearing long sleeves when sanding this stuff as it is pretty itchy.
I wanted to add some fiberglass mat on the inside where the eak joint was after cutting.
After that I was able to build up in layers the inside.
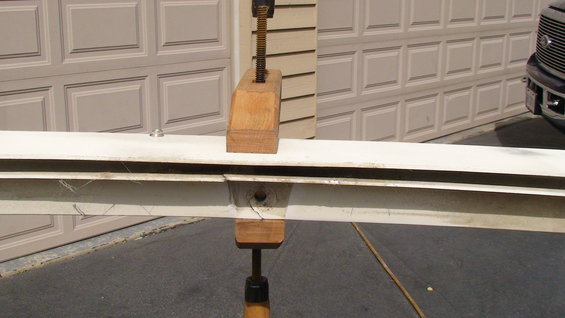
In the very center of the top it was cracked. I clamped it back together and added some more mat to the inside area.
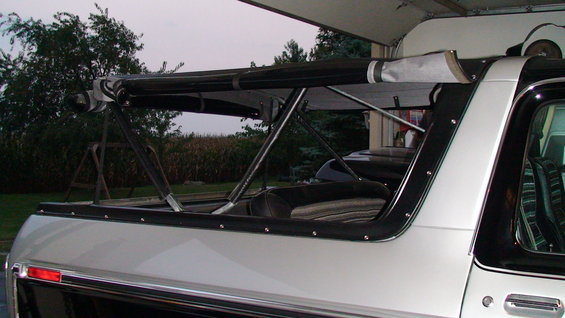
For the center bracket rod supports I am going to fiberglass those to the top so there are no unnecessary screws going into the body.
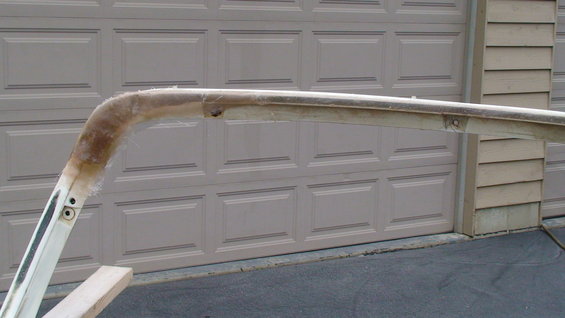
And this is where it is at now. Some more sanding and it will be ready for a final coat of bondo to finish it up.
More pics to come as progress continues.
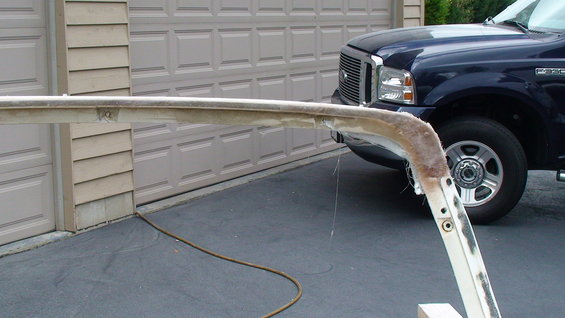
1st thing to do was figure out the cut line. I wanted to keep enough of the old top to keep the rigidity of the top.
When I cut the top off the sides had broken the bonding. I'll get this fixed later.
What I ended up with after cutting.
I found a guy on ebay that had the snaps I needed. I also hit the parts store for the fiberglass material.
So after test fitting the top and getting some snaps in place this is how it is going to look.
For the back I am going to use a piece of aluminum angle iron to mount the snaps to.
Now comes the fun, fiberglass. I'd suggest wearing long sleeves when sanding this stuff as it is pretty itchy.
I wanted to add some fiberglass mat on the inside where the eak joint was after cutting.
After that I was able to build up in layers the inside.
In the very center of the top it was cracked. I clamped it back together and added some more mat to the inside area.
For the center bracket rod supports I am going to fiberglass those to the top so there are no unnecessary screws going into the body.
And this is where it is at now. Some more sanding and it will be ready for a final coat of bondo to finish it up.
More pics to come as progress continues.
Last edited:

 I don't think I woulda been able to bring the drill bit down to such a nice lookin' truck, just don't have the strength, lol.