5.0Flareside
GingaNinja
Here is the basic directions for replacing Front brake pads for a 92-96 2wd pickup truck...
TOOLS NEEDED: Basic Hammer, 3/4 Socket, Breaker bar, block of wood or steel ( I use a 2x4 piece of wood), 4" or larger C-clamp, punch or drift, bungee chord.
Step One: Break loose Lugnuts while tire is still on ground.
NOTE: At same time you should take the top off of the Brake Fluid resovoir to allow future pressure to be released..
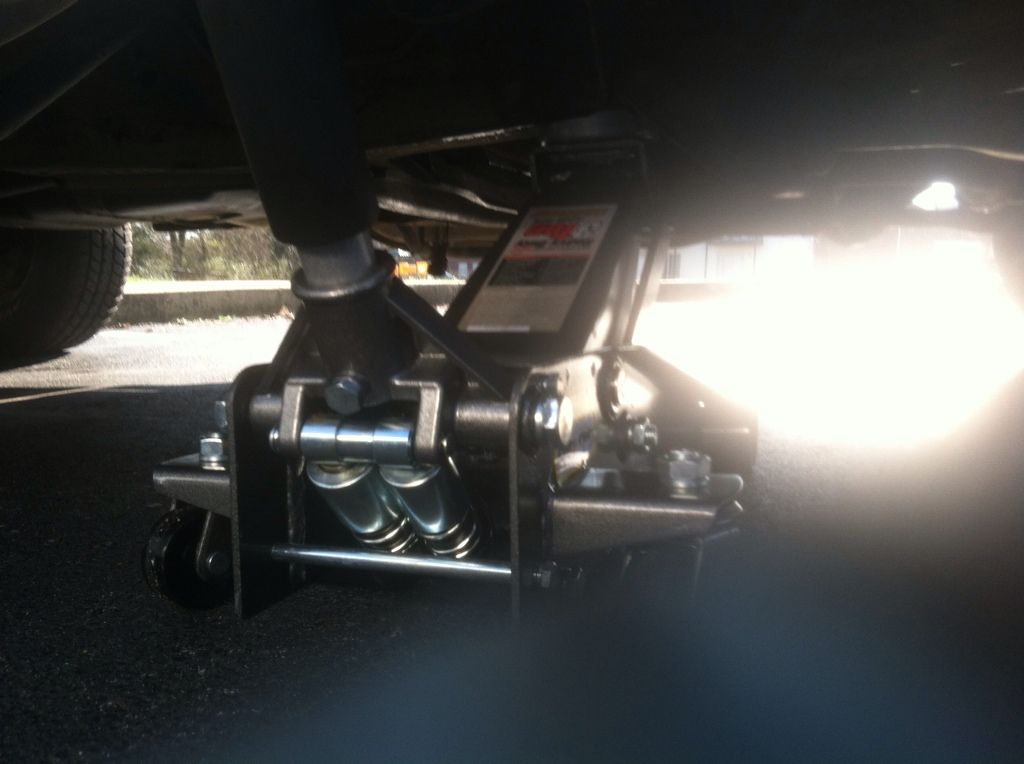
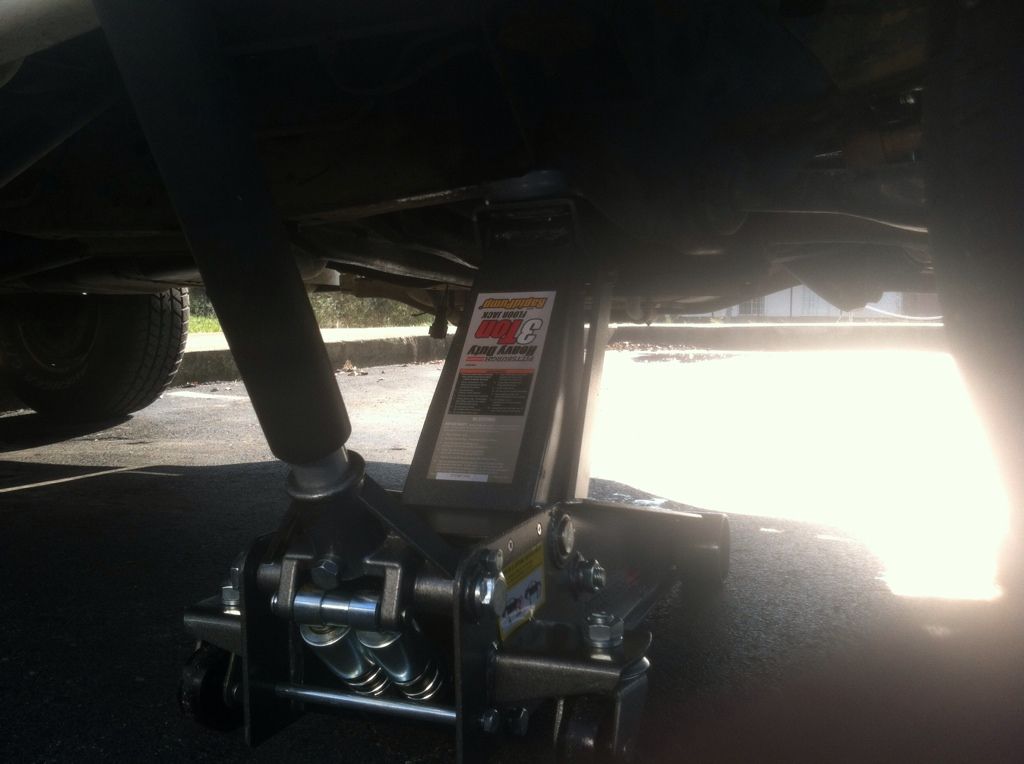
Step 2: Place jack under vehicle and jack up till tire is off the ground.
STOP!!: AFTER TIRES ARE OFF GROUND PLACE JACK STANDS UNDERNEATH VEHICLE..
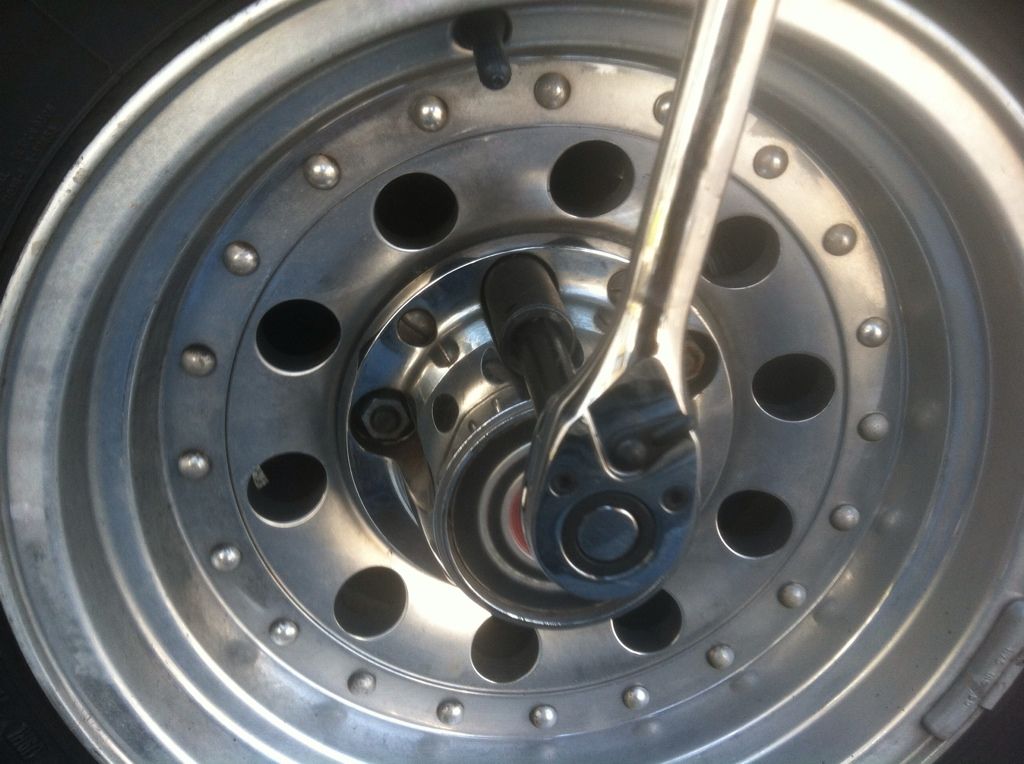
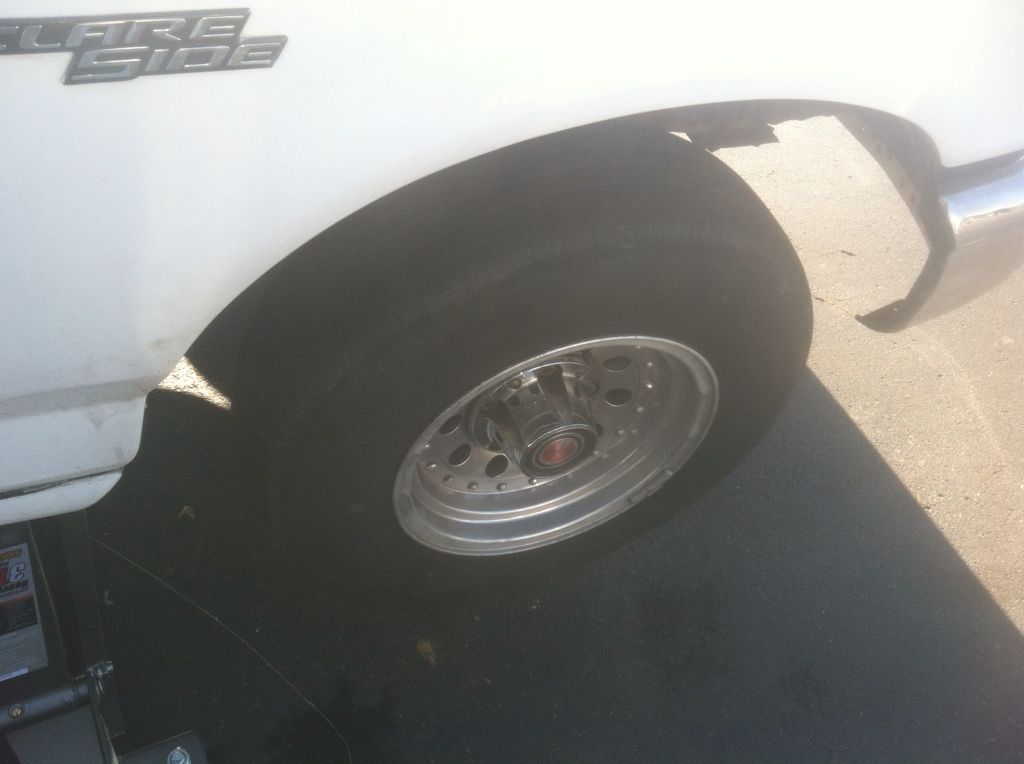
Step 3: Remove the Lugnuts fully. And Remove Wheel and Tire.
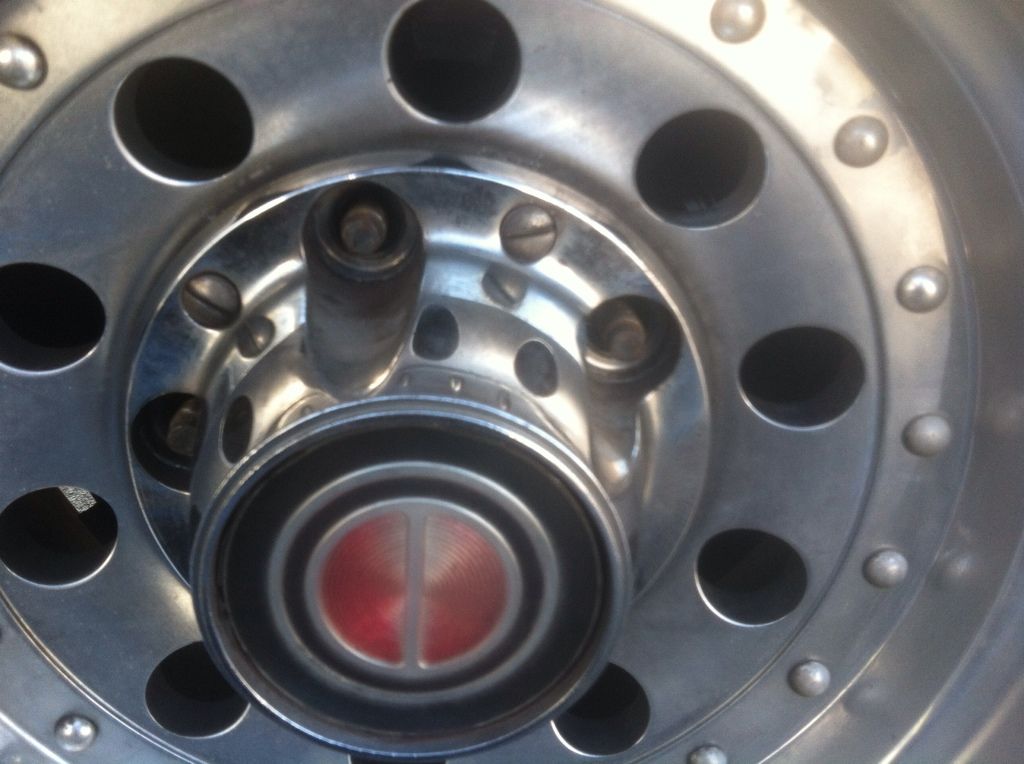
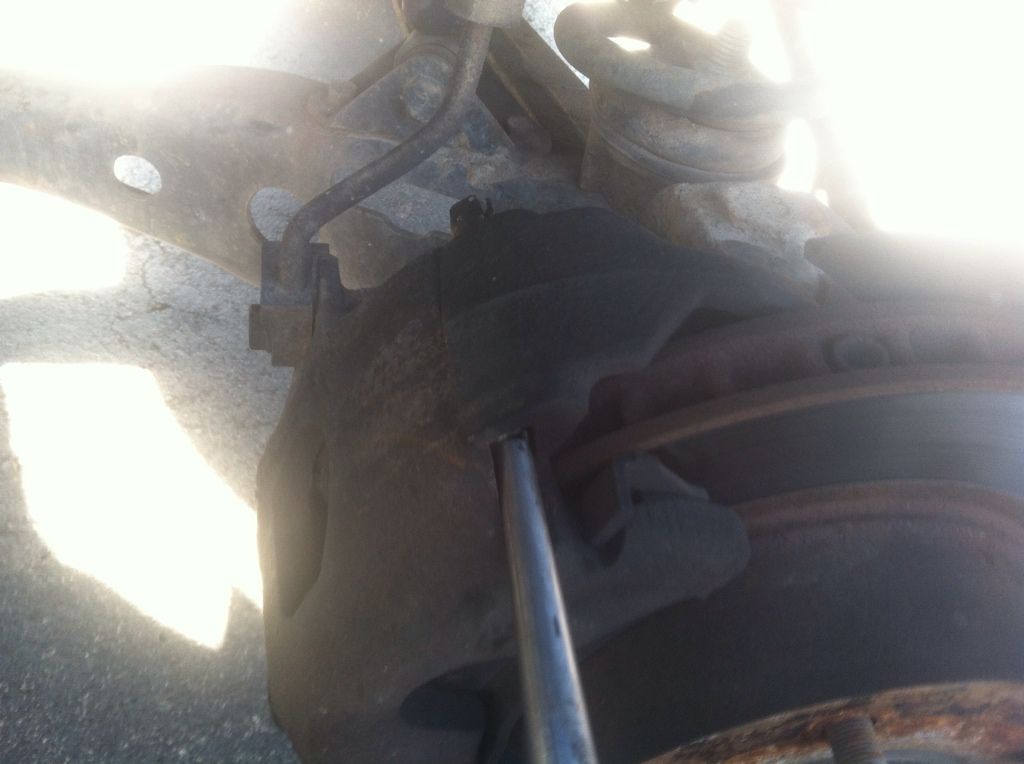
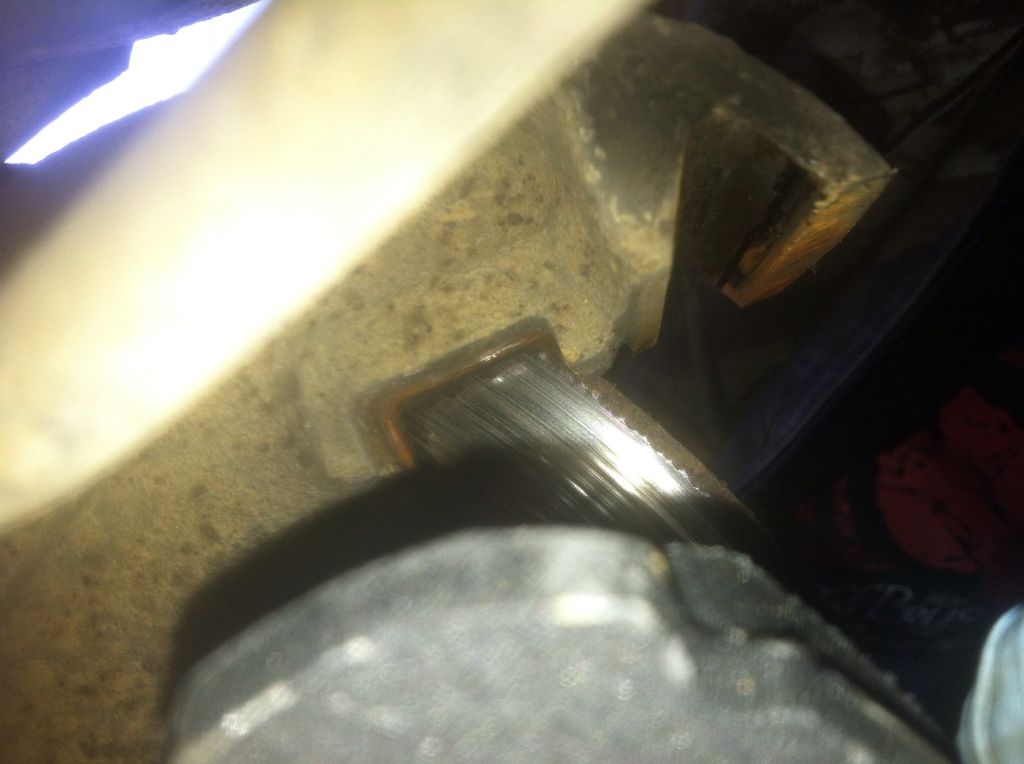
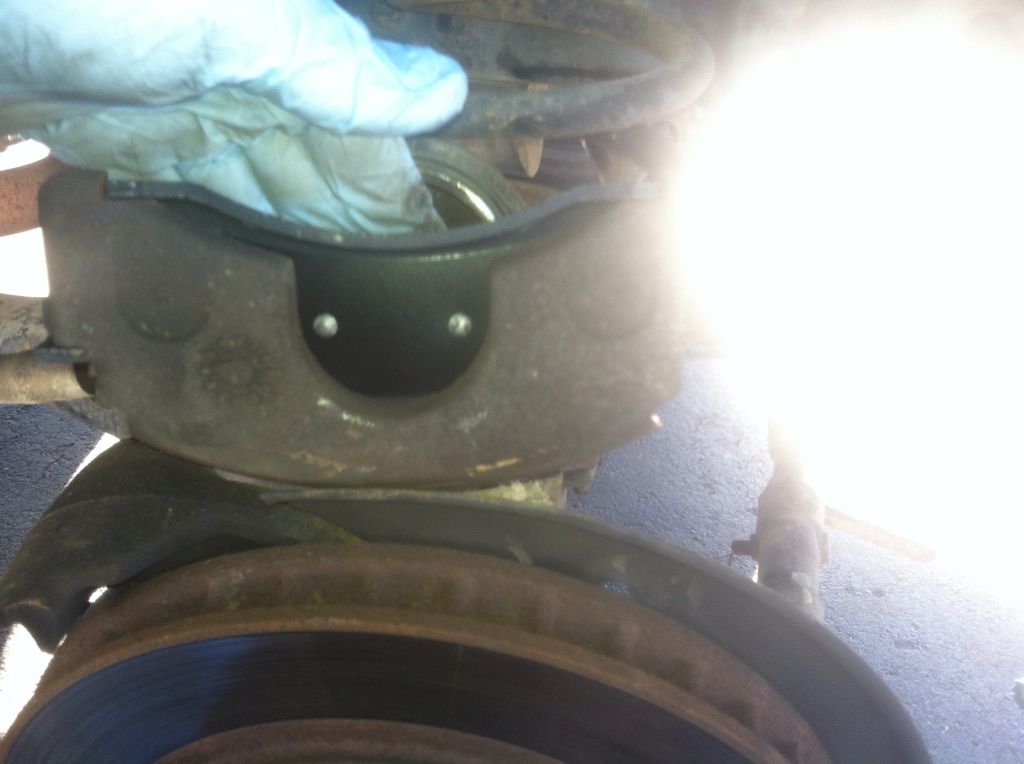
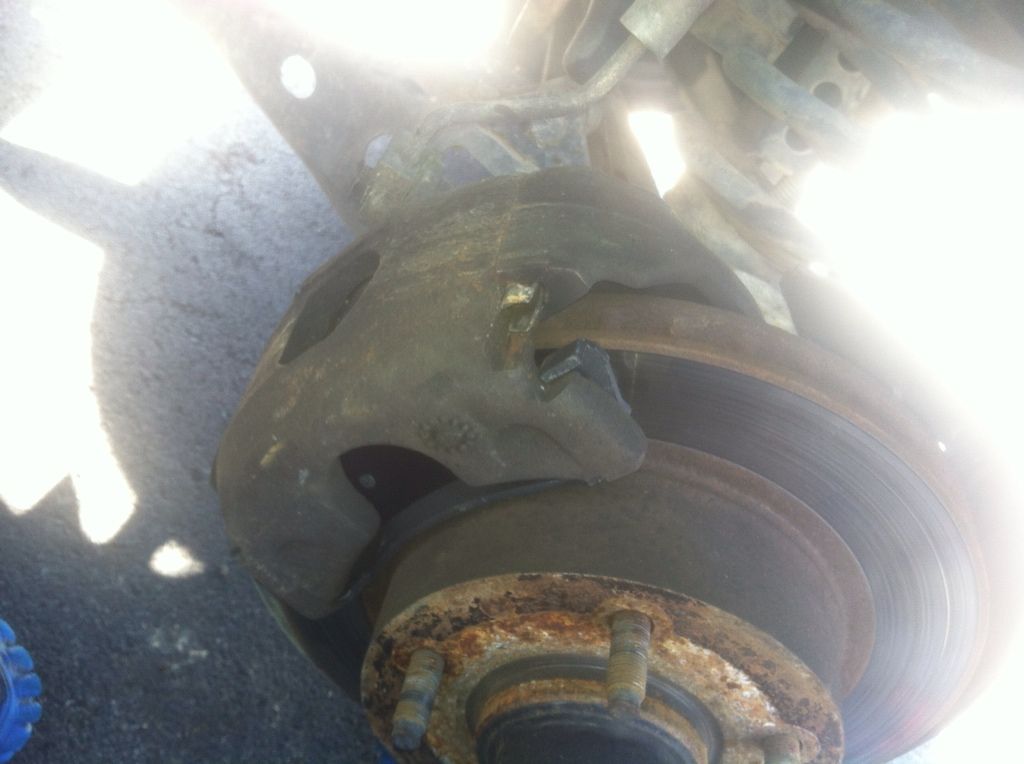
Step 4: Locate the pins that you must remove to release the brake caliper. one upper and one lower
Step 5: Place the punch or drift on the edges of the pins.. You must push the ends in far enough that they clear the nipple. Then Punch the pin through about 3/4 the way. You can wiggle the rest of the way out..
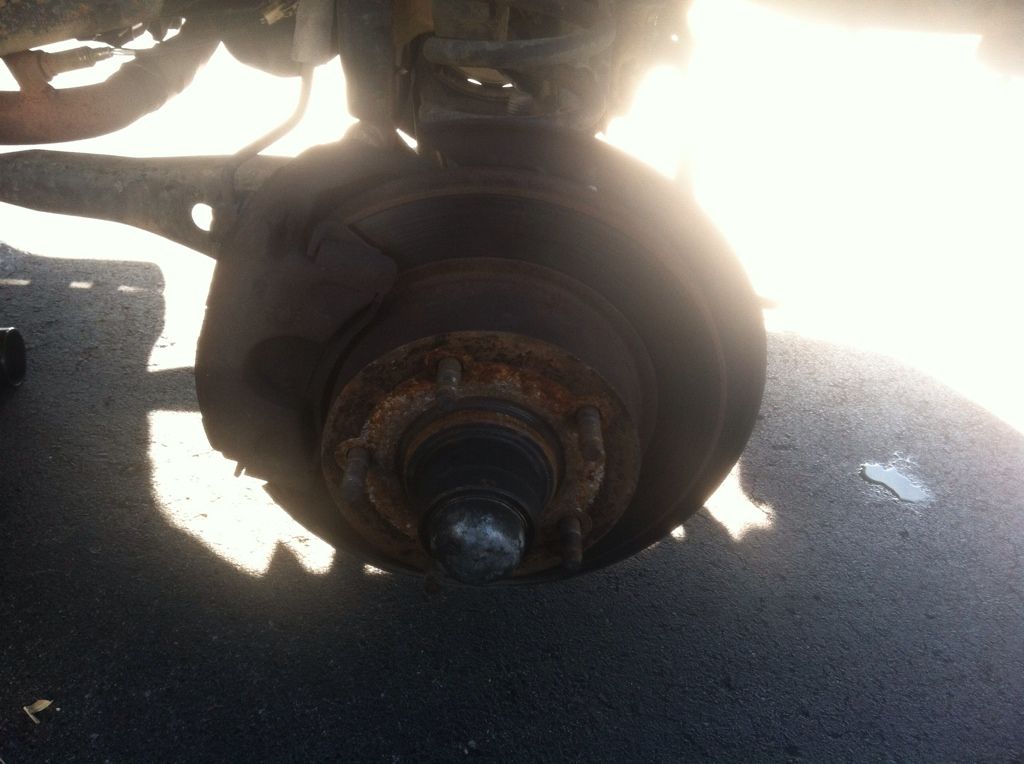
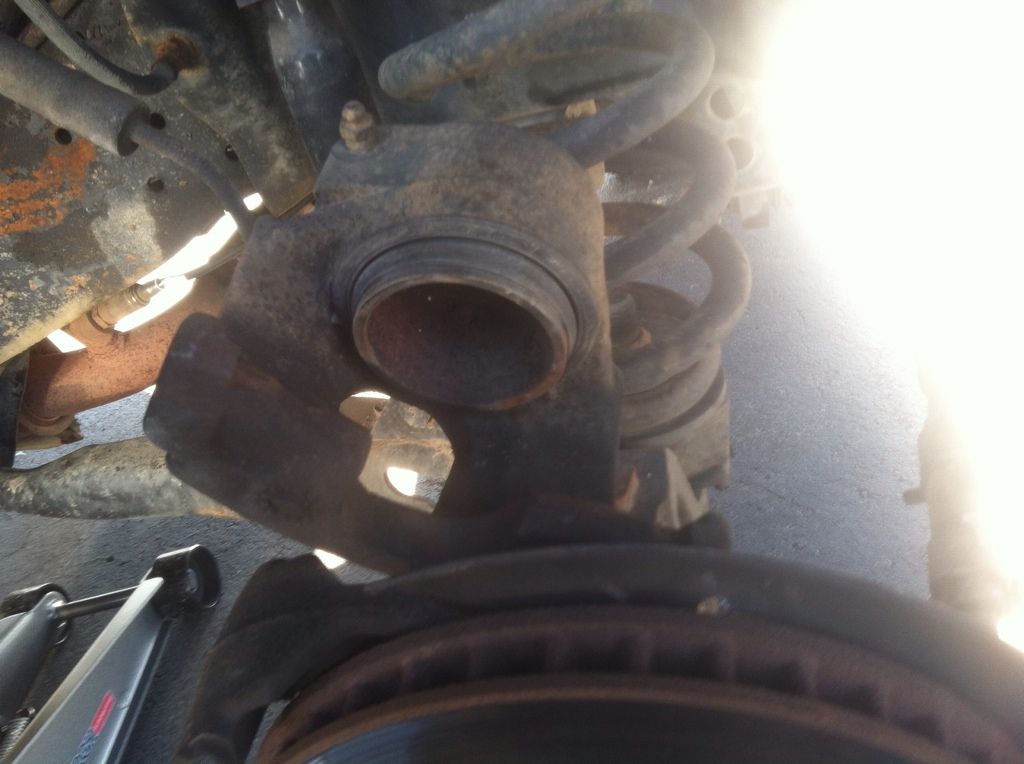
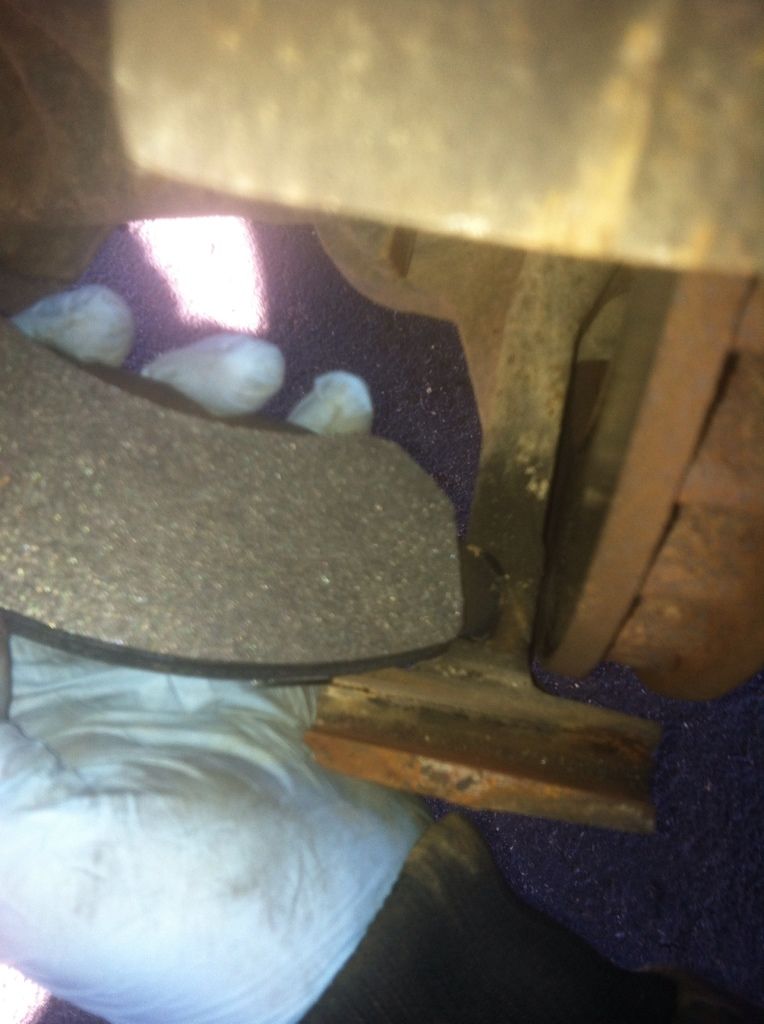
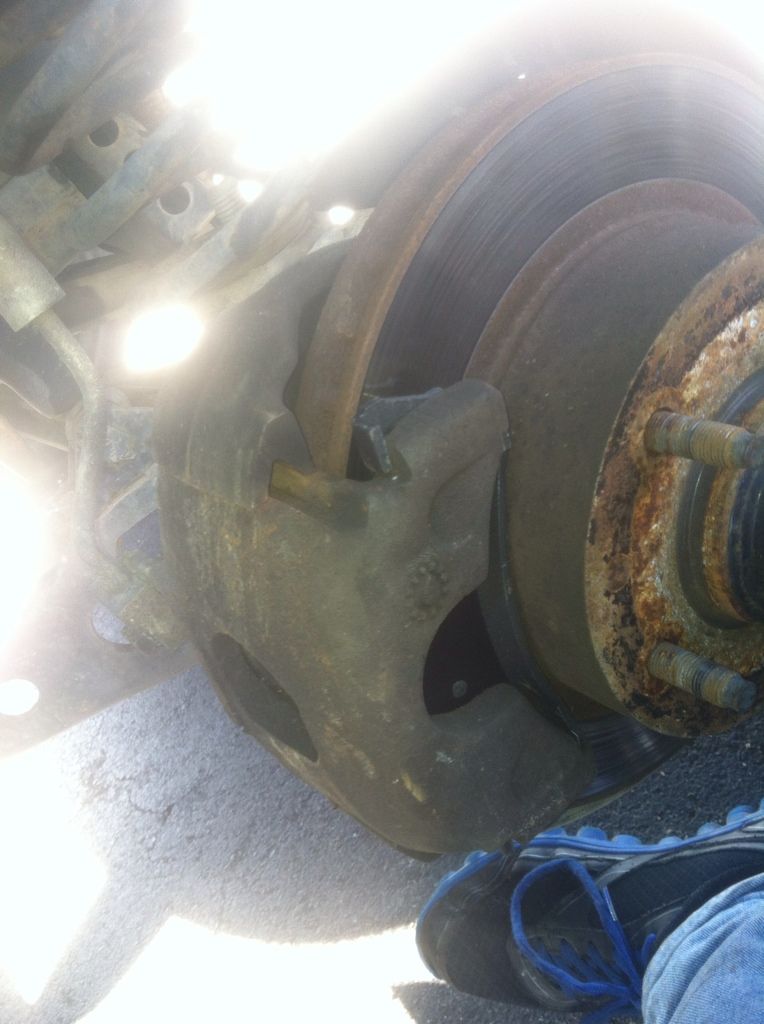
Step 6: Remove the Caliper from the brack around the Rotor. Remove the Brake pads from the caliper and, look on the back of the rotor, the second pad will be there.
STOP: Inspect the Rotor for extreme wear patterns. Mine were slightly worn but will last a while till i get drilled and slotted rotors and new calipers.

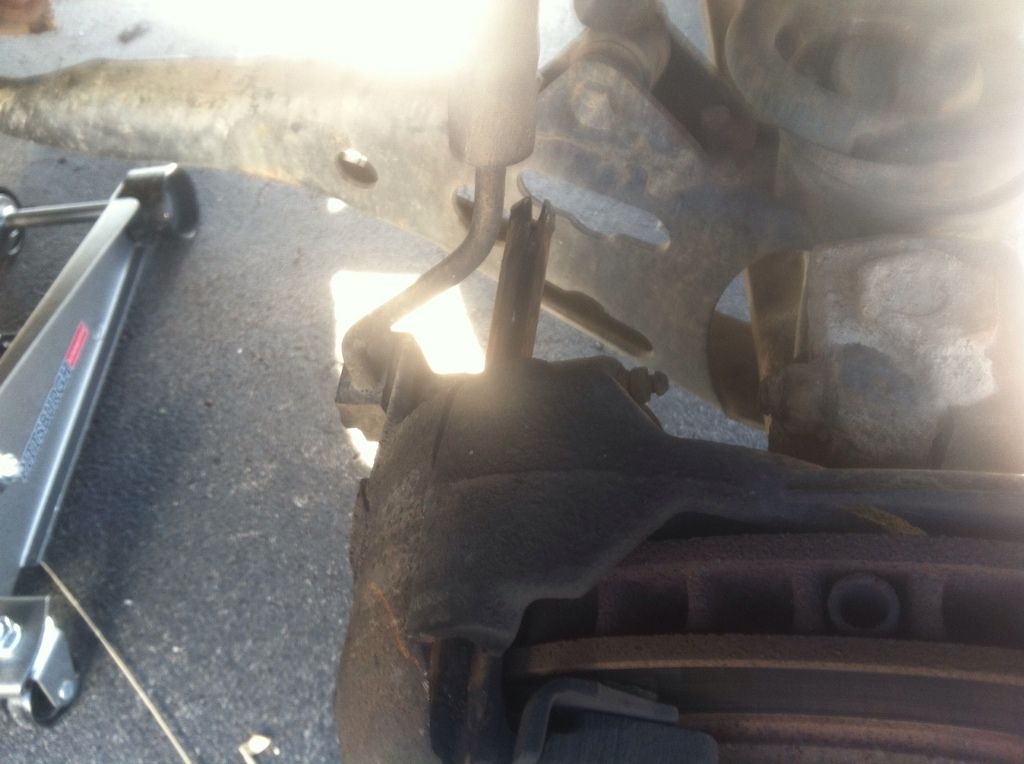
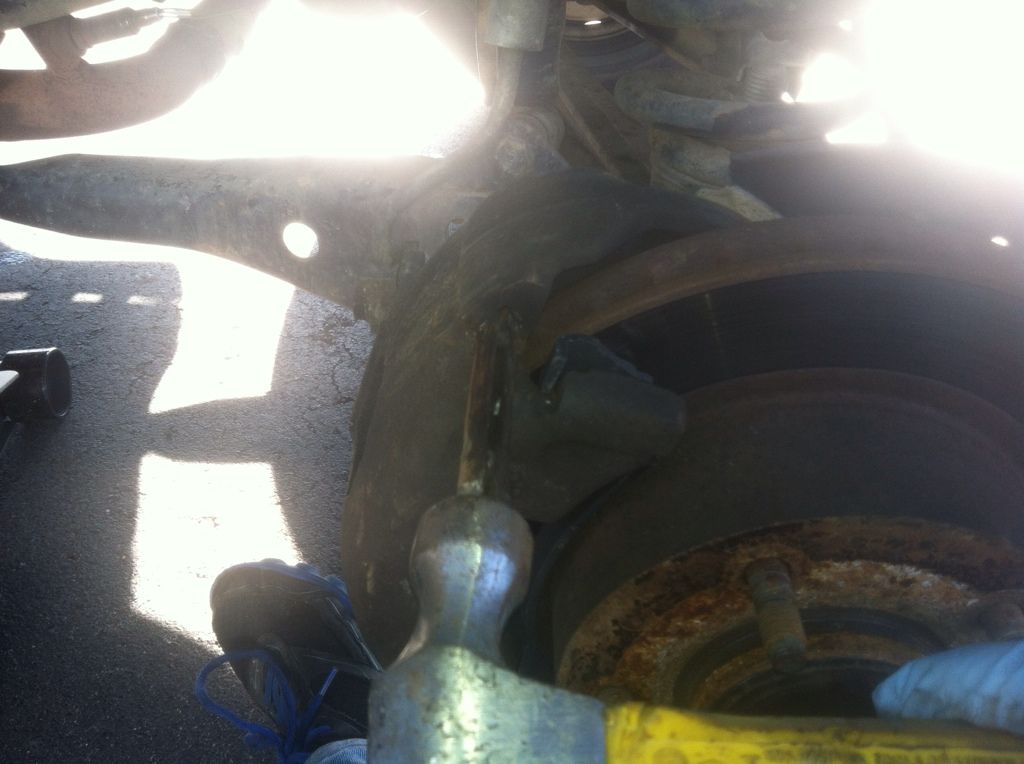
Step 7: Bungee Chord the caliper up so there is no stress on the brake line. or you can lay on top of the spindle etc..
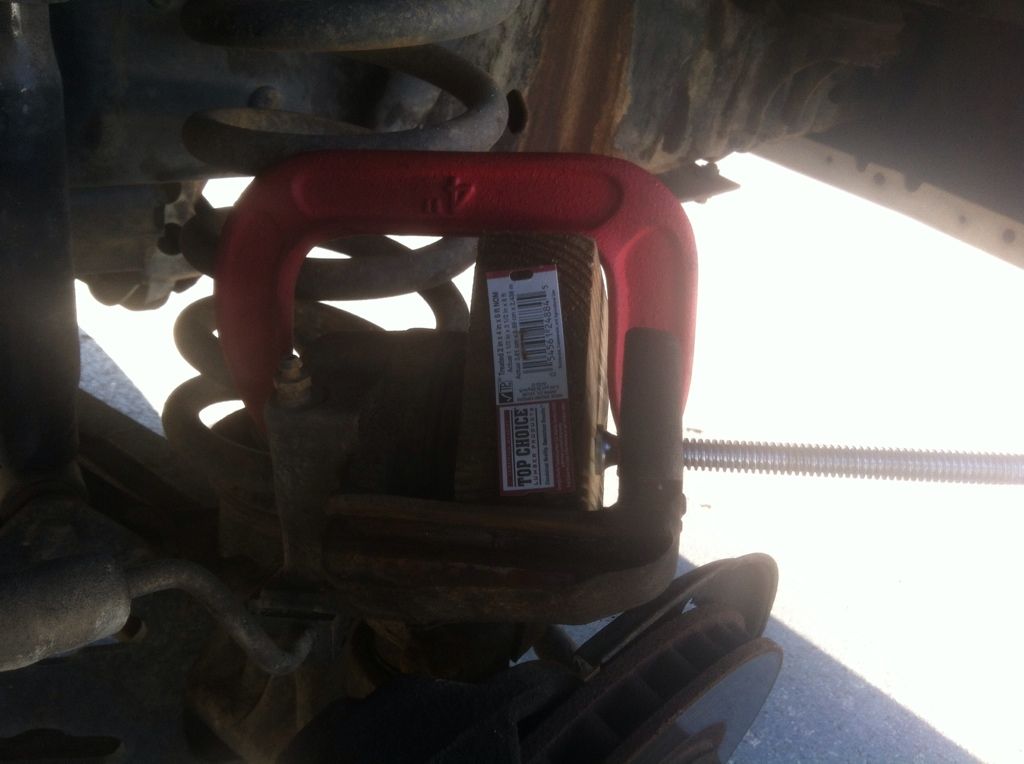
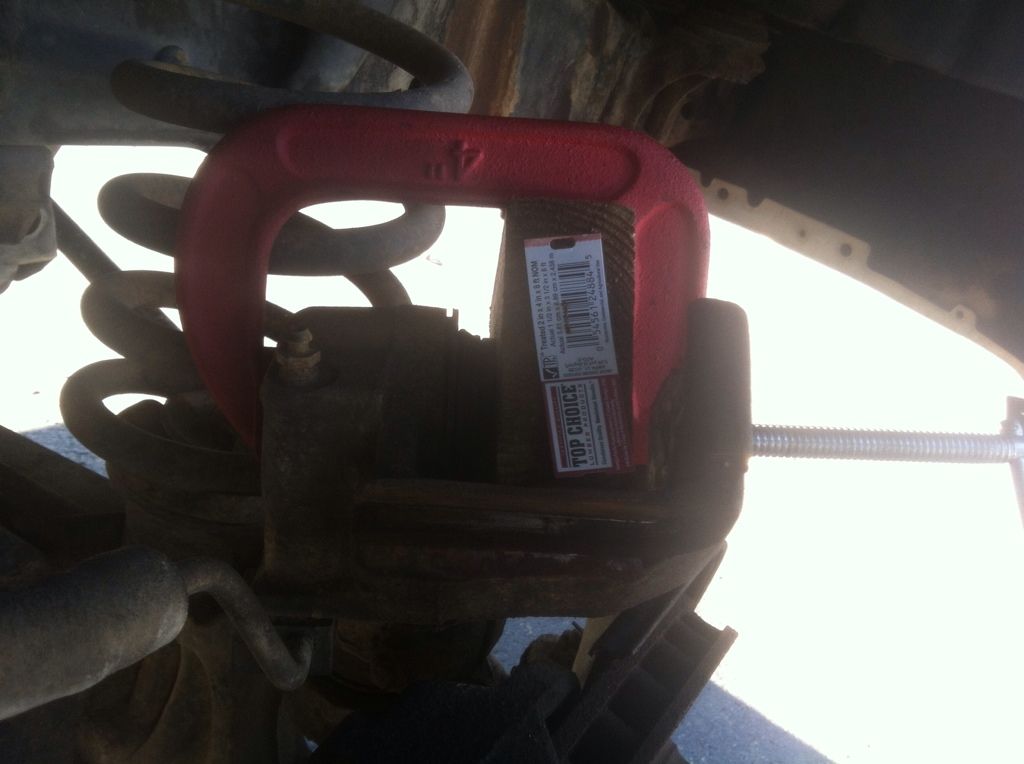
Step 8: Compress the piston in the caliper. Use the 2x4 or you can even use the old brake pad or the like to allow equal pressure to all sides of the piston. and use the 4" or greater C-clamp to push in the piston..
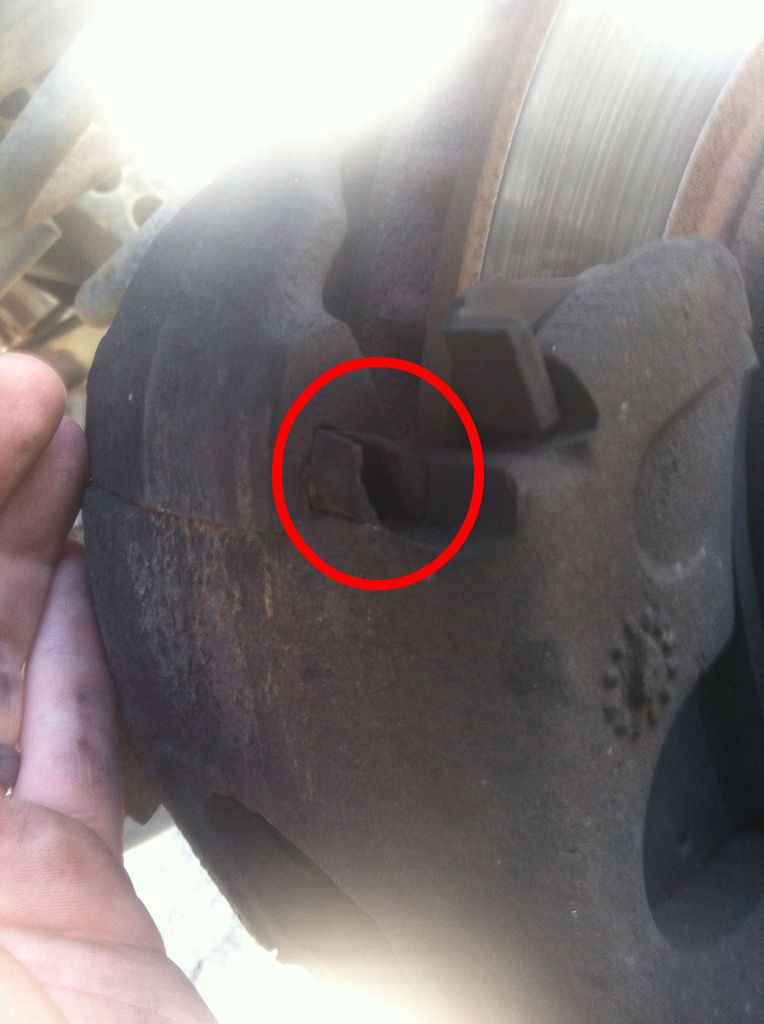
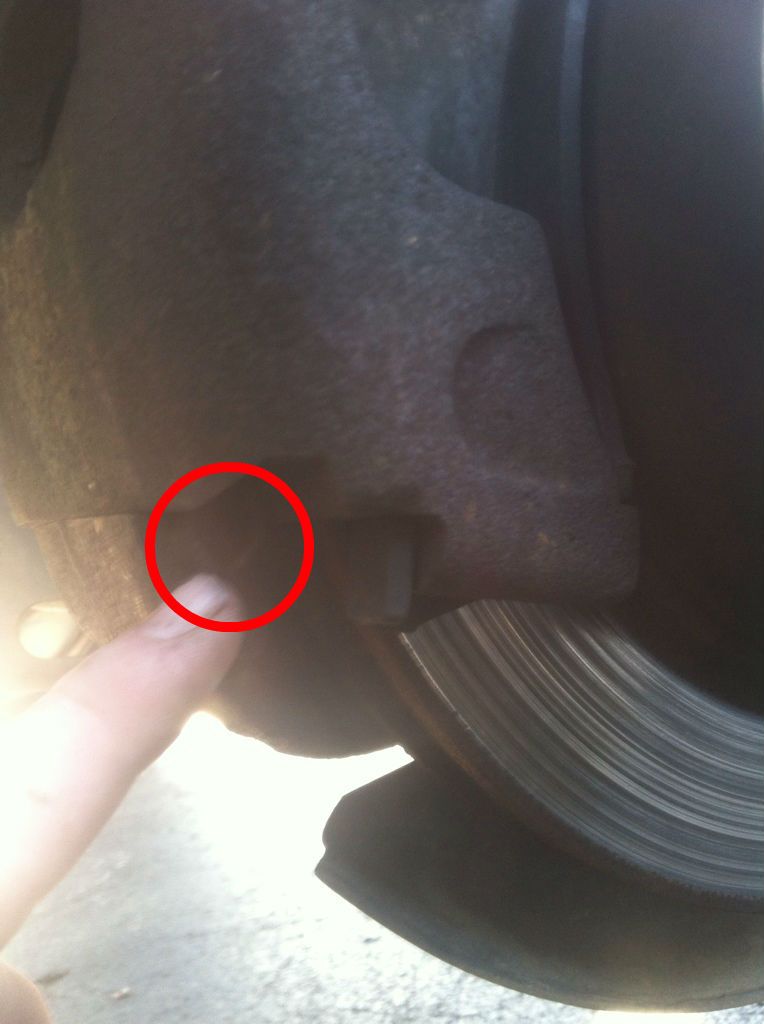
STEP 9: Process of Reassembly. Place the back brake pad in it's groves on the complete assembly.
pictures show the groves
BOTTOM GROOVE picture taken from top.
TOP GROOVE picture taken from back side
STEP 10: Replace the Brake Pad on the caliper.
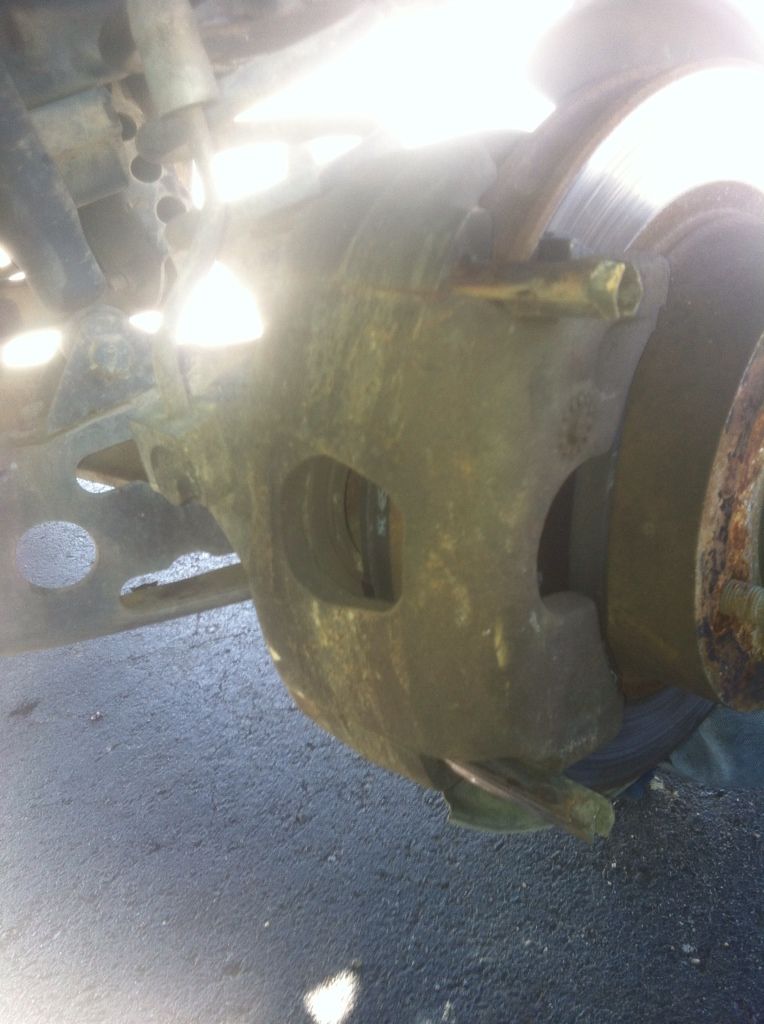
STEP 11: Place the caliper slowly back over the rotor and back brake pad. Line it up with the pin holes.
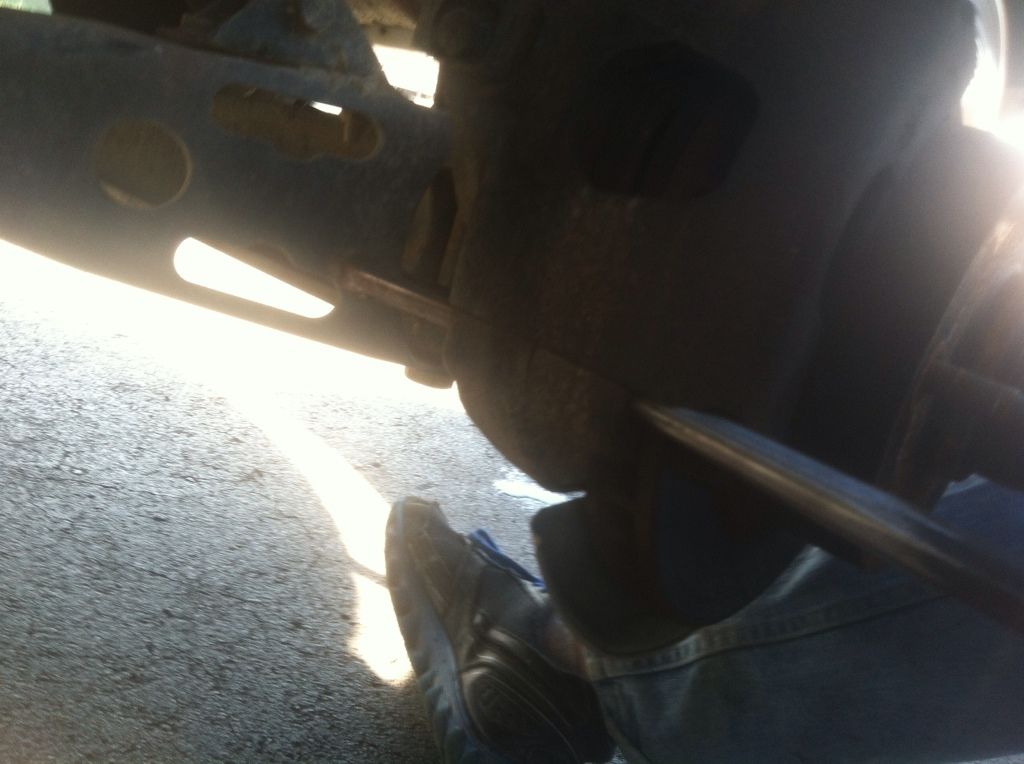
STEP 12: Hammer the pins back in the holes
NOTE: 2ND picture shows only partially installed pins..
step 13: after everything is completed open your door and push the brake pedal a couple of times to pull the pads in on the rotor to tighten everything up.
Step 14: put the wheel and tire back on and do the other side the same way.
THEN A TEST DRIVE!!
TOOLS NEEDED: Basic Hammer, 3/4 Socket, Breaker bar, block of wood or steel ( I use a 2x4 piece of wood), 4" or larger C-clamp, punch or drift, bungee chord.
Step One: Break loose Lugnuts while tire is still on ground.
NOTE: At same time you should take the top off of the Brake Fluid resovoir to allow future pressure to be released..
Step 2: Place jack under vehicle and jack up till tire is off the ground.
STOP!!: AFTER TIRES ARE OFF GROUND PLACE JACK STANDS UNDERNEATH VEHICLE..
Step 3: Remove the Lugnuts fully. And Remove Wheel and Tire.
Step 4: Locate the pins that you must remove to release the brake caliper. one upper and one lower
Step 5: Place the punch or drift on the edges of the pins.. You must push the ends in far enough that they clear the nipple. Then Punch the pin through about 3/4 the way. You can wiggle the rest of the way out..
Step 6: Remove the Caliper from the brack around the Rotor. Remove the Brake pads from the caliper and, look on the back of the rotor, the second pad will be there.
STOP: Inspect the Rotor for extreme wear patterns. Mine were slightly worn but will last a while till i get drilled and slotted rotors and new calipers.
Step 7: Bungee Chord the caliper up so there is no stress on the brake line. or you can lay on top of the spindle etc..
Step 8: Compress the piston in the caliper. Use the 2x4 or you can even use the old brake pad or the like to allow equal pressure to all sides of the piston. and use the 4" or greater C-clamp to push in the piston..
STEP 9: Process of Reassembly. Place the back brake pad in it's groves on the complete assembly.
pictures show the groves
BOTTOM GROOVE picture taken from top.
TOP GROOVE picture taken from back side
STEP 10: Replace the Brake Pad on the caliper.
STEP 11: Place the caliper slowly back over the rotor and back brake pad. Line it up with the pin holes.
STEP 12: Hammer the pins back in the holes
NOTE: 2ND picture shows only partially installed pins..
step 13: after everything is completed open your door and push the brake pedal a couple of times to pull the pads in on the rotor to tighten everything up.
Step 14: put the wheel and tire back on and do the other side the same way.
THEN A TEST DRIVE!!
Last edited: