Join Our Ford Truck Forum Today

Document your Ford truck project here and inspire others! Login/Register to view the site with fewer ads.

Buzz's 460 upgrade

BuzzGun79

Nov.TOTM 2012 / 2012 TOTY
2,388
55
What is that manifold/carburetor combination?

awesome job mate, good to see ya keeping it and getting into it!!!!

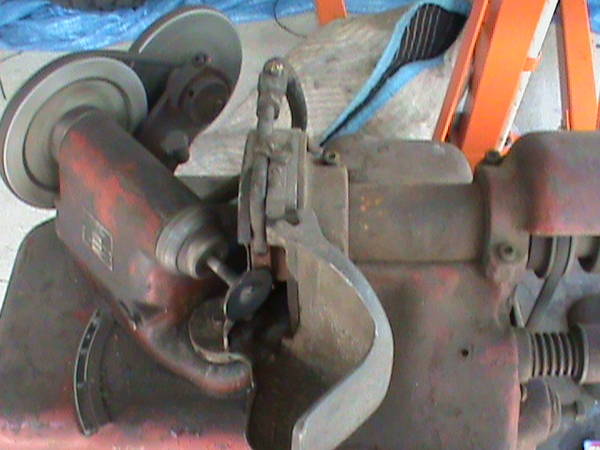
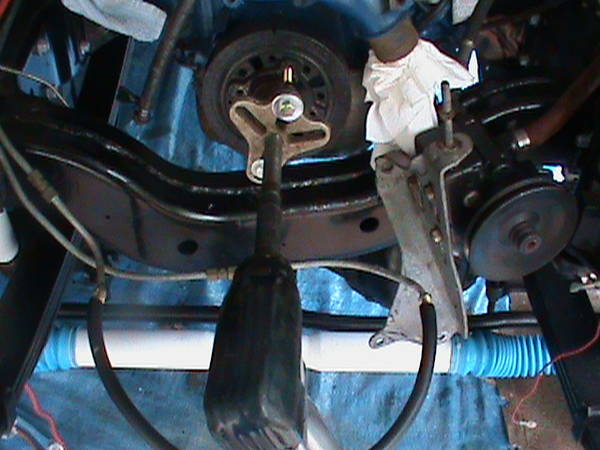
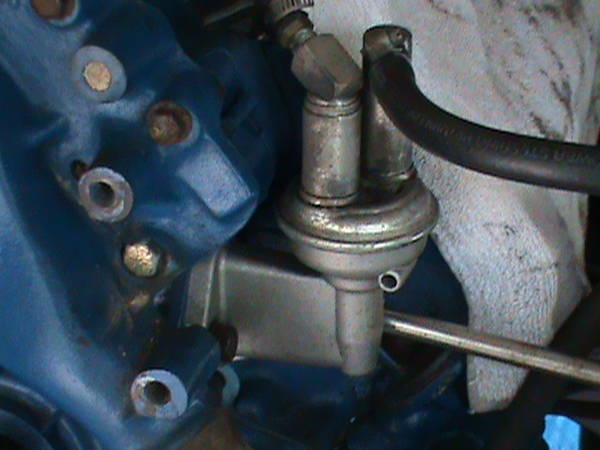
Doug the intake is Weiand Dual plane "Stealth" High rise..The carb is A Holley 4160 series 750 cfm dual feed, basicly a Factory replacement performance upgrade..I also use a 1" spacer plate to get the carb away from the engine heat...this also aids in peak volumetric effiency....by keeping the air fuel mixture cooler going in the engine..Think of it as an upside down funnel by the time the air fuel mixture enters the intake then feeds through the heads....its all about the Flow....

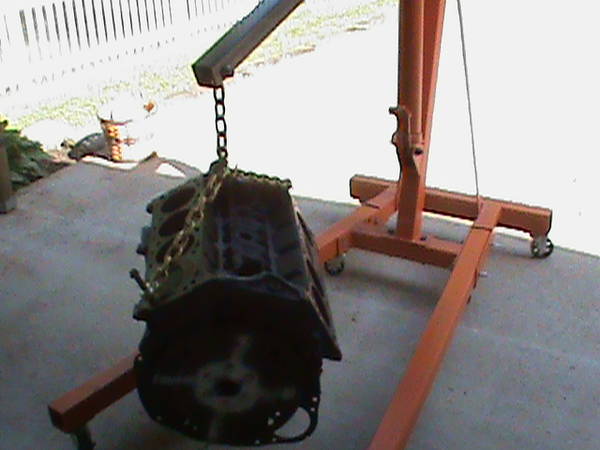
Thanks Andy!! Me as well my friend....cant wait to fire this rig back up!! smilieFordlogo

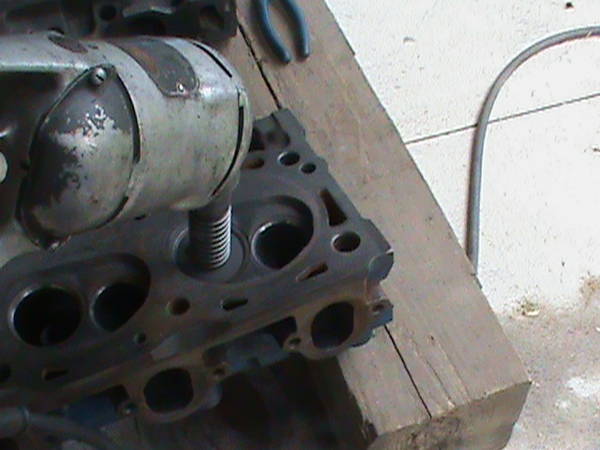
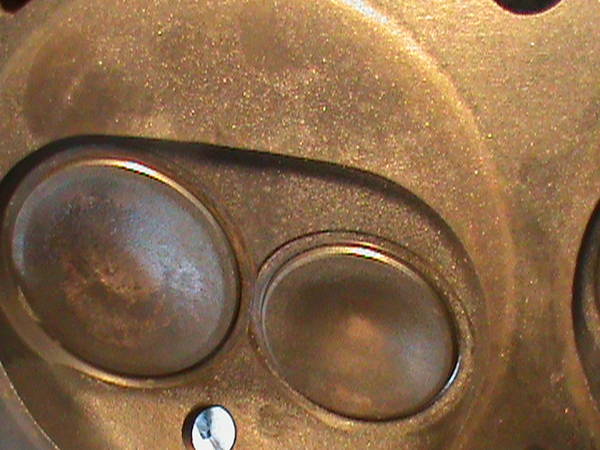
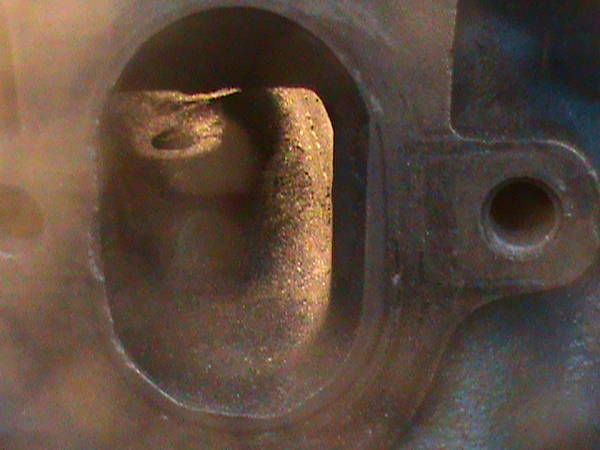
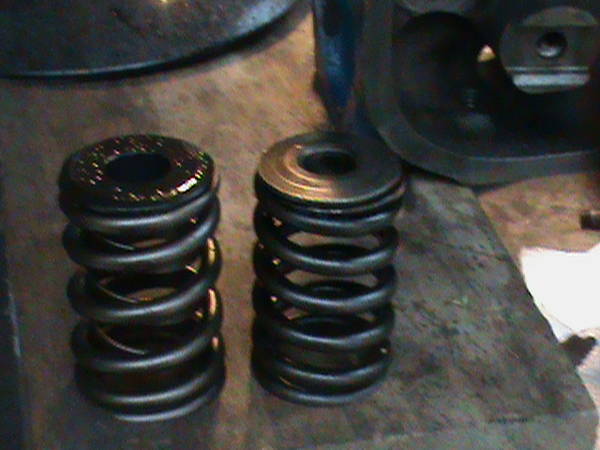
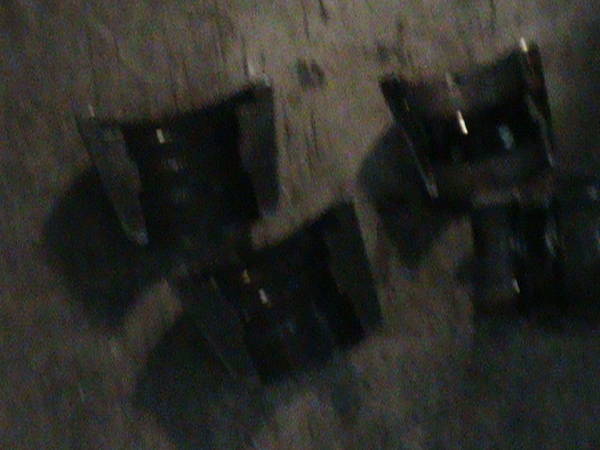
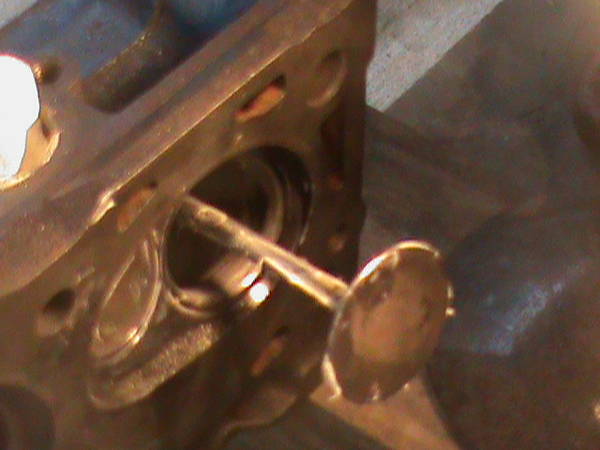
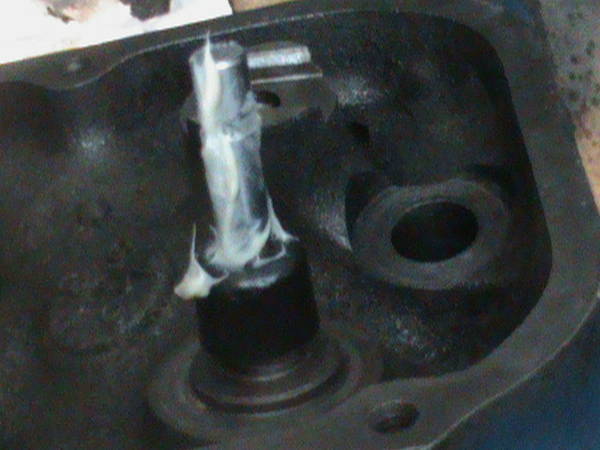
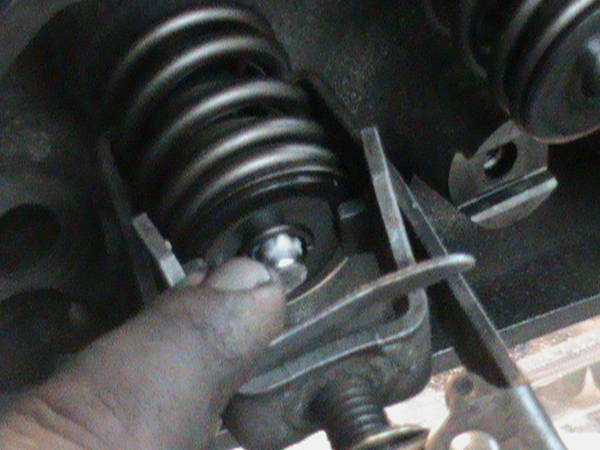
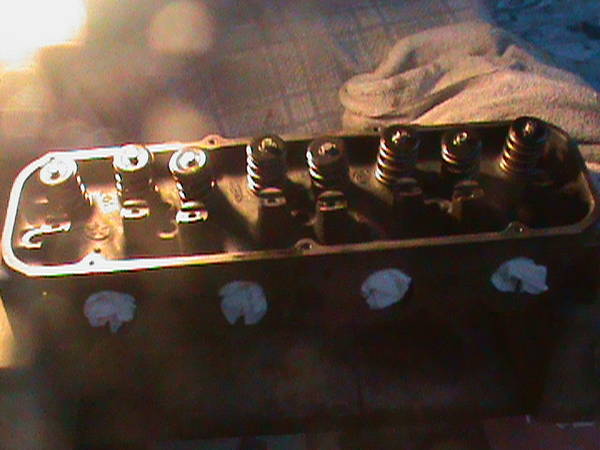
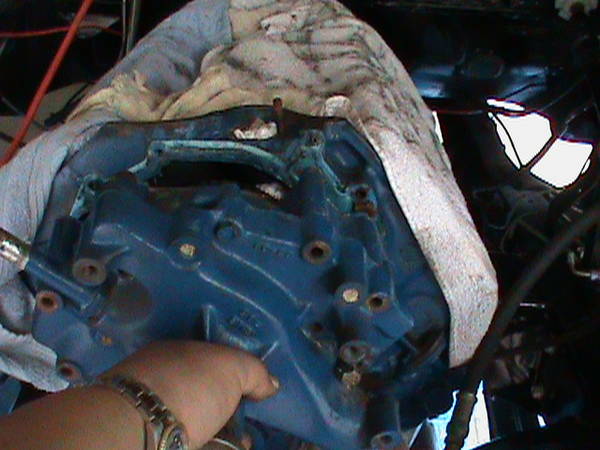
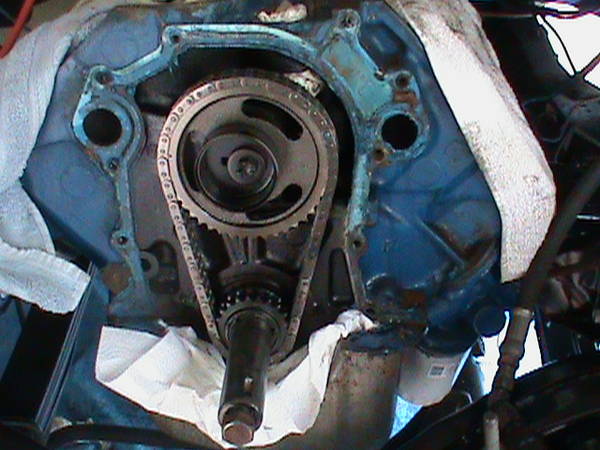
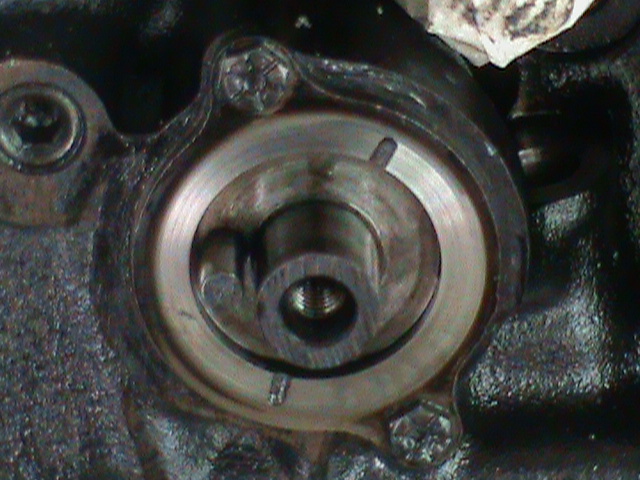
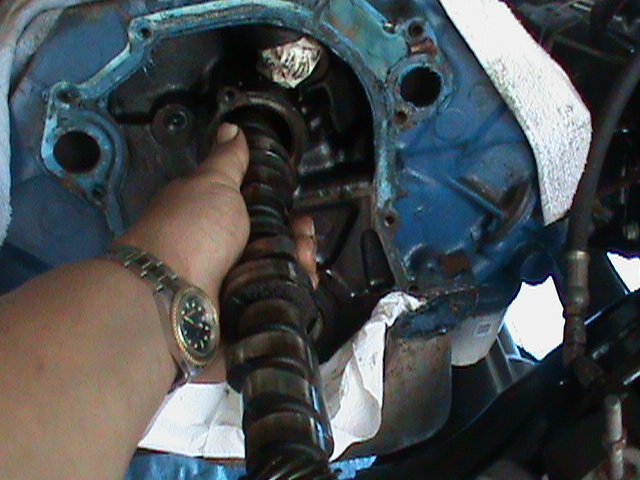
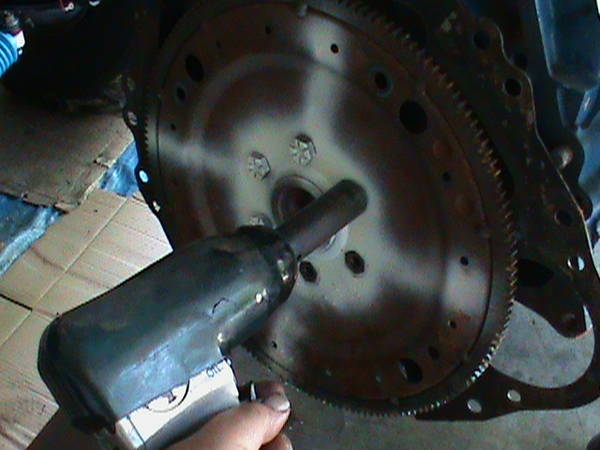
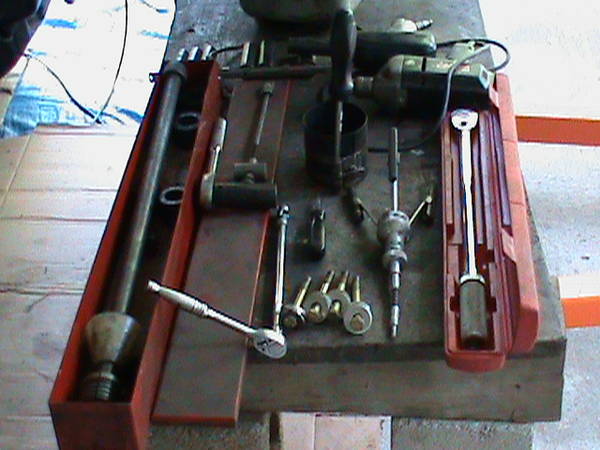
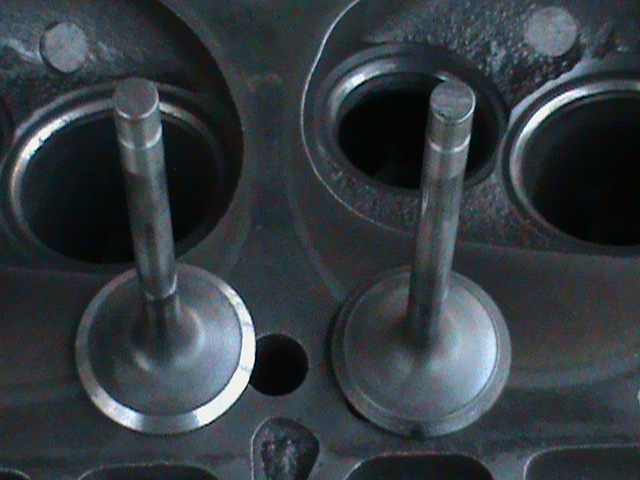
My appologies on the double post of valve train components..when i initially posted they didnt show up...thought it was my internet crashing wich it does from time to time
 
Last edited:

BuzzGun79

Nov.TOTM 2012 / 2012 TOTY
2,388
55
Ok the next 4 photos will show the necessary items required to do a valve job.Now i did get a quote for this procedure from our local Machine shop...500.00 was what i was told....Lucky for me my Landlord is a car guy..this equipment is on loan from him....Thanks Rick!!! 500 bucks saved!!!

Buzz_s_460_shotgun_0011.JPG


Valve grinding machine

Buzz_s_460_shotgun_0031.JPG


valve seat grinding equipment

Buzz_s_460_shotgun_0021.JPG


And so it begins......

Buzz_s_460_shotgun_004.JPG


Valve on the left a fresh 45 degree grind, right acording to specs! we will do all the exhaust valves first..then reset the machine for the intakes..along with grinding the valve seats....45 degree angles then some minor porting/ polishing to cleanup the casting imperfections..were not out to remove material for these heads are quite adequate for my build...once this is all done we will reclean and start reassembling the heads using the new valve springs,valve seals and new keepers supplied in the Comp Cams kit part # 34-235-4...Stay tuned!!
 

DNFXDLI

The Token Canadian
Staff member
Cool Bob, nice contact to have.
 

BuzzGun79

Nov.TOTM 2012 / 2012 TOTY
2,388
55
Ok Here is an update on the build...Up to this point... we have......

head_preperation_valves_porting_003.JPG


Ground our valves.....

head_preperation_valves_porting_005.JPG


Ground our valve seats.....

head_preperation_valves_porting_006.JPG


More Cleaning along with Checking our work as we go......

head_preperation_valves_porting_008.JPG


addressing those restrictive exhaust ports..using the porting guide posted earlier in this thread....

head_assembly_001.JPG


Comparing our new Comp Springs to the former stockers....Supplied in the cam kit..Comp has done the homework for you in this kit...

head_assembly_005.JPG


New hardened,bigger Keepers from Comp...

head_assembly_002.JPG


Reassembly begins..Notice the white grease used as assembly lube,I Grease it all stems,faces,seats,ports..all of it....this will lubricate suffiencently during engine fire off...as oil pressure is building through dry but well greased components..

head_assembly_004.JPG


new valve seal are seated in place.....

head_assembly_007.JPG


Now Spring,keeper installation...using our valve spring compressor....

head_assembly_008.JPG


Our completed assembly....

head_assembly_009.JPG


One final check..Now that weve assembled our head..im checking for any valve seat to seat leakage here..by pouring some ATF fluid in the chamber bowls..if the fluid passes the valve...weve got a prolblem..I took this photo 4hrs after the fill of the chambers,Ide say the work was sucessfull.....smilieFordlogo

head_assembly_010.JPG


We have upgraded our heads for..Basically the cost of a Cam kit...424.95,still beats the 500.00 from the local machine shop for the doing the heads alone.
 
Last edited:

BuzzGun79

Nov.TOTM 2012 / 2012 TOTY
2,388
55
For those interested here is the Cam's Profile for this engine.......

Comp Cams part # 34-235-4
Cam Grind FF X4 262-11
Gross Valve lift Intake .514 exhaust .524
Duration @ .006 Tappet lift Intake 262 exhaust 270
Valve timing open @ .006 Int. 24 BTDC 58 ABDC Exh. 70 BBDC 20 ATDC
These specs are for cam installed @ 107.0 Intake center line
Duration- Intake @ .050 218 Exhaust 226
Lobe lift Intake .2970 Exhaust .3030
Lobe seperation 111.0
 
Last edited:

BuzzGun79

Nov.TOTM 2012 / 2012 TOTY
2,388
55
Thanks Bob for keeping such a detailed thread for all of us, much appreciated !!!
Great job!!

My Pleasure Roy!! smilieFordlogo


In this pic...Ive stood our completed heads in clean open garbage bags and out of the way...then i wipe all the head surfaces in Clean motor oil....pull the bags up and tie them shut...our heads will keep clean and rust free till were ready for them...

Buzz_s_460_build_head_storage_001.JPG
 

BuzzGun79

Nov.TOTM 2012 / 2012 TOTY
2,388
55
Buzz_s_460_build_head_storage_002.JPG


Now Ive taken the time to clean/wire brush,inspect the upper block surfaces..we have taken compressed air and have blown out all debris from the engine and compartment...the engine surfaces are then covered with old clean towels...I then wiped down the firewall,inner fenders,frame rails..ect ect with a rag and wd-40, I want the entire area clean before exposing the bottom end....

Buzz_s_460_build_The_Block_001.JPG


Buzz_s_460_build_The_Block_002.JPG


Here weve cleaned,buffed,inspected the head surfaces...so far..so good..

Buzz_s_460_build_The_Block_003.JPG


Here im inspecting the ridge in the cylinder walls...Not bad..I can barely feel a line...thats a very good thing...Early indications of simple normal wear but not excessive...Time to open this baby up for the rest of the story....Stay Tuned!!! :wavey:
 

BuzzGun79

Nov.TOTM 2012 / 2012 TOTY
2,388
55
Next we will begin the removal process of the front engine cover...

front_engine_cover_disassembly_cam_removal_002.JPG


The pic above shows how i removed the crankbolt from the crank and removed its washer....I thread the bolt back in the crank at least half way in to seat the threads...the bolts head will act as a stop for the harmonic balancer removal puller...keeping those crank threads "Safe"

front_engine_cover_disassembly_cam_removal_003.JPG


Here im pulling the harmonic balancer using the tool...the BuzzGun makes removal quick and easy....

front_engine_cover_disassembly_cam_removal_004.JPG


Next we remove the woodruff key in the crank...Use care in removal,you dont want to bung up the key......

front_engine_cover_disassembly_cam_removal_005.JPG


After the woodruff key is removed....Remove the spacer from the crank

front_engine_cover_disassembly_cam_removal_006.JPG


Then remove the Fuel Pump from the cover...

front_engine_cover_disassembly_cam_removal_007.JPG


Then start removing the timing cover to blocks Bolts..dont forget there's oil pan bolts to at the front base of the cover....unless your changing the water pump or broke its seal to the cover...there is really no need in removal of the pump....

front_engine_cover_disassembly_cam_removal_008.JPG


Remove the timing gear set...it is not necessary at this time to have the engine in time....i will cover that later....

front_engine_cover_disassembly_cam_removal_009.JPG


Take Notice of how the cam / holder is mounted on the engine...the hash marks in the casting are for oil to pass through...this needs to go back on the way it came off....

front_engine_cover_disassembly_cam_removal_010.JPG


Using the top cam timing gears fuel pump eccentric bolt...ill thread it in the cam for a handle so to speak...then gently and evenly begin to remove the cam...(Lifters have already been removed earlier)

front_engine_cover_disassembly_cam_removal_011.JPG


Well almost to the half way point...LOL weve got a oil pan,along with pistons to yank yet...more cleaning,measuring,micing,ringing,ect...yet to come.....
 

BuzzGun79

Nov.TOTM 2012 / 2012 TOTY
2,388
55
Today we.....

460_block_prep_001.JPG


Inspected our cam bearings and compared them to the.....

460_block_prep_007.JPG


Our new ones by.....

460_block_prep_008.JPG


Sooo ive come to determine that......

460_block_prep_002.JPG


LOL.... Out with it...:)

460_block_prep_003.JPG


Ok weve cleared the Rig..STOP!!! Lower that engine just above the ground for safety sakes!!

460_block_prep_004.JPG


Next we remove the flex plate/flywheel so to mount the engine on engine stand due to arrive over the weekend...

460_block_prep_006.JPG


I cannot stress enough to be organized during any build and work in a clean,safe manor and environment....weve done a quick cleanup of our tools used along with the work space floor...now our engine is out..our nuts and bolts are secured and placed for safe keeping along with the order of our parts that we will reuse..Here ive preped my table with the necessary equipment for block work....

460_block_prep_009.JPG


just a little recognition of our Part Manufactor's..Comp Cams...

460_block_prep_010.JPG


Felpro Gaskets....

460_block_prep_008.JPG


seal power Bearings and rings....All available at......

460_block_prep_011.JPG


Our Friends at Summit Racing in Talllmage Ohio...and of course....

79_manual_008.jpg


FTF!! .......Stay Tuned...its going to get interesting....

OK Roy!! cue the Beer's.....Cheers all!!...smilieFordlogo
 

BuzzGun79

Nov.TOTM 2012 / 2012 TOTY
2,388
55
Look forward to each new step of this engine build Bob. So helpful for "us" guys that haven't rebuilt an engine yet.

cheers!

Glad to hear it Roy...im trying to be helpfull..and Thank you!!

Ok let us review a little just so you all can get a better understanding of my approach....im thinking there may be some questions of how and why im doing things this way..for many would have pulled the engine..then tore into it.
I look at it this way..either way the motor had to come back apart for corrections im not going to get into all that other than circumstances outside the build at the time played a major role into it.being a Lifted vehicle had alot to do in my decision making...when i first installed the engine it was a completed assembly and it was all my crane could do to get the height out of it to get the engine in..not an easy task with one of the biggest,heaviest engines out there..so this time i tore into it to make things manageable for myself as i am doing this work alone as my time permits my superman days are well behind me..Now there is a great deal going on behind the photos..disassembly has played only a small part there is a great deal of inspecting, cleaning parts,bolts,nuts,repainting of items ect in which is very time comsuming to do,and to do it right,oil passages must be checked in all parts,along with the engine itself..measurements must be taken to ensure the proper selction of replacement items..having had this engine apart before,along with running it a season has also given me a heads up indication of its needs,so far i havnt been surprised in my findings of wear its been pretty normal so far and within the specs for a Basic rebuild..weve done our heads and restored upper cylinder combustion.Now we address the bottom end of its needs...and i almost can bet you that when i pull #2 and 3 pistons out im going to find worn or broken oil control rings..for this is where the main issue lies,and it will be corrected.at this point in time total investment is about 500 bucks, keep in mind this is a low budget build to correct and extend engine life as well as providing a little more pulling power at lower rpm's (like it needed it..lol) than a full blown costly high performance build..I dont need all that im retired living on a fixed income and need to save on all cost possible..the engine as it was did run pretty well with no noises or knocks of any kind oil pressure ran 90psi cold 60 psi at operating temp with a high volume oil pump at idle...By all means if there are questions feel free to ask them...to be continued.....
 
Last edited:

Ford Truck Articles

Recent Forum Posts

Top