Join Our Ford Truck Forum Today

Document your Ford truck project here and inspire others! Login/Register to view the site with fewer ads.

So...heres the start to the Blue LED interior mod....

klatt_89

Gotta Be Somebody
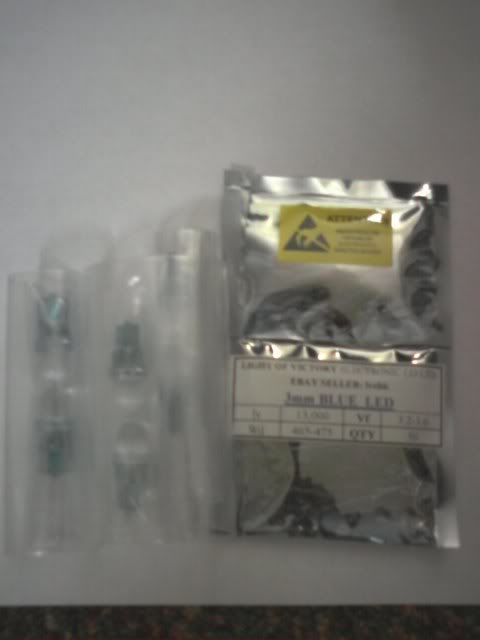
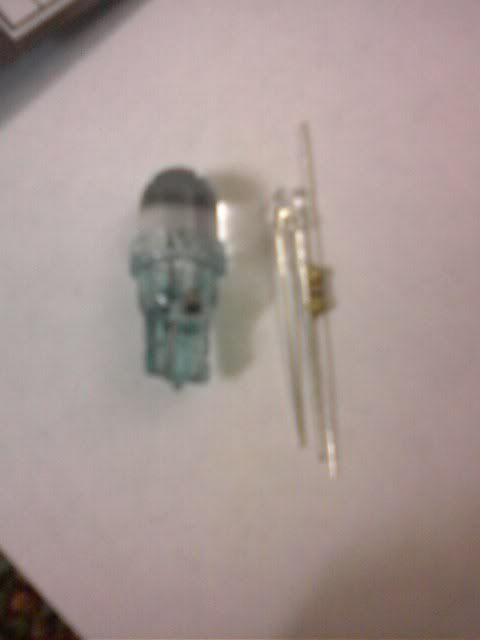
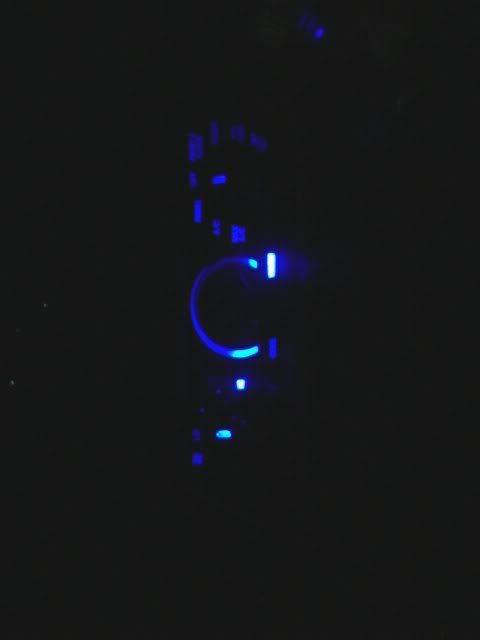
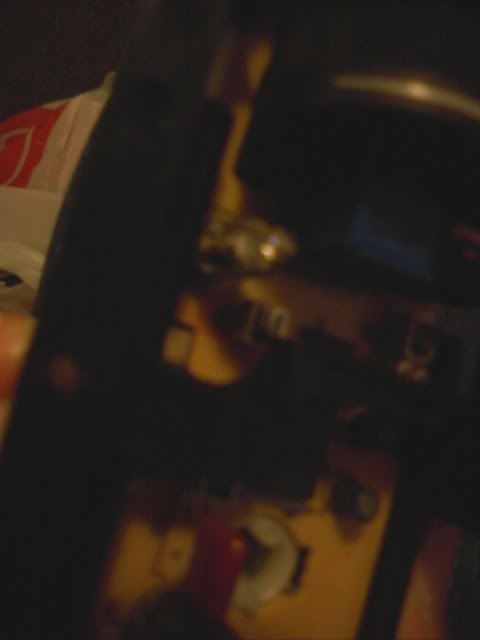
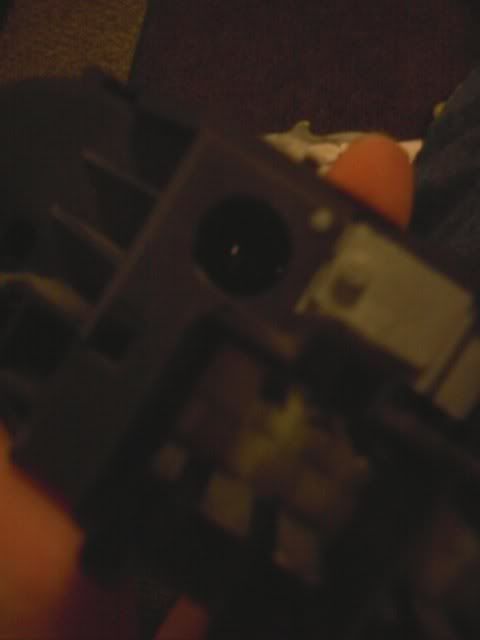
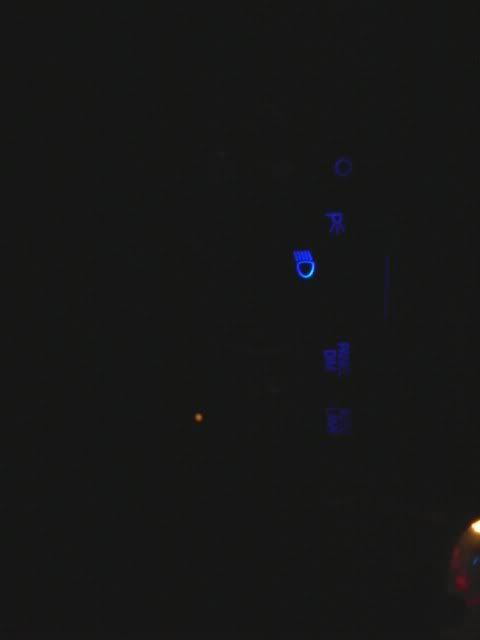
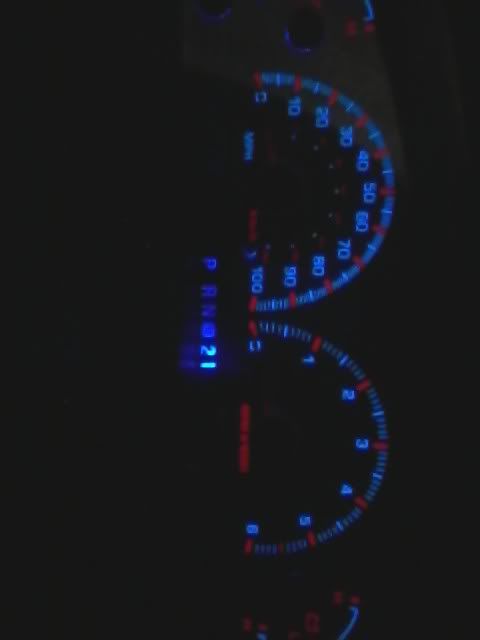
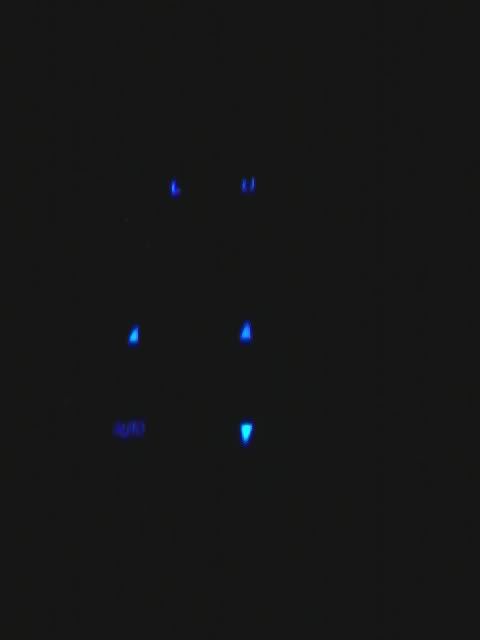
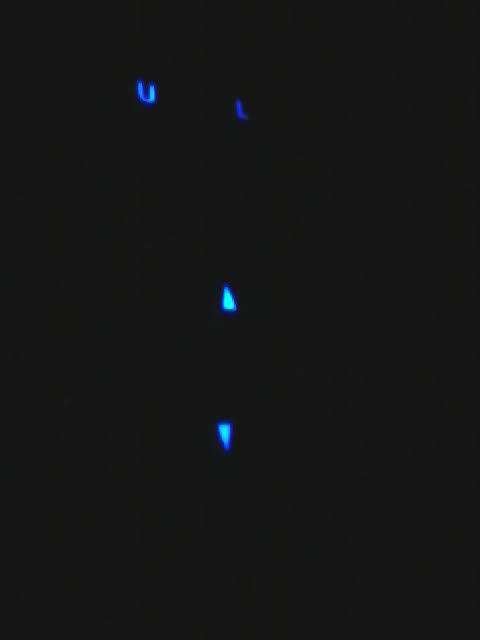
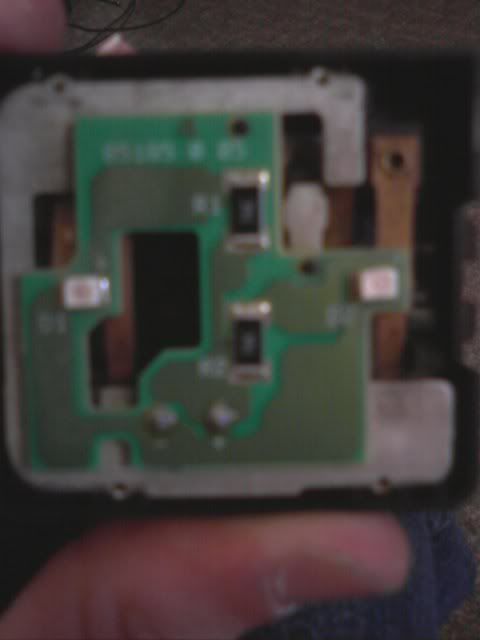
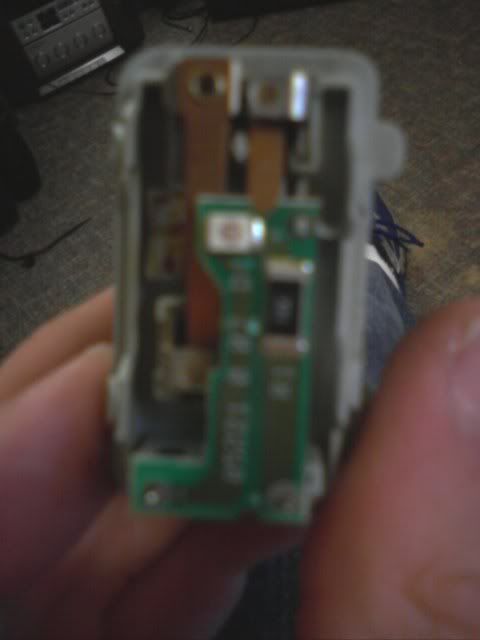
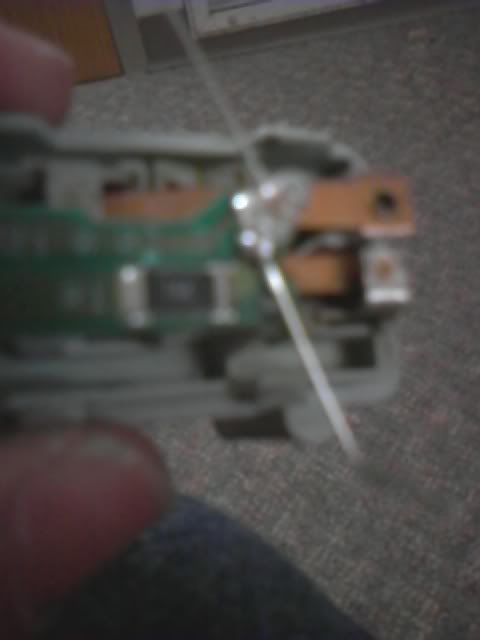
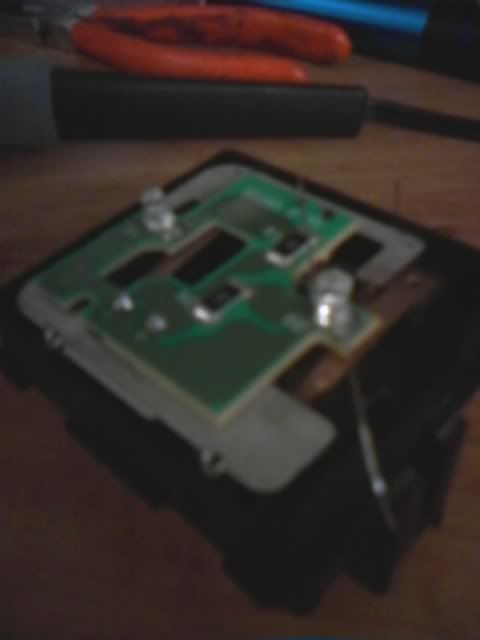
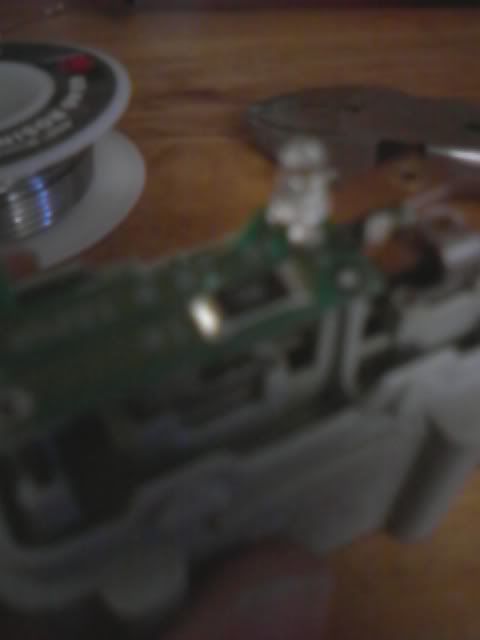
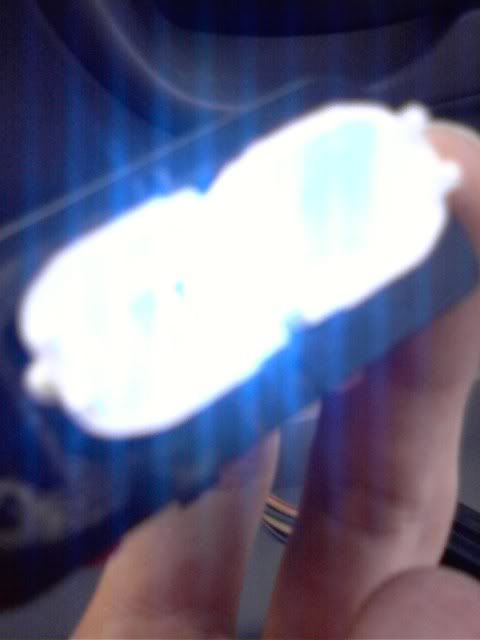
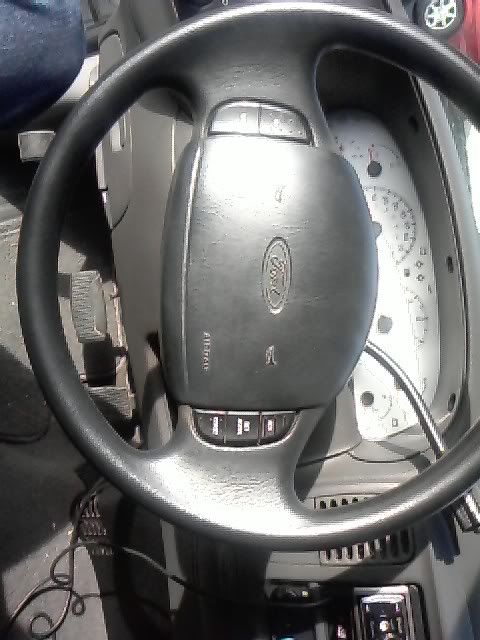
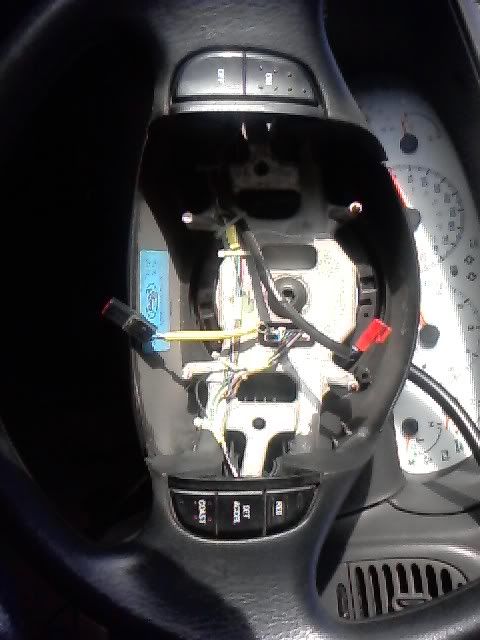
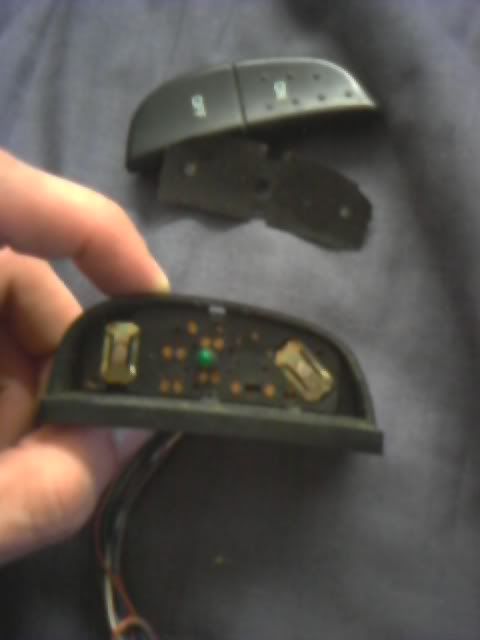
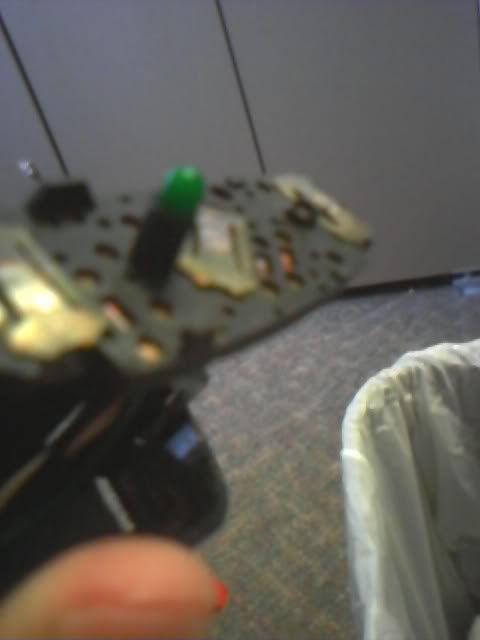
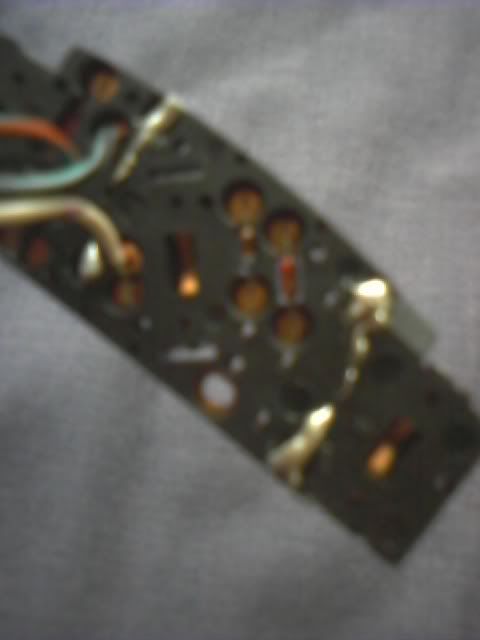
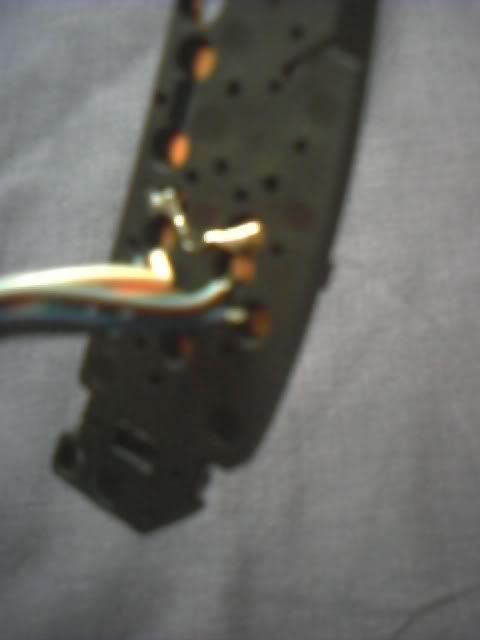
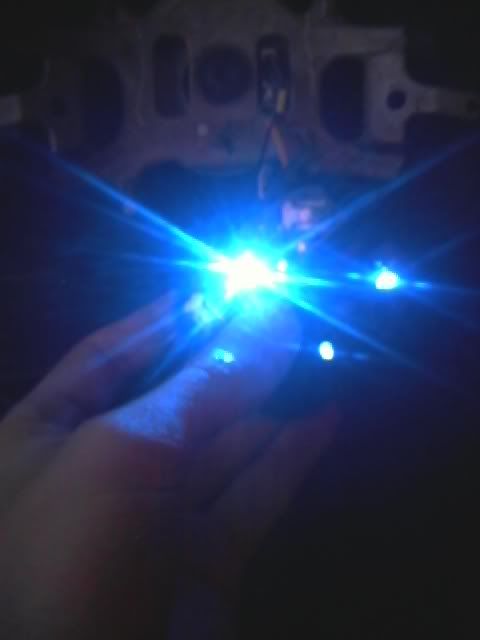
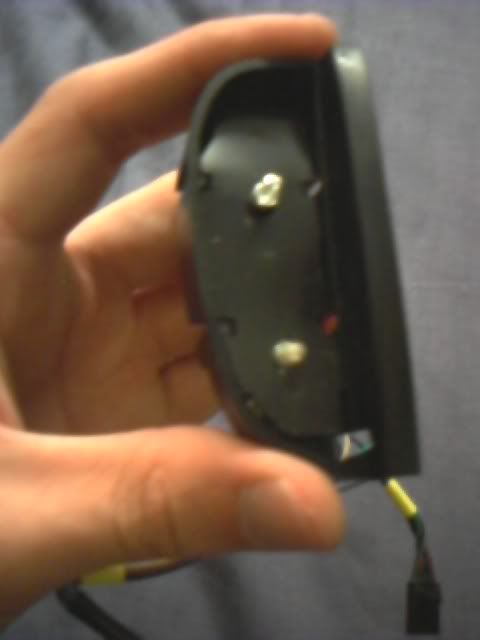
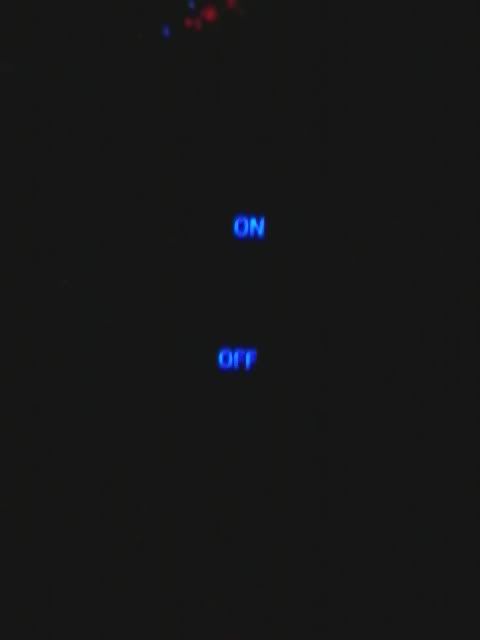
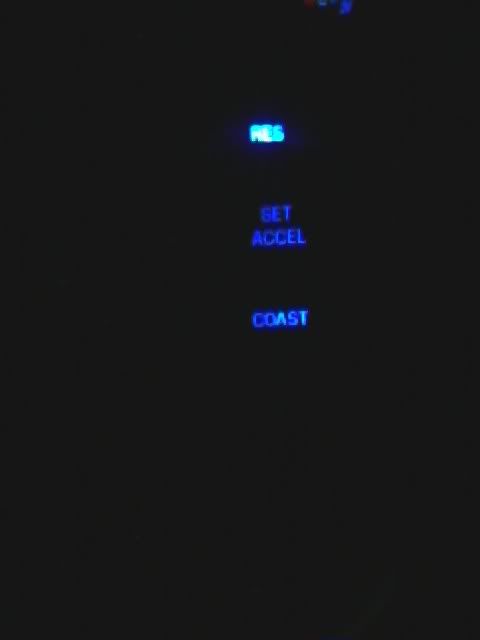
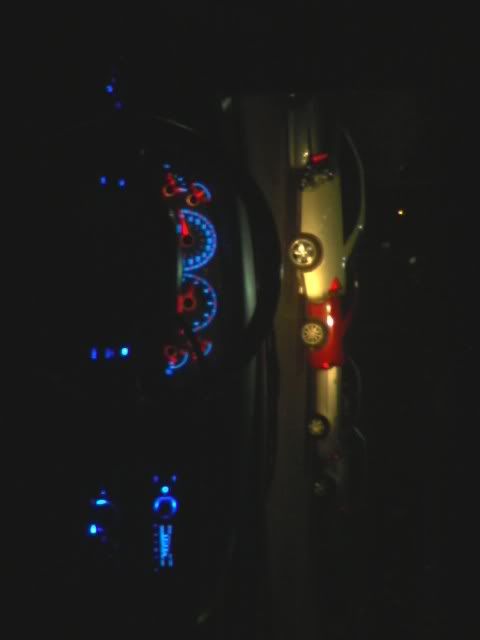
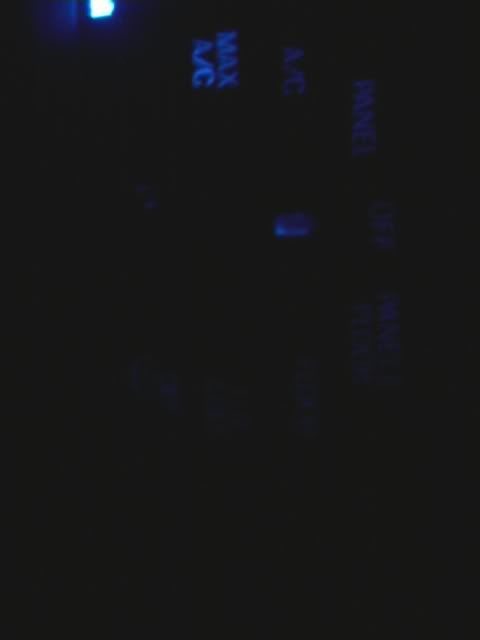
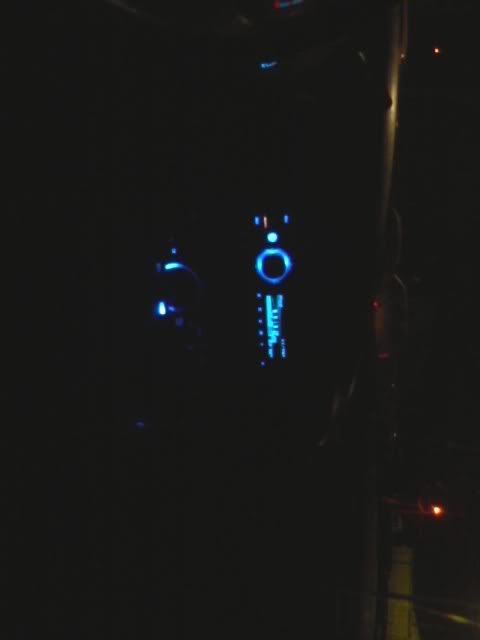
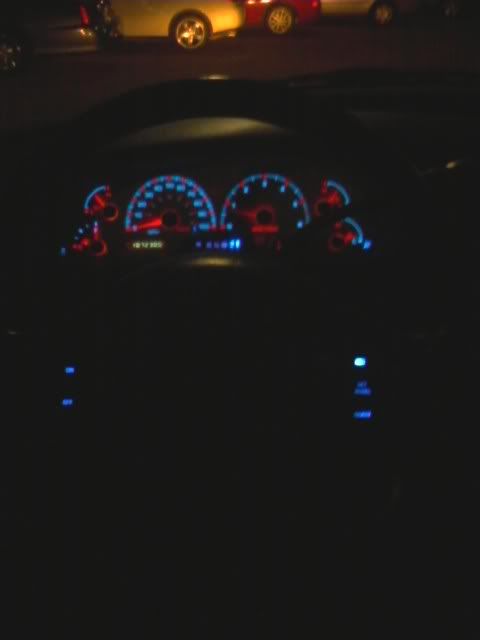
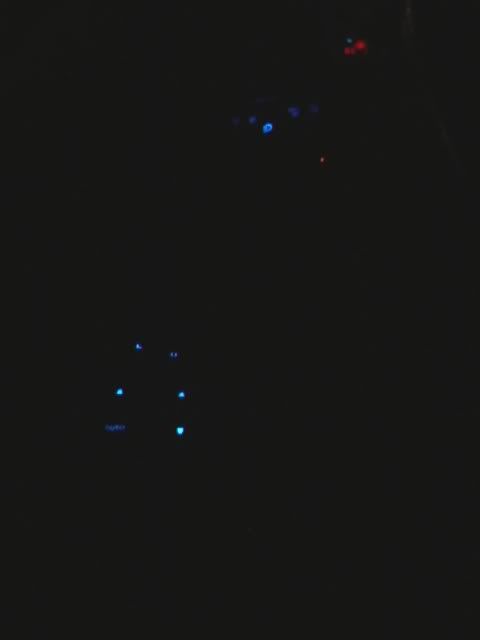
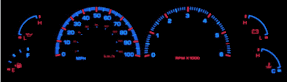
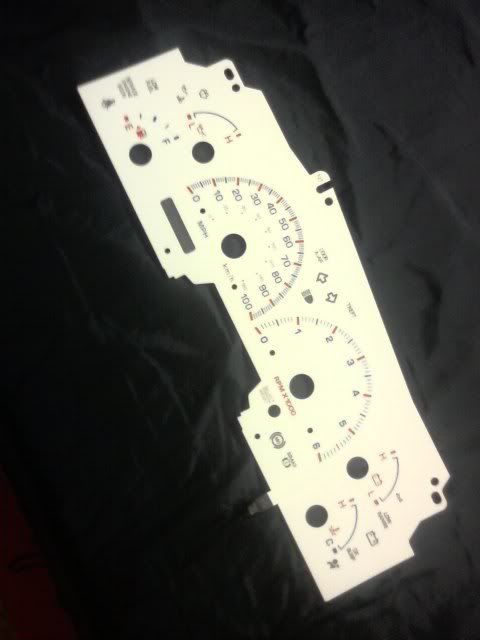
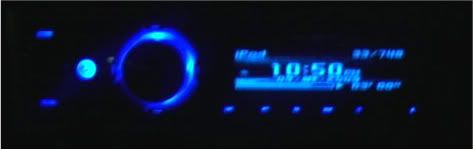
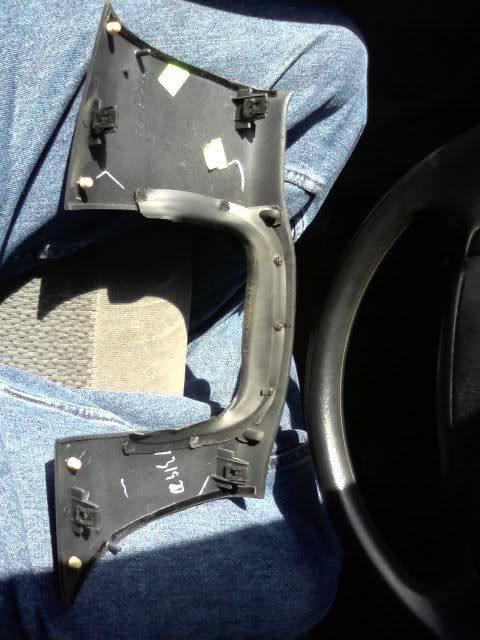
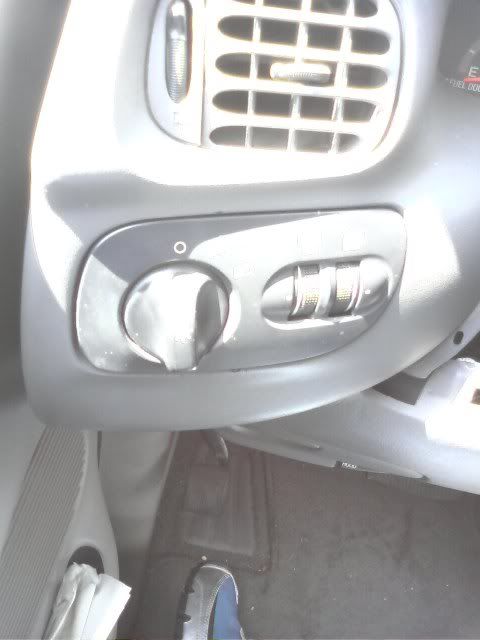
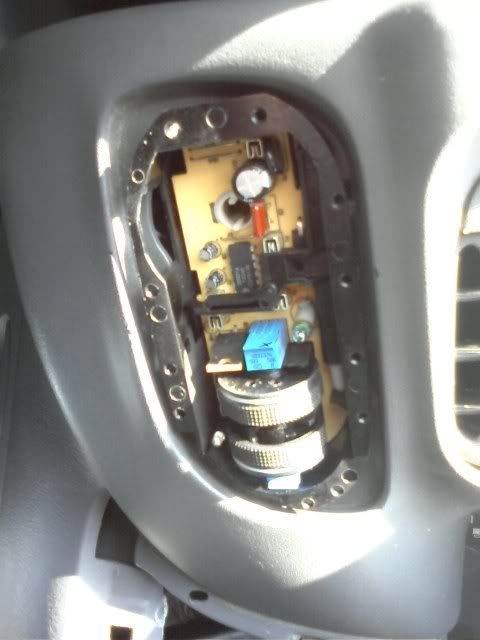
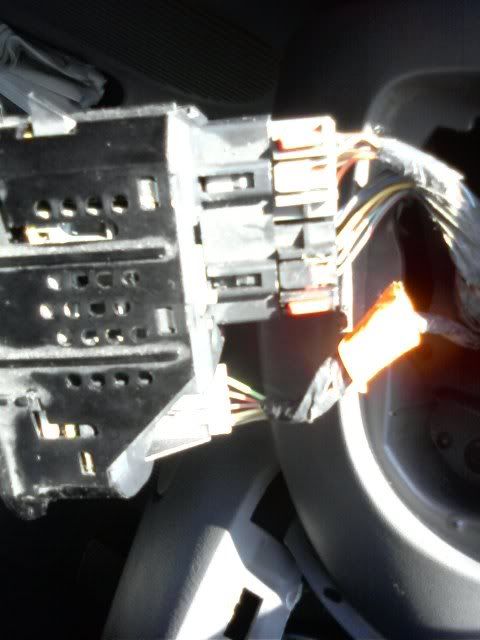
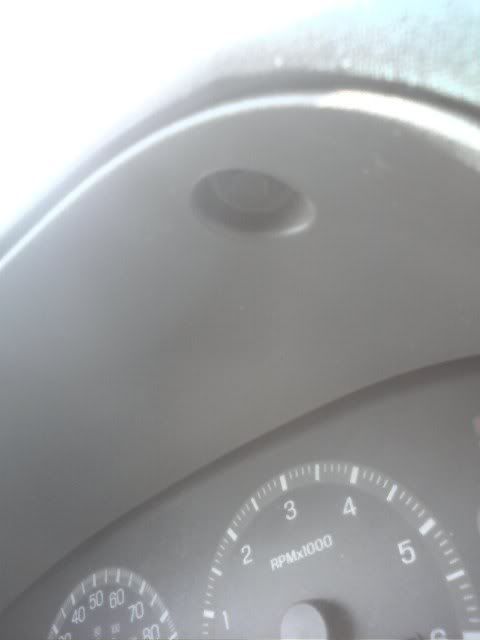
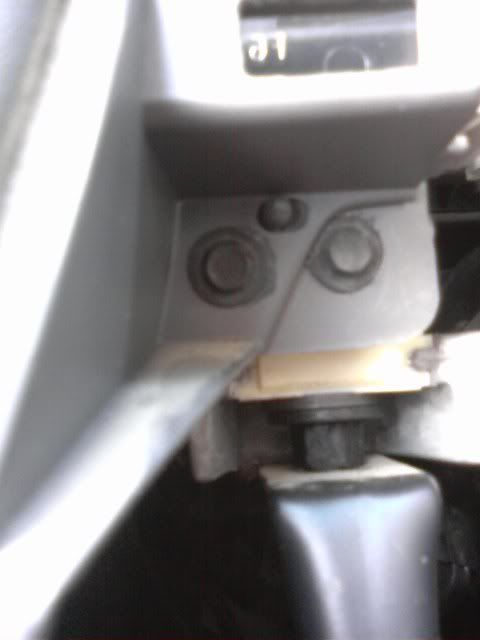
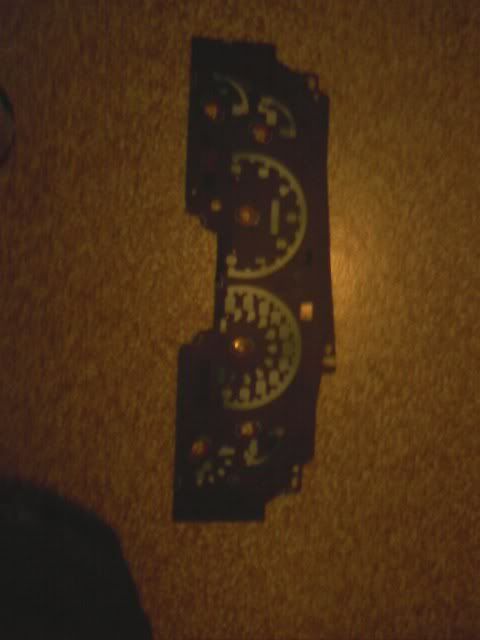
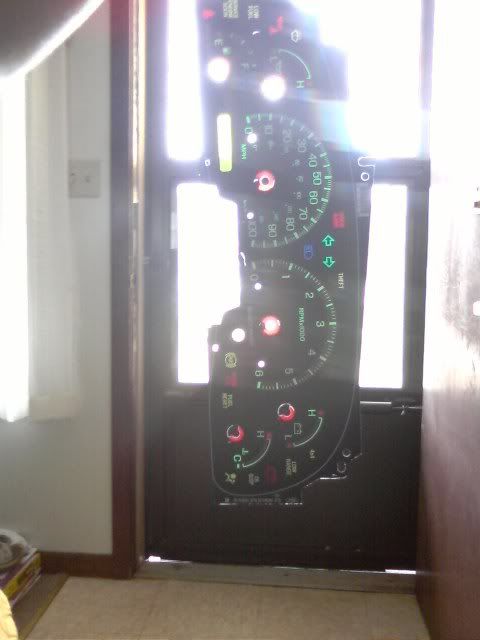
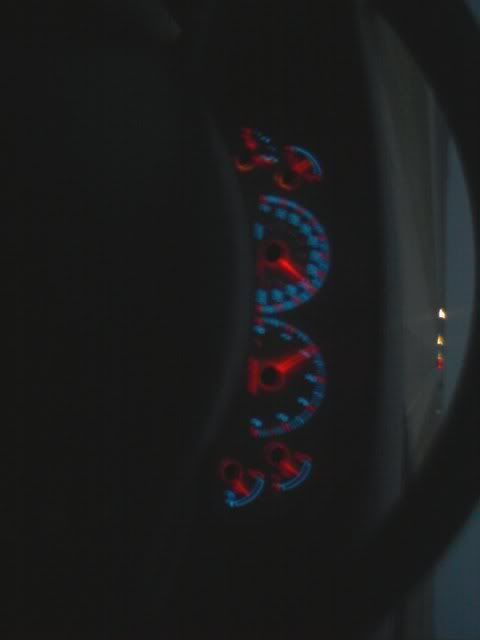
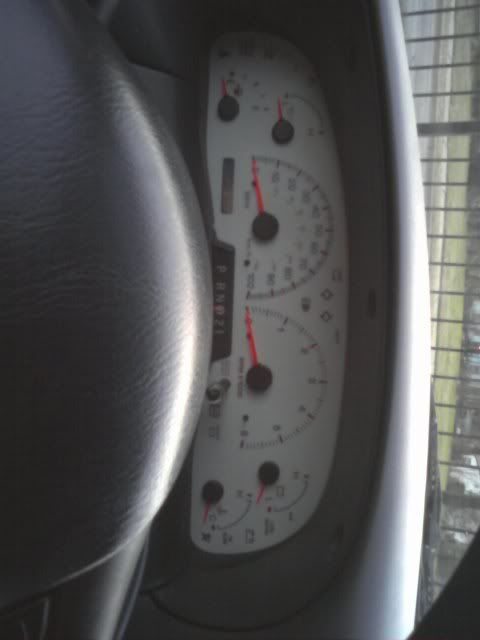
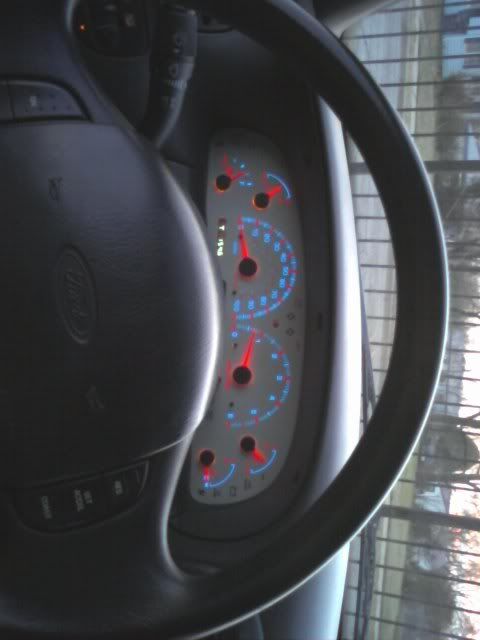
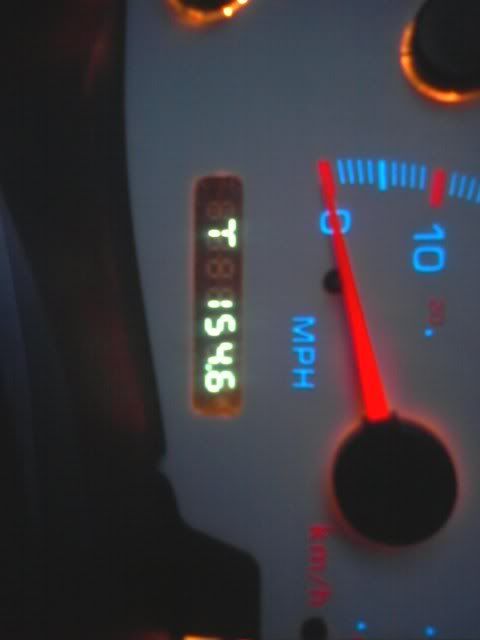
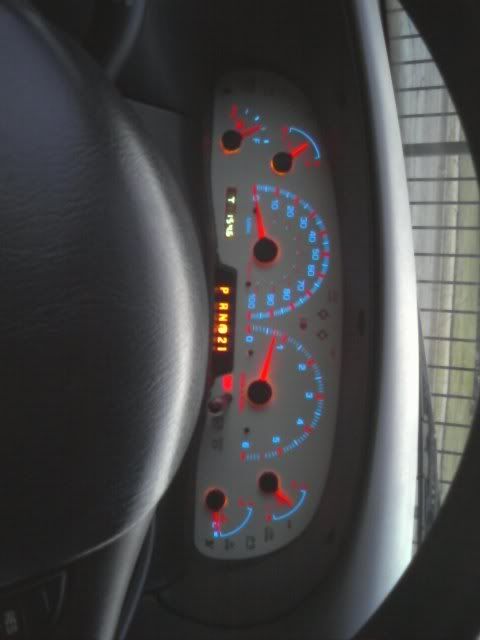
Well, as with all things, i'm pretty perfectionist about things. I have been getting tired of the pretty blue head unit's lights fighting with the green lights that i just don't care much for. So, starting with a new white face gauge over lay, blue led's there, (btw, doc, where is the cruise control light that comes on when cruise control located on our cluster? cause thats gonna be a must change light bulb) then the headlight switch will get a blue led, i mean common, it's gotta be out neways to work on things, then blue led's on the climate control panel, and maybe some new knobs and a white face plate for it as well, but not sure on that as of yet, will see after the led's are in. Then comes the lock and window switches, which i got plenty of led's coming for. Then finally the cruise button lights get to be made blue. I've seen it done on a truck and figured it's not that hard, and i got plenty of free time so why not work on some things. I'll post pictures up as i do the progress on it. Hopefully my led's come in soon so i can get started with it.
 

polarbear

just growing older not up
12,878
607
Boring, Oregon
Gonna need pics when you're ready...
 

klatt_89

Gotta Be Somebody
Oh i know pics are important, but i figured i'd tease a lil before the led's came. I can do a tutorial as well from what i've found out as well as to do the mods and compile it for the site. Figure a step by step would be nice for everyone. Btw, does anyone know where i can either get completely red needles or blue, i'd prefer blue but i wanna upgrade over my orangish ones. Also, did hte 99's have a Cruise light? Mines never had one....and i didn't see a spot for it on my OEM gauge face....

F150_99_03_REV.gif

040909_223200.jpg

The over lay, one of it in day, aka in my dorm room, the one is what it'll look like at night.
040909_225000.jpg

My head unit at night....the start of why i wanted to go all blue...besides it's my favorite color.
 

LEB Ben

Arrogant A-hole At-Large
34,919
1,124
outside your house
I think that'll look killer once it's all said and done. I really enjoy blue lights. But I do have a question, any legality issues for you by going with blue lights? I know in NC, you can get some hefty tickets, fines or even arrested if there is an blue light emitted from a vehicle...and even if it's not being thrown from the vehicle, if an officer notices in a stop or something...he can act at his disgression. In NC, only the popo are supposed to have blue lights.
 

klatt_89

Gotta Be Somebody
Not sure really in Kansas about cops being jerks but i think the ones here would find it more efficient to sit in front of me cause someone always passes me on a side street illegally or illegally in a turning lane, so other then that, i don't forsee any problems, and i have never had a problem with blue lights in my vehicle, however i do know that underglos are one thing the cops are semi picky about, and that'll never be put on my truck :p. My brother had blue lights underneath the dash to take off of glare from lights on the road....
 

klatt_89

Gotta Be Somebody
So, i got the white face gauges in on Saturday before i headed down to spend the rest of the weekend with family. As i stated, i'd provide a tutorial of the process, which i used information i've gathered from other places to do this myself. But i will not be held accountable for damages that can be caused while doing this, as i'm just providing steps on how i did it myself.

041009_193602.jpg

So this is pretty much what we all started with. And also the starting point. If you do as i did, you'll have to re-calibrate the speedometer and tach, as well as line the other needles up via pictures.

041109_123300.jpg

Start with popping this panel off, in this pictures it's already lifted. There are 4 clips that hold it in. I started near the head unit then the one below than to the oppisite side and then up til the last one was popped. The pictures below shows the clips location.
041109_123400.jpg


041109_123500.jpg

041109_123501.jpg

Next, i removed the light switch with the dimmer and auto light controls. I popped the front off and pushed the black mechanism over so the latch released, pretty nifty how it attatches as well as easy to replace, just pops back in without a hassle.
041109_123600.jpg


Next we have to remove the dash moulding that goes around the instrument cluster, 7 screws that are 7mm headed and 2 spring clips near the vent. The next pictures show the locations of them. There are 3 above the cluster, 2 on the lower right side of the cluster near the steering column, 1 on the left side of the steering column, and 1 behind the light switch.
041109_123702.jpg

041109_123703.jpg

041109_123700.jpg

041109_124000.jpg

041109_123701.jpg

After the 7 screws are removed, pop out the moulding near the vent than work it out so that it's free, be careful afterall it is plastic.

041109_124500.jpg

041109_124600.jpg

There are 7 gold torx screws that hold the clear plastic cover on as well as a black surround behind that to make up the space between the plastic and the gauge faces. You can remove those, or take out the 4 screws that hold the assembly in. It's easier for what i had to do to take the whole assembly out, but also more work. If you do take it out, there are 2 wiring harnesses in the back to unclip as well as the gear indicator that you press the sides in to release it from the assembly. Which i had to do to remove the dreaded green.

041109_125400.jpg

That's the plexiglass clear cover and black suround taken off of the assembly.

041109_145400.jpg

041109_145500.jpg

The old black face, that you can tell where the color of the gauge faces as well as the odometer comes from. Not the best pattern on the back as well, but it works i guess.

041109_151100.jpg

Thats the green/white backing that gives the gear indicator it's green glow removed. As you can tell, you don't have to remove it all to achieve the affect that we desire since the rest is black and only the numbers and letters are the part that glows.

041109_200700.jpg

And there is the final result that i took on the way to my aunts. I'll take a better one to show the "natural" color of the lcd screen that's the odometer. If you have any questions just feel free to ask. I still have to put blue led's in but they're still MIA right now.

The odometer screen can be used to recalibrate the odometer and the tach needles, start the truck while holding the reset button until test pops up, then it will do a gauge sweep, then a bulb test and then work your way til you see ENG000.0 which is the speed digitally through the computer. Do this on a clear open road and most accuratly at 60 is when you should put the needle on. Then after a few presses it will read TAC with fluctuating numbers, put your tach needle there, their are a ton of other numbers and what not that the odomter shows, but for the fuel, a full tank and placing the needle on F works, the others, take pictures off and let the truck warm up and apply according to pictures, a gauge sweep also allows you to see where the gauges are off if they are off at all. But this is a do it at your own risk deal, and i will not take responsibilty for any damages that you may cause while doing this, as it's only informative, and i'm not liable for your actions. Just be safe and precise, also disconnect the battery before starting any work.

A few more pictures. Still pretty light out but you can see the color in these and they may be a little more clear....
041309_200000.jpg

041309_200100.jpg

041309_200200.jpg

The odometer looks more blue in person than in the picture, but i'm gonna get a color screen put on it so it's more blue.....
041309_200201.jpg

The gear indicator is white in this picture cause i haven't got the blue led's in yet, but at least it's not green.....
 
Last edited:

lil_dq

Let 'er eat boys!
6,933
265
Union, MO
Wow I can't belive I missed this brother, Great lookin out. I think that is something I would tackle too. but I can pic a color on my headunit so right now it matches...

I guess you found the cruise light?
 

klatt_89

Gotta Be Somebody
Wow I can't belive I missed this brother, Great lookin out. I think that is something I would tackle too. but I can pic a color on my headunit so right now it matches...

I guess you found the cruise light?

It's been easy so far. The most annoying part is waiting for the LED's from HK but oh well, they were cheap for the quanity, 50 shipped for the price of three from radioshack. My headunits just blue and i love blue smilieFordlogo for other reasons than just that, but i figure it sets mine apart from others.
I actually didn't find the cruise light. On my old gauge face it didn't have a spot in it either, if you look in the picture of it in light. Maybe post up a pic of where it is, unless my year model didn't have the light which would be weird.... Also, the switch to turn off overdrive doesn't seem to work, any ideas?
 

lil_dq

Let 'er eat boys!
6,933
265
Union, MO
It's been easy so far. The most annoying part is waiting for the LED's from HK but oh well, they were cheap for the quanity, 50 shipped for the price of three from radioshack. My headunits just blue and i love blue smilieFordlogo for other reasons than just that, but i figure it sets mine apart from others.
I actually didn't find the cruise light. On my old gauge face it didn't have a spot in it either, if you look in the picture of it in light. Maybe post up a pic of where it is, unless my year model didn't have the light which would be weird.... Also, the switch to turn off overdrive doesn't seem to work, any ideas?


OD light and switch in mine has been relocated to the dash. quit working on me when it shorted out against the steering column. as for the cruise light, I will have to get a pic this weekend when I take it to STL.
 

klatt_89

Gotta Be Somebody
OD light and switch in mine has been relocated to the dash. quit working on me when it shorted out against the steering column. as for the cruise light, I will have to get a pic this weekend when I take it to STL.

Whats involved in relocating the OD light/switch to the dash? Maybe that's why the one three wire harness near the steering column was not plugged in. I'd appreciate if you walked me through it....well doesn't have to be to the exact detail as the dash wasn't the perfect instruction...
 

lil_dq

Let 'er eat boys!
6,933
265
Union, MO
Lemme get some pics this weekend and I'll do a little write up for ya. It was Really easy. I left the original button on the column to look factory.
 

klatt_89

Gotta Be Somebody
Sounds good to me :) I'll be waiting to do it....and i like easy. The hardest part about changing the gague face was....lining up the needles again, but they're as accurate as they once were :)
 

klatt_89

Gotta Be Somebody
Alrighty, my package showed up.
042109_022100.jpg

That's right, 50 3mm led's with resistors for 12V application, and 10 194 led bulbs. I went with blue, but you can go with any color of your choice.

042109_022000.jpg

And a closeup for ya'll.

042009_230800.jpg


The Climate Control panel is a pretty easy process. Before i was going to do the write up, i had already removed the "green" tint that was behind the face but in front of the lights that illuminate it and the dials at night. Basically, unsnap the panel that surrounds the head unit and the climate control panel. There are 4 screws that hold it in. Take those out, pull it out, remove the knobs gently. The black face is held on by a series of persay knotches that it catches on. You'll see it if you do this mod, and after you full that off, the face comes off, then take the clear plastic that is held on by two latches, and the green tint comes out easily, it's not glued, just held in by the plastic that provides the light throughout the panel. Reassemble and pull the two 194 bulb holders out and change the bulbs. Since led's are one way only, make sure they work before putting it back together, if they don't light up, simply turn the bulb holder 180 degrees so it's contacts are on the opposite sides, and then put it all back together. I will have to take mine back apart as you can tell where the bulbs are due to the brightness issue which Ford fixed by adding white to the green tint that is now gone. I'll do some follow up on this issue later when i think of a easy way to fix it.

The light switch was a bit of a bother as when you first take it apart it appears to be a led. WRONG, it's a regular light bulb, so that means a resistor is required or you can go through led's as if they were nothing.
042109_005200.jpg

The bulb holder is grey, and twists out easily with small fingers of course and goes out through the back. The wire legs of the bulb are wrapped around the base so they make contact and is easily taken apart. I had to notch the side to fit the resistor in, but hey, you never see it when it's all together so depending on the bulb/resistor you use, you may not have to do the retrofitting i did.
042109_005300.jpg

Pics are a little dark, sorry about that, just the bulb comes out that hole in the back. I used a pen to push in on the back while i was twisting which made it a lot easier.
And the results are well worth the trouble....
042109_010300.jpg
 

klatt_89

Gotta Be Somebody
Thanks man. You have to be comfortable with the soldering iron and taking out panels before i'd suggest doing some of these mods. The light switches are next and then i'll have to debate on the cruise control switches. I'm hoping Doc can help me out on where the cruise control on light is and also on the overdrive turn off switch wiring while i'm in the dash that far, but if not then it's not that hard to take it back apart when he has the directions for me.
 

klatt_89

Gotta Be Somebody
042309_022802.jpg

Alright, the gear indicator was easy, just needs blue led's to blue it up :)
042309_022800.jpg

042309_022801.jpg

The switches turned out awesome and used half the bulbs that another write up used. Now how did it use half? Cause ford used a different style of LED bulb in my switches.......
Start by popping out the assembly, lift at the front, there is a spring clip and just a catch at the back that after the front spring clip is out, you can slide it out, remove the wiring. Pry between the switch and the structure and the switches slide out. You don't have to take the switch top off but rather the black assembly the switch holds from the wiring below it.
042209_185100.jpg

042209_185101.jpg

That's before i started soldering. At first i was leery than i just said i i can do it.
042209_191501.jpg

There is a Positive side marked on the board so it's easy if you know your positive and negative side. Test the bulbs after cutting the wires shorter before assembling the switch. Don't wanna have to take it back apart.
042209_191502.jpg

042209_191700.jpg

042209_184300.jpg

My camera didn't like the bright led, but there is the end results before reassembling and a picture of testing it out at first. Now on to the cruise control lights....
 

klatt_89

Gotta Be Somebody
So, i deployed the air bag today.......and found i not like the explanation at the doctors office......


Nah, not really, just figured i'd tease you all. But the chance of danger is always possible, so be careful. I finished all the conversions i want to do at this time and point. Wish i would have had a better camera for the tutorial, but here is the guide for the cruise lights....

Start by disconnecting the battery and walking away for a little while. The air bag has a back up power supply in case that the battery gets taken out in a accident. It will discharge eventually, but be careful.

042409_180100.jpg

This is where we start....duh. There are two plastic caps on the lower sides concealing the two 8mm bolts that hold the air bag assembly in.

042409_180200.jpg

This is the bolts, remove them and then carefully pull out the air bag assembly. I disconnected the connections, one is the horn (red top connector) and the bottom connector is the air bag one. Others leave it connected and move the air bag out of their way to take the switches out.

042409_180700.jpg

This is what you should end up looking at. The switches are just popped in so stick your finger in the center of the back and pull straight out, be careful, don't break the tabs. I had to fix the one side as it had previously been broken.

042409_182600.jpg

Carefully dissassemble the switches. Pry the outside lower edge and the switches come right up followed by their companion, a rubber piece.

042409_184500.jpg

Well, in this picture is what the original bulb appears as, with a green silcone cover to give it the greenish tint, and the lower bulb is gone. Be careful, break the bulb but don't break the solder joint as you'll solder the led legs to these wires that belonged to the old bulbs.

042409_184400.jpg

There are three bulbs in total. Take into account this is what you should end up having when you're done. Since these are regular bulbs and not led's, you'll have to wire in a appropriate resistor. I soldered mine into the light blue wire with a red stripe leading to the ON/OFF switch, didn't take a photo of this tho. If you don't, you'll end up frying the led's on start up. Of course you need to know which side is positive and negative before you solder otherwise you can get mad. I made a quick sheet showing the positive and negatives. The lights work in a series, so if ones out, all will be out. I figured it out by starting with the on/off switch and then jumpers between the other two lights, when the first lit up, i removed the second jumper (RES button) and got that led to work then removed the last jumper and got that led to work.
You're in luck cause i'm making it simple but test to make sure it works before you solder.
042409_232100.jpg

Also make sure the legs make contact with the old bulbs wires, otherwise you may end up saying some words and then thanking whoever you wanna thank when you touch the wires and complete the series.

042409_201800.jpg

042409_201802.jpg

This is a picture of the led's in their new found home.

042409_201801.jpg

042409_201803.jpg

This is a picture of the soldering on the backside of the switch. I did do large solders just to get more contact on the old wire as well as to the brass. Up to you, i wanted to be better safe then sorry.

042409_202400.jpg

This is a test of the led's, of course re connect the battery, and test them.

042409_203100.jpg

This is just a picture of the rubber piece back in place and showing the new led's.

Test after you have the switches assembled and make sure the led goes in the hole in the plastic. Press the switches a couple times and then turn the lights on just to see if you succeded.

042409_231000.jpg

042409_231001.jpg

This is a night picture of them on when the truck was running. The Resume button is brighter because it has it's own led, doesn't bother me but you can add a resistor just to it if you wanna dim it down some.

And finally, the after pictures. The climate control looks dim because of my camera but i took a close up picture. Let me know what you think.

042409_231100.jpg

042409_231101.jpg

042409_231102.jpg

042409_231200.jpg

042409_231201.jpg
 

Ford Truck Articles

Recent Forum Posts

Top