Join Our Ford Truck Forum Today

Document your Ford truck project here and inspire others! Login/Register to view the site with fewer ads.

Scott's 2004 SuperCab Lariat 4x4

dixie_boysles

Joshua 24:15
367
18
MA, NC
I think that wax is used on the Space Shuttle for re-entry...

seriously, having a high quality wax will make the paint "stronger" and resist all the abuse nature throws at it.

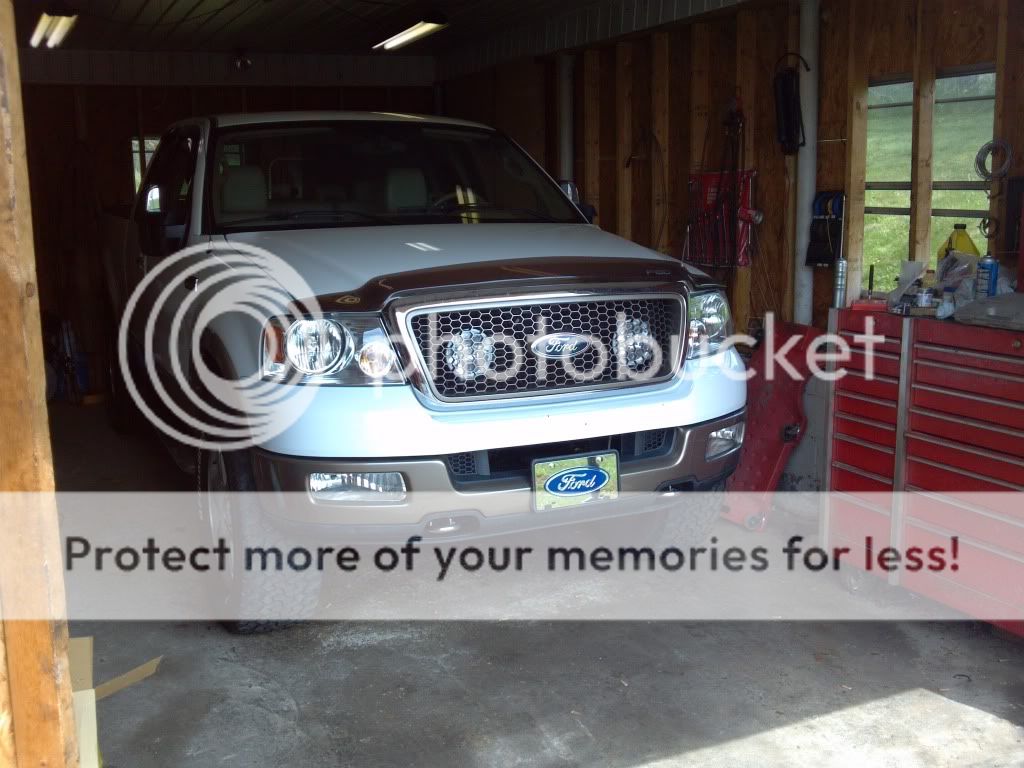
it's illegal to have aux.lights hooked up to the high beams here, must only work on low, but it looks really nice with the Hellas tucked behind the grill :)

Im pretty sure it is here too, but they wont hardly be used at all, mostly for looks
 

dixie_boysles

Joshua 24:15
367
18
MA, NC
well changed out the passenger side exhaust manifold Saturday and it was NOT fun

Well we got her done, 7 hours for the first time ever doing it, and you guys were RIGHT! it was a major PITA. Luckily we were 8 for 8 on the studs, none broken, they all actually looked really good (no rust) The culprit was the very back port on the passenger side, gasket fail. However, it got new everything, studs, manifold, gaskets, etc....

Had the inner fender fender liner out and top 4 studs out within 45 minutes. Bottom studs were a different story, you couldnt even see the front bottom two for the most part. plus you had to work blind behind the strut tower. Top starter bolt was a pain as well! Also for anyone attempting this, you BETTER have access to a Fine Tooth Snap On Rachet that has moving head or you will be cussing the studs

Steps we took:

1) Jack truck up
2) remove tire and inner fender
3) Start removing studs. Back two can be removed with a ratchet, front tow, use a 13mm wrence (gear wrench would be great)
4) Once you remove top 4, time for the fun to begin.
5) unbolt flange from bottom of manifold
6) remover converters if possible (i had to cut the pipe right after last converter and slide the converter section down because the only path for the manifold to come out is the hole where flange is. Having it rewelded this morning.
7) Remove starter (top bolt sucks, having a second person viewing fron up top is a must so you can have them guide you where the darn bolt it
8) start loosining the bottom studs by whatever means possible and PRAY you dont break a bottom one, or you MAY BE pulling engine.
9) take the big engine mount nut off and jack engine up as far as it will let you
10) fish out manifold best you can

11) clean matin surface up good, and put all the studs in BUT the bottom front two or three (clearance issues)
12) once all studs are in, place new gaskets on the studs, the studs will hold them
13) fish in the new manifold and place on studs, then put a few nuts on a few of the studs to hold in place
14) place remaining two or three studs in remaining holes
15) once all studs are in, tighten nuts on studssnug, then starting from front to back tighten top and bottom at same time (one person up top and one underneath)
16) let engine down put engine mount nut back on
17) put starter back on
18) mount up converter section you moved and bolt up the flange
19) put inner fender liner in, bolt up wheel
20) Crank up and listen to a tick free exhaust!!

putting those bottom front two studs back in and tightening the nuts on them SUCKED

truck going under the knife

2012-04-21_14-31-45_340.jpg


As you can see, I had a nice gasket failure. There were rust deposits on the mating surface of the exhaust manifold on the rear port. looks like they pushed up the gasket and allowed the gasket to bend under the extreme heat.

2012-04-21_20-42-14_356.jpg


also, you see, the studs were in excellent condition, but we put new everything in. these were the top studs

2012-04-21_16-06-32_624.jpg
 

dixie_boysles

Joshua 24:15
367
18
MA, NC
Here is one pic closeup, ill get a full truck shot after work!

2012-06-08_12-37-31_15.jpg


No rubbing AT ALL at full steering tilt. I am so happy with my purchase
 

dixie_boysles

Joshua 24:15
367
18
MA, NC
holy crap I need to update this thread!!

New mods since last update:

new 09+ Mirrors with heat/signal/power etc...

2012-08-01_18-04-22_769.jpg


2012-08-01_18-04-35_368.jpg


2012-08-01_18-04-42_725.jpg


New Chrome Turn Signal Bulbs

Before:

2012-03-12_16-53-24_288.jpg


2012-11-07_16-42-34_51.jpg


After:

2012-11-07_17-08-06_766.jpg


2012-11-07_17-08-15_80.jpg


And the truck clean for good measure

IMG_0012.jpg


IMG_0013.jpg


IMG_0016.jpg


IMG_0018.jpg
 

dixie_boysles

Joshua 24:15
367
18
MA, NC

dixie_boysles

Joshua 24:15
367
18
MA, NC
looks good. did your truck already have factory heated,signal mirrors?

yeah, then the previous owner put heated/signal/power/puddle Tow mirrors on and ran power wires for the puddle lights. They were too big, so I put the 09+ mirrors on
 

dixie_boysles

Joshua 24:15
367
18
MA, NC
Looks good.
You ever think about moving the lights forward and cutting holes in grill?

Nope never been a fan of grille mounted lights, especially by cutting the grille
 

dixie_boysles

Joshua 24:15
367
18
MA, NC
you did a great job mounting those lights, yes, that looks really good too!

when you hear of people cutting the grille, you get nervous,

Thanks! But they are actually getting remounted this week with a system that looks like this:

skiptemp-albums-kc-lights-grill-picture50386-dsc00266.jpg


The way they are mounted now, i have no way to adjust them as they sit too far forward and hit the back of the grille. Plus if you look back at the pics, notice the driver side one sits a little further down? This new system puts the two lights on the same horizontal plane and pushes them back makeing them alot easier to adjust.

That is a really nice set up !!
 

dixie_boysles

Joshua 24:15
367
18
MA, NC
New LEDs for the license plate and third brake light

2012-11-26_17-23-29_665.jpg


2012-11-26_18-16-13_49.jpg


2012-11-26_17-24-51_543.jpg
 

fatherdoug

Tonto Papadapolous
Thanks! But they are actually getting remounted this week with a system that looks like this:

skiptemp-albums-kc-lights-grill-picture50386-dsc00266.jpg


The way they are mounted now, i have no way to adjust them as they sit too far forward and hit the back of the grille. Plus if you look back at the pics, notice the driver side one sits a little further down? This new system puts the two lights on the same horizontal plane and pushes them back makeing them alot easier to adjust.

I like that lamp mount. Are those custom made or can they be purchased?
 

dixie_boysles

Joshua 24:15
367
18
MA, NC

Ford Truck Articles

Top