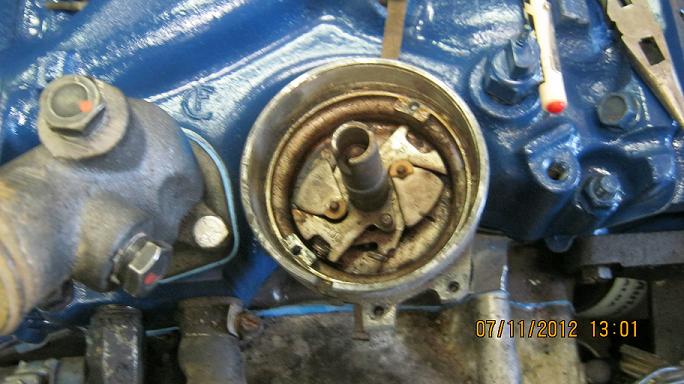
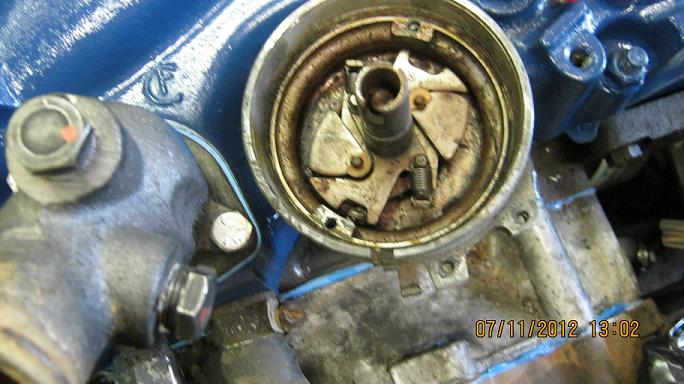
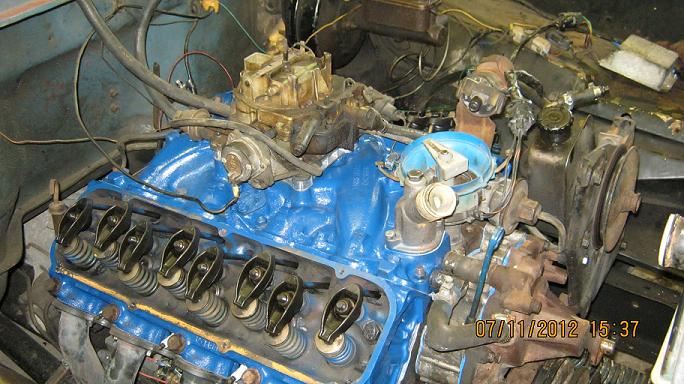
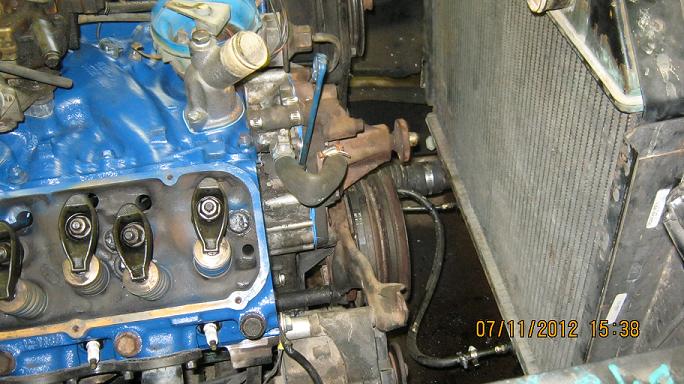
Ridgerunner
Missouri Chapter member
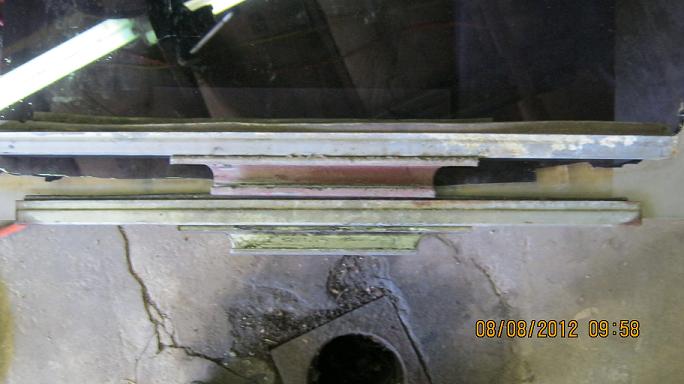
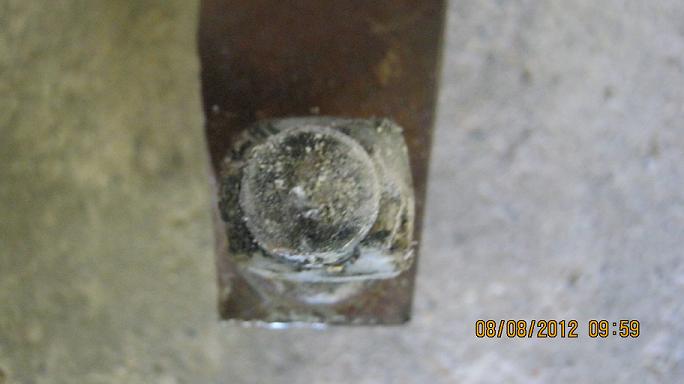
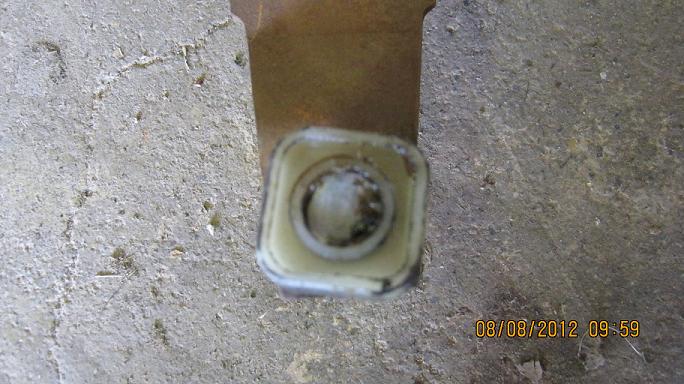
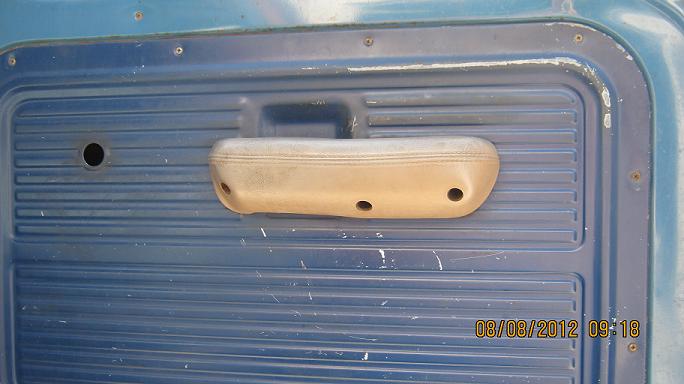
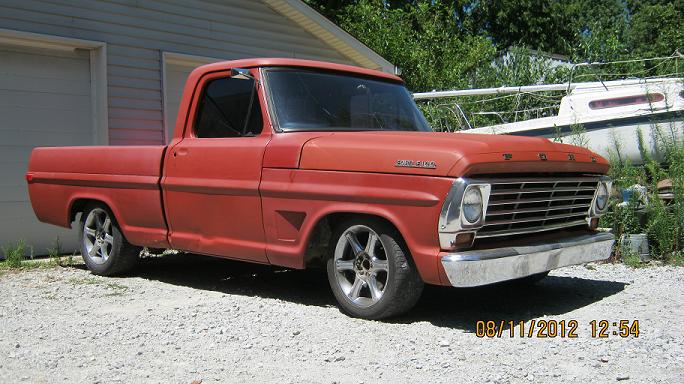
I like your creativity. Your truck is turning out well.


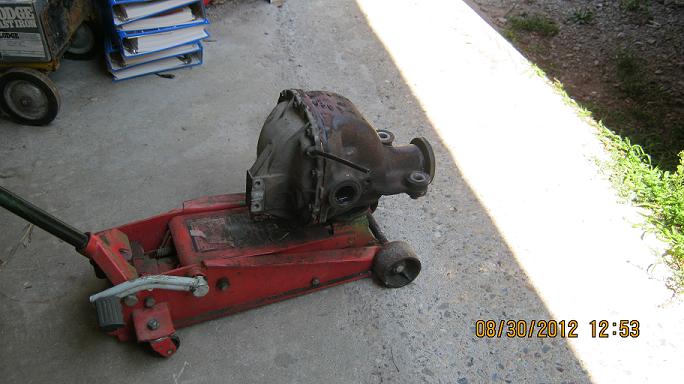
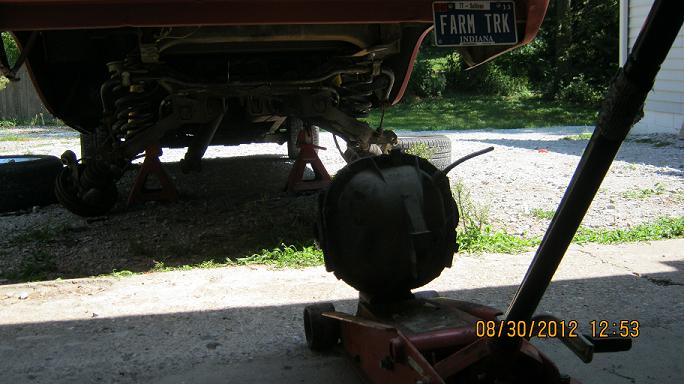
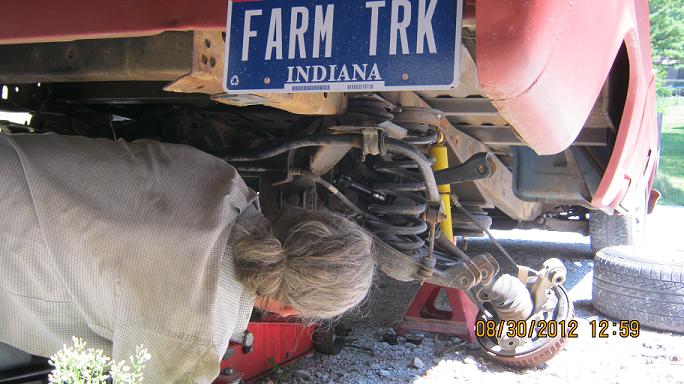
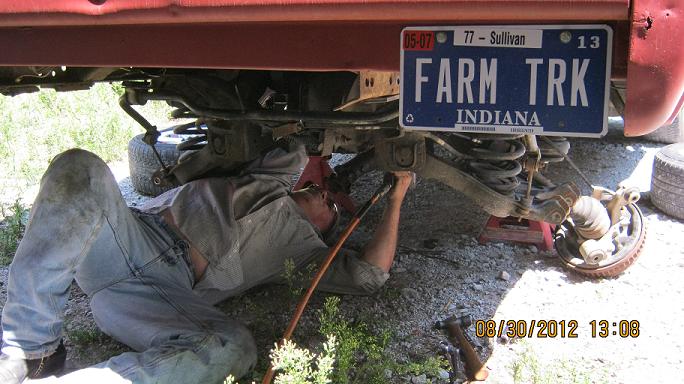
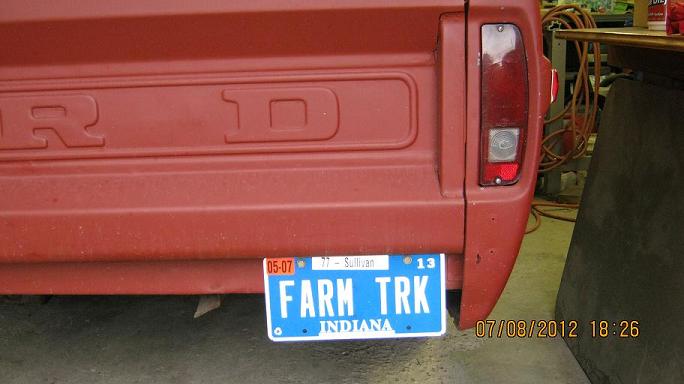
Ordered my plates yesterday. FARM TRK I thought it fitting.
")


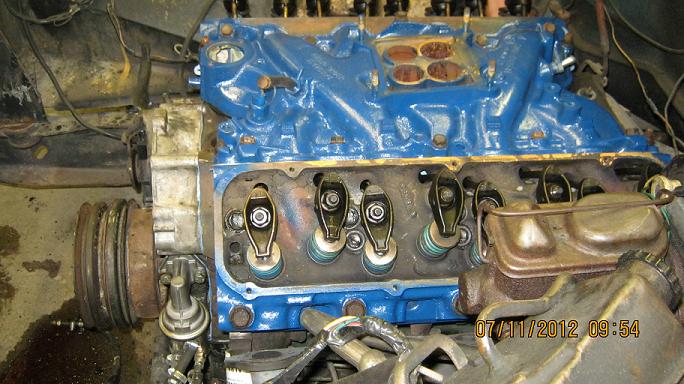
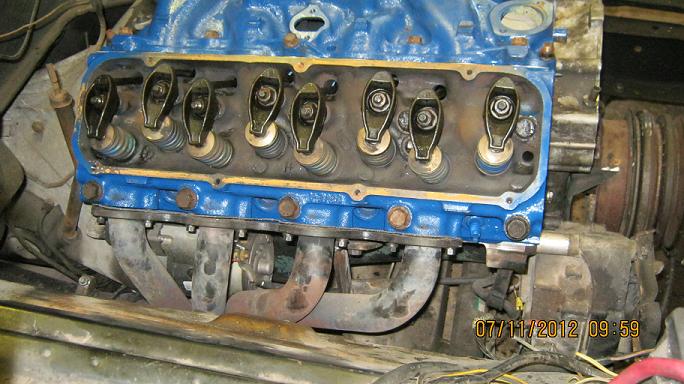

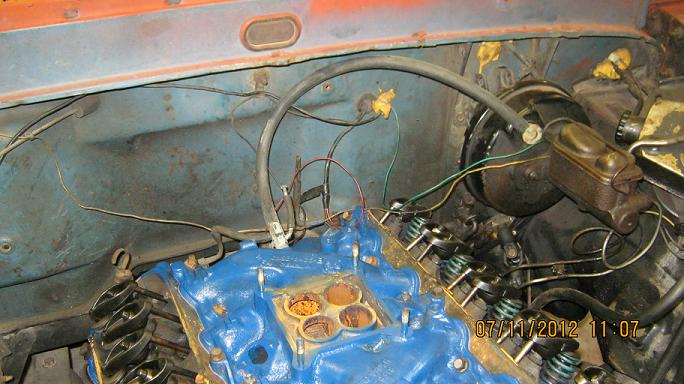
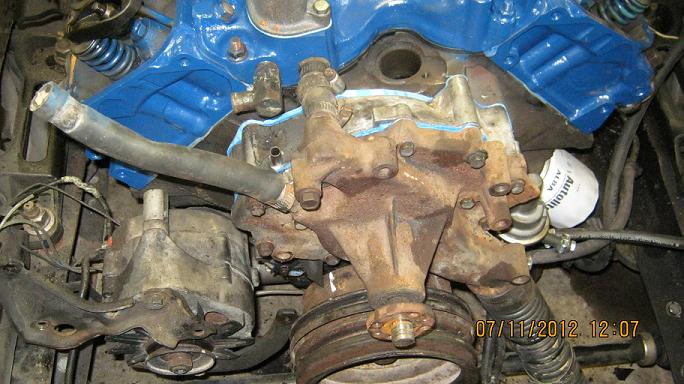
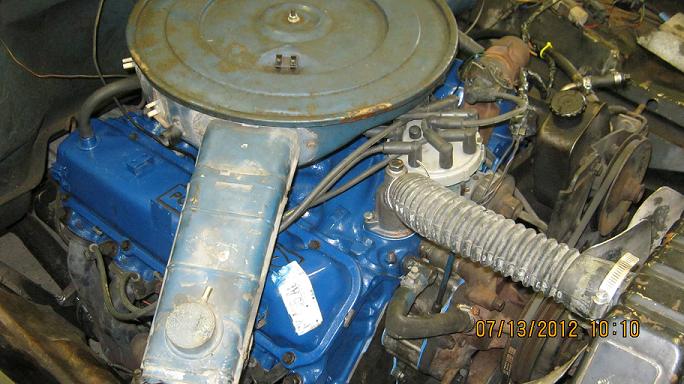
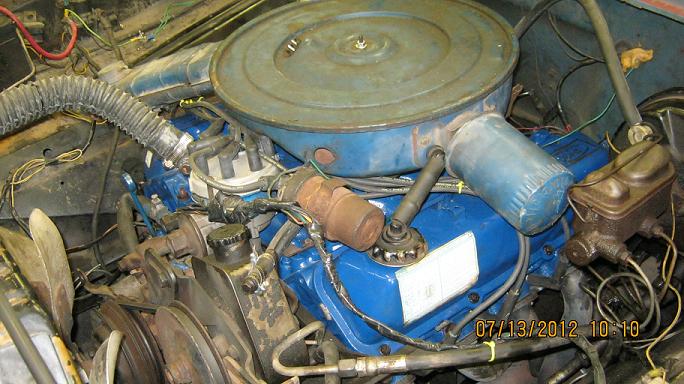 thanks!
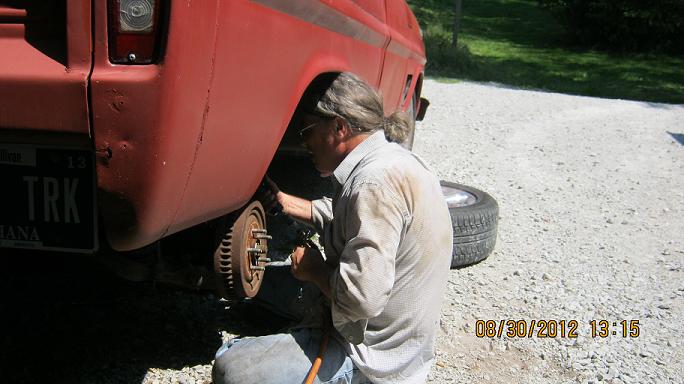
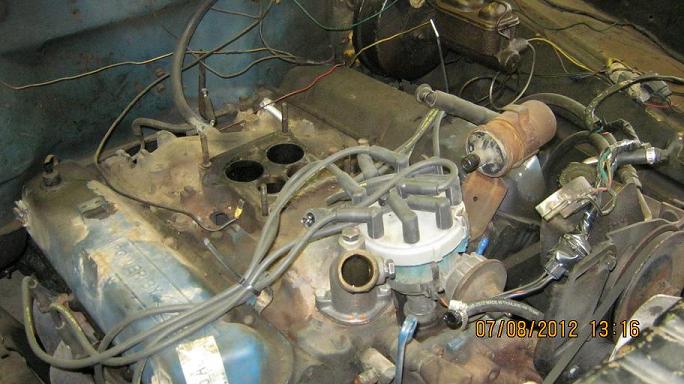
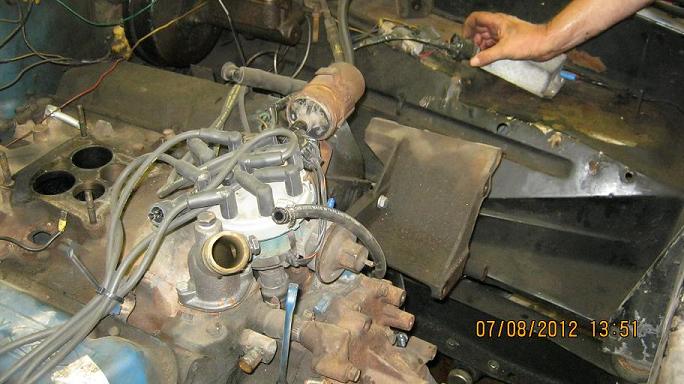
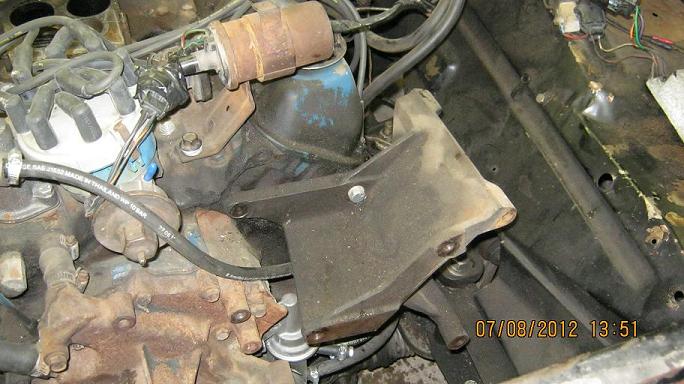
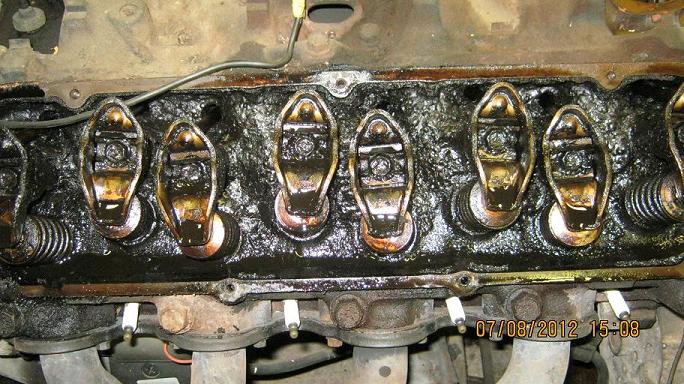
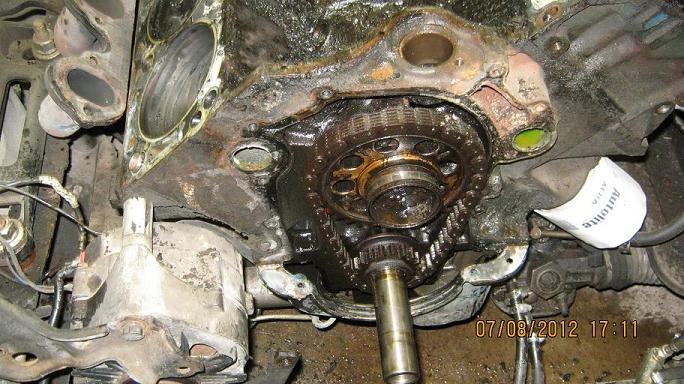
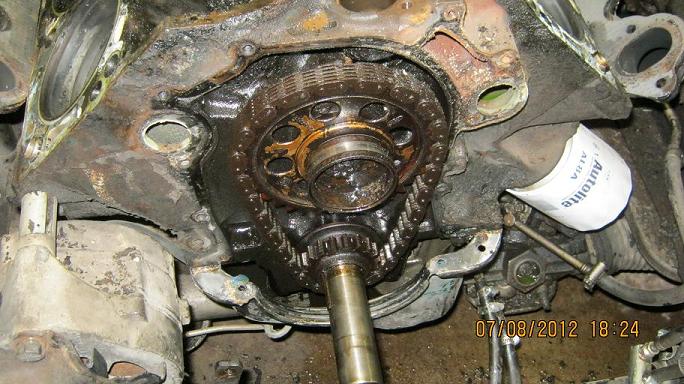
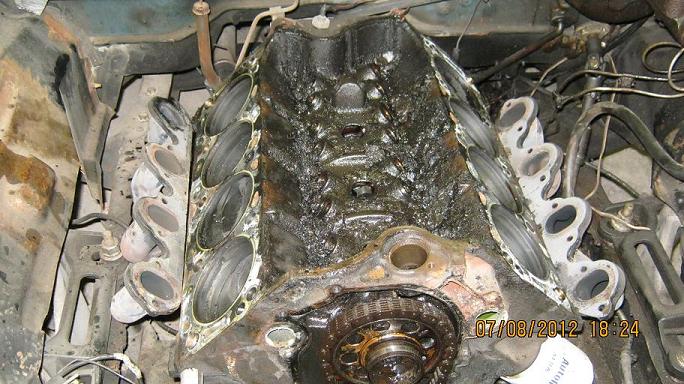
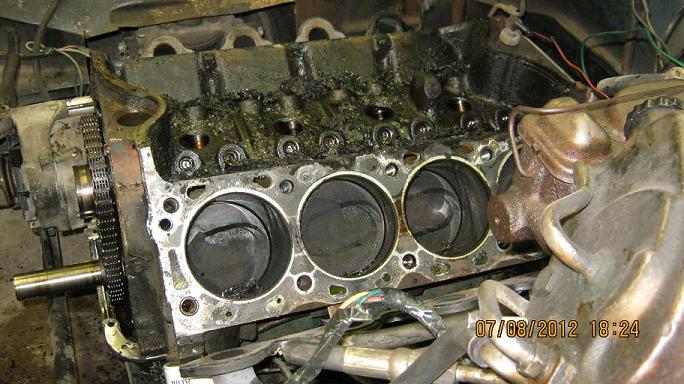
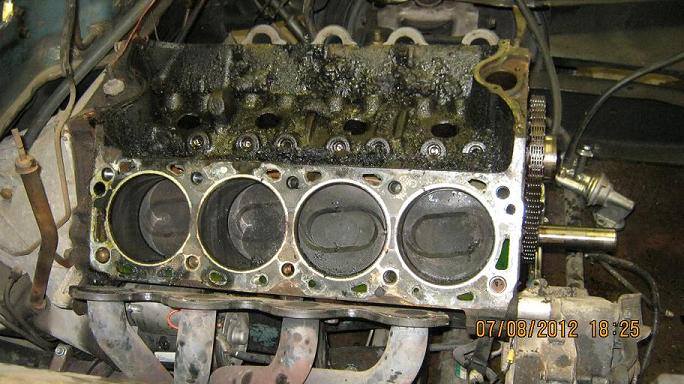
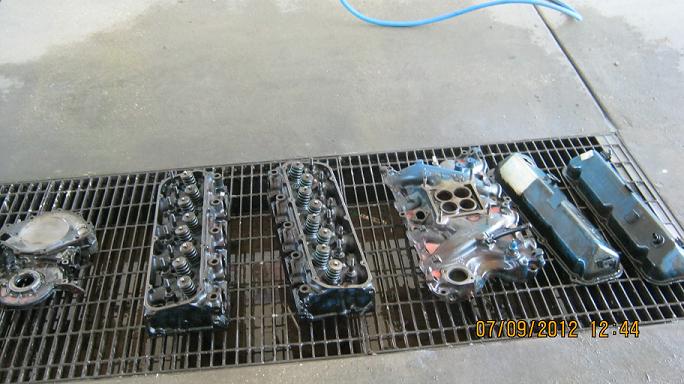
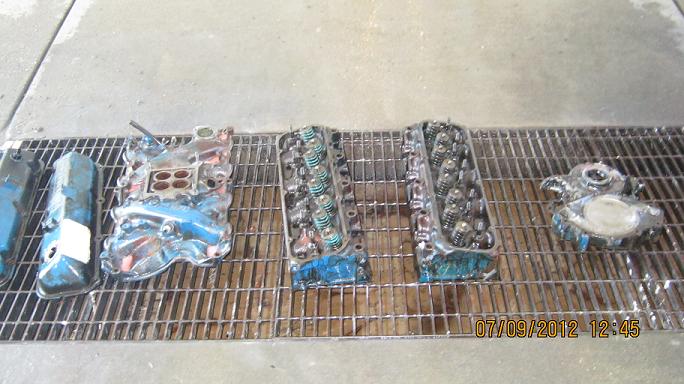
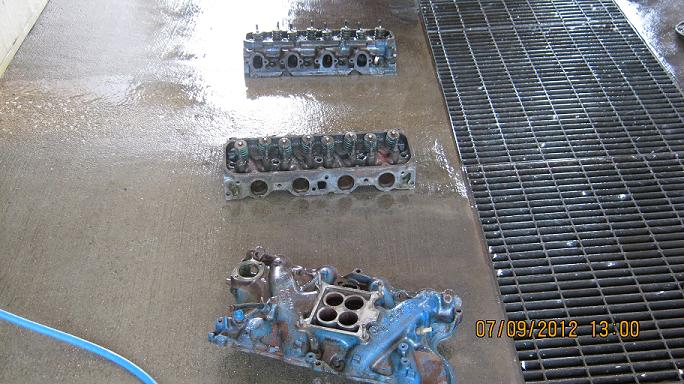
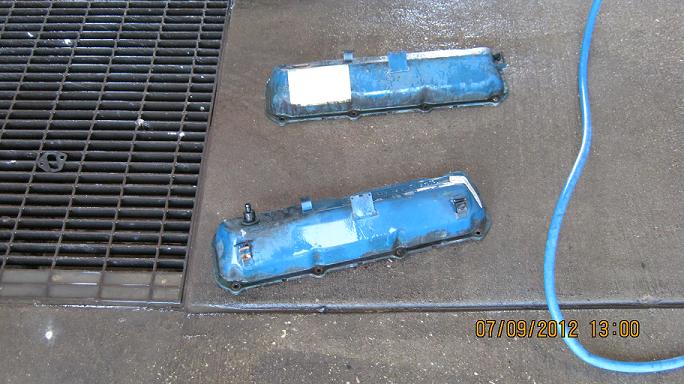
we are not allowed to wash parts at the car washes anymore, or even wash the engine bay, cameras have been installed as surveillance, hefty fines !!