TexasNomad
FTFS Designated DRINKER!
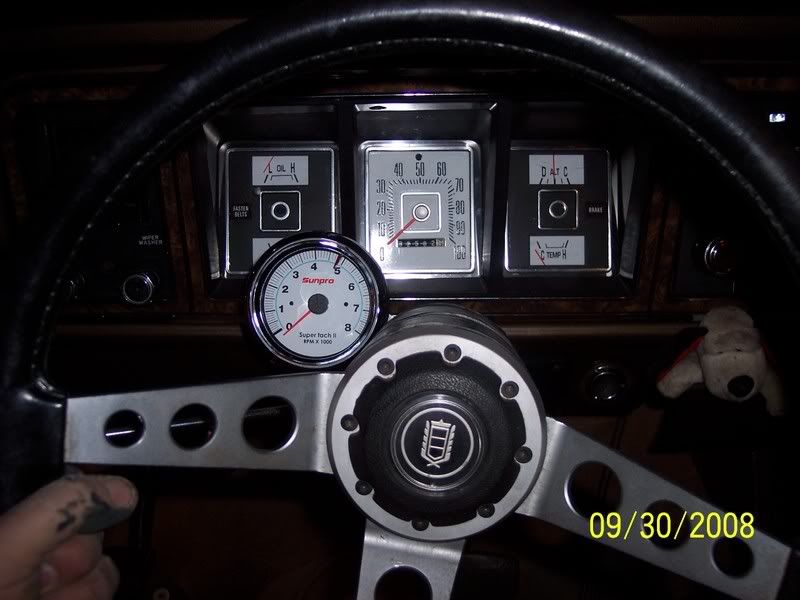
Well I installed my cluster kit and may I say it kicks the booty.
it was a fun project to do too.
I thought I would post some of the steps of doing this kit its pretty plug and play but I thought it might be good for those who may be new to working on their trucks.
The only tools you need is 3 sockets 8mm 11/32 1/4 and a small flat head driver and some white vinegar and a old can or jar.
for any one who is restoring or fixing up their truck Van car I would highly recommend this kit.
For the price of 19 bucks and the results you get nothing I know of can match it.
Warning!These old gauge housings are made of plastic and with time can become very very brittle! so be very careful when installing this kit and pulling and replacing the cluster i've had some of these clusters turn to powder in my hands.
First your going to take off the cluster face this consist of 4, 1/4 bolts
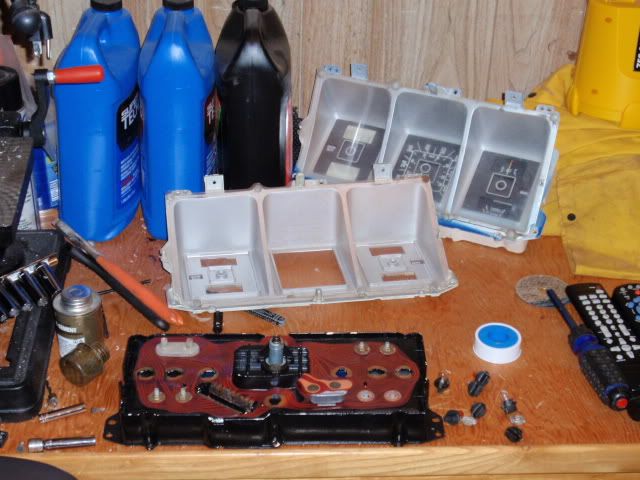
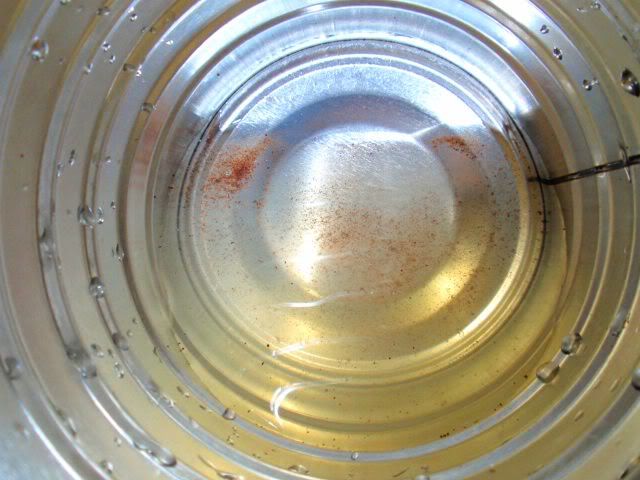
Take a good look at the inside of the housing make sure it is clean and free of dust and dirt for best results you going to want to make sure the plastic is as clean and shiny as you can get it you want it to look like this
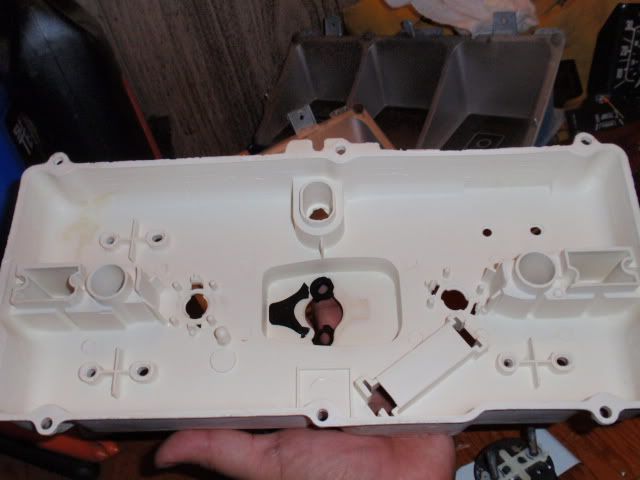
If yours is not very reflective and you want to take out the gauges and clean the housing with warm water and you could also pick up some white KRYLON Fusion Spray Paint for Plastic and give it a few coats.
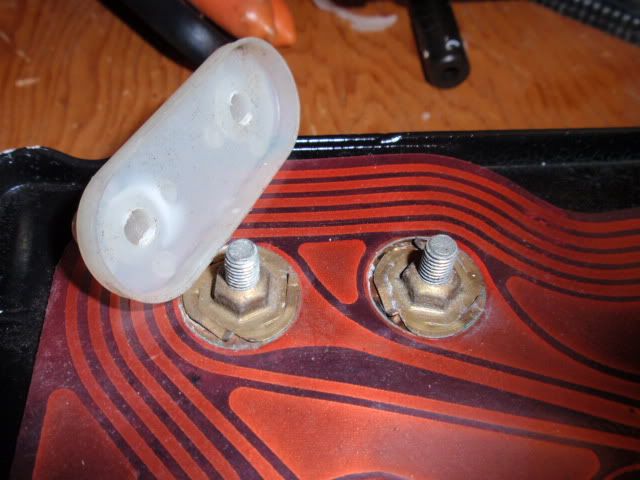
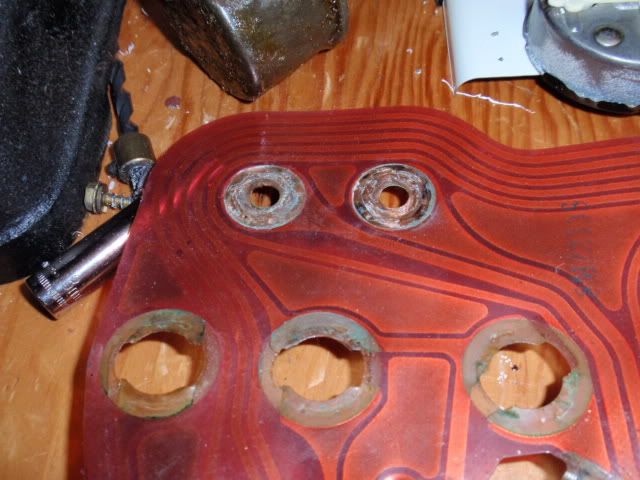
For this you're going to need the 11/32 and 8mm socket, every gauge has two studs and copper washers/nuts on the back of the housing all of these you should be able to take out by hand DO NOT FORCE ANY THING OR YOU WILL BREAK IT also there is a regulator that has one 8mm screw that you will need to take out.
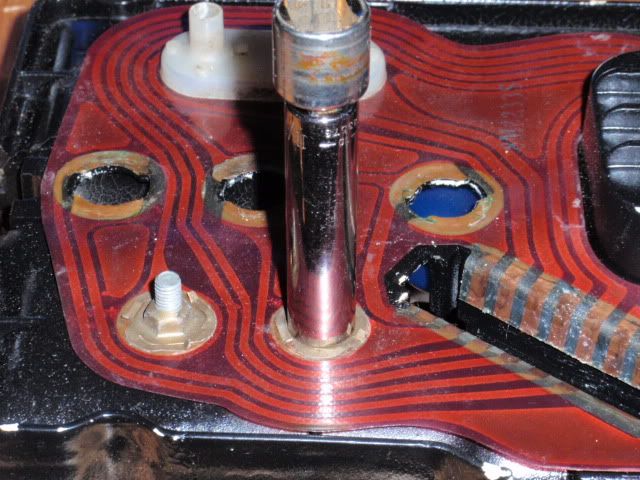
The Volt gauge will have a cover on the studs this should pop right off with very little force and the help of a small flat head driver.
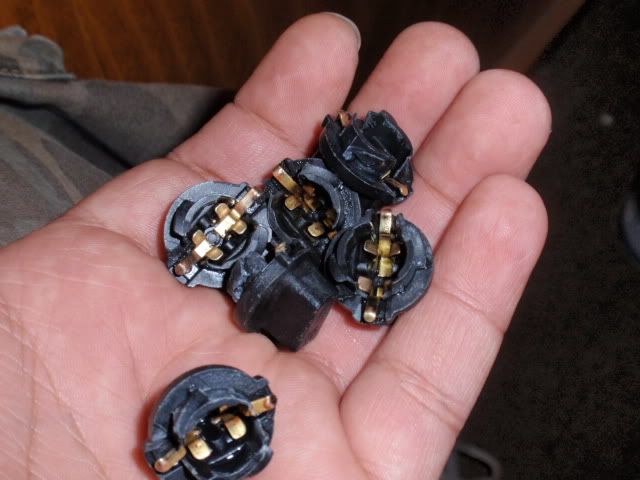
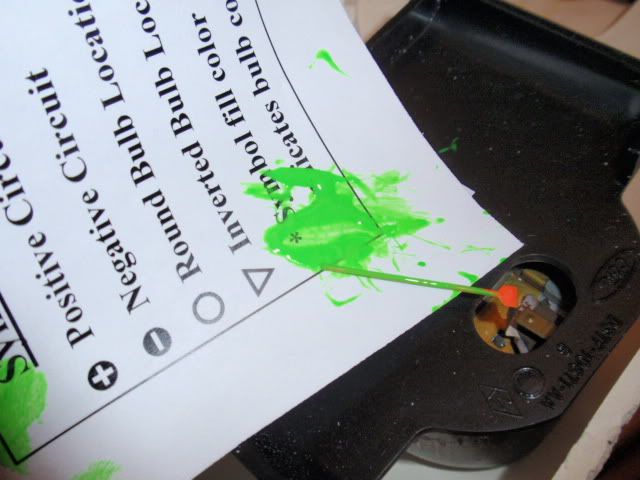
Then on to the bulb sockets these just twist out counter clock wise.
Take out all 6 sockets and pull out the little bulbs and now your going to need to clean them after 30 years of use they are going to get dirty this is were the white vinegar comes in put them all in a can and pour some vinegar in with them and give them a good long shake after a while get them out and you will see how much crud has come out of the little guys
After doing so they will be good as new
So blow them out with some compressed air and put the new LED bulbs in and that's it all done so now lets look at the printed circuit on the back of the cluster housing.
As you can see mine has allot of corrosion on the contacts this can be easily cleaned with a Dremel and the stainless steel brush attachment set to a high RPM and give the contacts a fast pass over using light pressure can clean all the corrosion right off

but be careful this is very thin and you can tear right through it.
If you got the gauge paint that is very easy clean the pointers with Alcohol then use a small brush you can paint them right up.
After every thing is done put the gauges printed circuit and bulb sockets in to the cluster but don't put the face back on this helps to do a test.
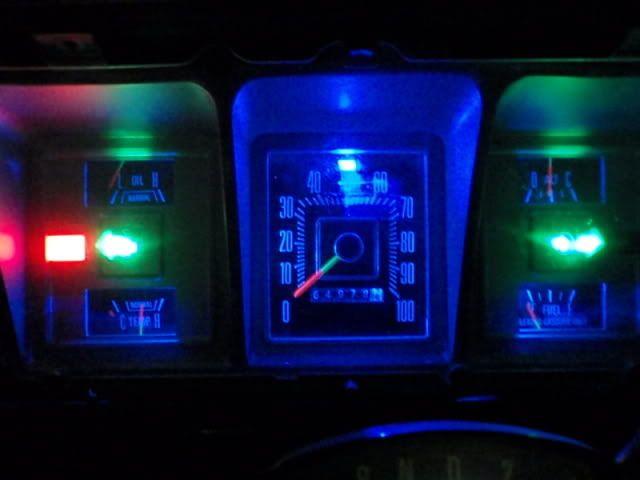
Take the cluster out to your truck and plug the cluster in and make sure all your lights work if so then slap every thing back together and install and your done and now you have a cool brand new looking gauge cluster..

Not too shabby for only 20 bucks and they come in a bunch of colors too.
http://www.hipoparts.com/index.php?cPath=74_76_79
it was a fun project to do too.
I thought I would post some of the steps of doing this kit its pretty plug and play but I thought it might be good for those who may be new to working on their trucks.
The only tools you need is 3 sockets 8mm 11/32 1/4 and a small flat head driver and some white vinegar and a old can or jar.
for any one who is restoring or fixing up their truck Van car I would highly recommend this kit.
For the price of 19 bucks and the results you get nothing I know of can match it.
Warning!These old gauge housings are made of plastic and with time can become very very brittle! so be very careful when installing this kit and pulling and replacing the cluster i've had some of these clusters turn to powder in my hands.
First your going to take off the cluster face this consist of 4, 1/4 bolts
Take a good look at the inside of the housing make sure it is clean and free of dust and dirt for best results you going to want to make sure the plastic is as clean and shiny as you can get it you want it to look like this
If yours is not very reflective and you want to take out the gauges and clean the housing with warm water and you could also pick up some white KRYLON Fusion Spray Paint for Plastic and give it a few coats.
For this you're going to need the 11/32 and 8mm socket, every gauge has two studs and copper washers/nuts on the back of the housing all of these you should be able to take out by hand DO NOT FORCE ANY THING OR YOU WILL BREAK IT also there is a regulator that has one 8mm screw that you will need to take out.
The Volt gauge will have a cover on the studs this should pop right off with very little force and the help of a small flat head driver.
Then on to the bulb sockets these just twist out counter clock wise.
Take out all 6 sockets and pull out the little bulbs and now your going to need to clean them after 30 years of use they are going to get dirty this is were the white vinegar comes in put them all in a can and pour some vinegar in with them and give them a good long shake after a while get them out and you will see how much crud has come out of the little guys
After doing so they will be good as new
So blow them out with some compressed air and put the new LED bulbs in and that's it all done so now lets look at the printed circuit on the back of the cluster housing.
As you can see mine has allot of corrosion on the contacts this can be easily cleaned with a Dremel and the stainless steel brush attachment set to a high RPM and give the contacts a fast pass over using light pressure can clean all the corrosion right off
but be careful this is very thin and you can tear right through it.
If you got the gauge paint that is very easy clean the pointers with Alcohol then use a small brush you can paint them right up.
After every thing is done put the gauges printed circuit and bulb sockets in to the cluster but don't put the face back on this helps to do a test.
Take the cluster out to your truck and plug the cluster in and make sure all your lights work if so then slap every thing back together and install and your done and now you have a cool brand new looking gauge cluster..
Not too shabby for only 20 bucks
and they come in a bunch of colors too.http://www.hipoparts.com/index.php?cPath=74_76_79