Join Our Ford Truck Forum Today

Document your Ford truck project here and inspire others! Login/Register to view the site with fewer ads.

My build thread (2 of 2)

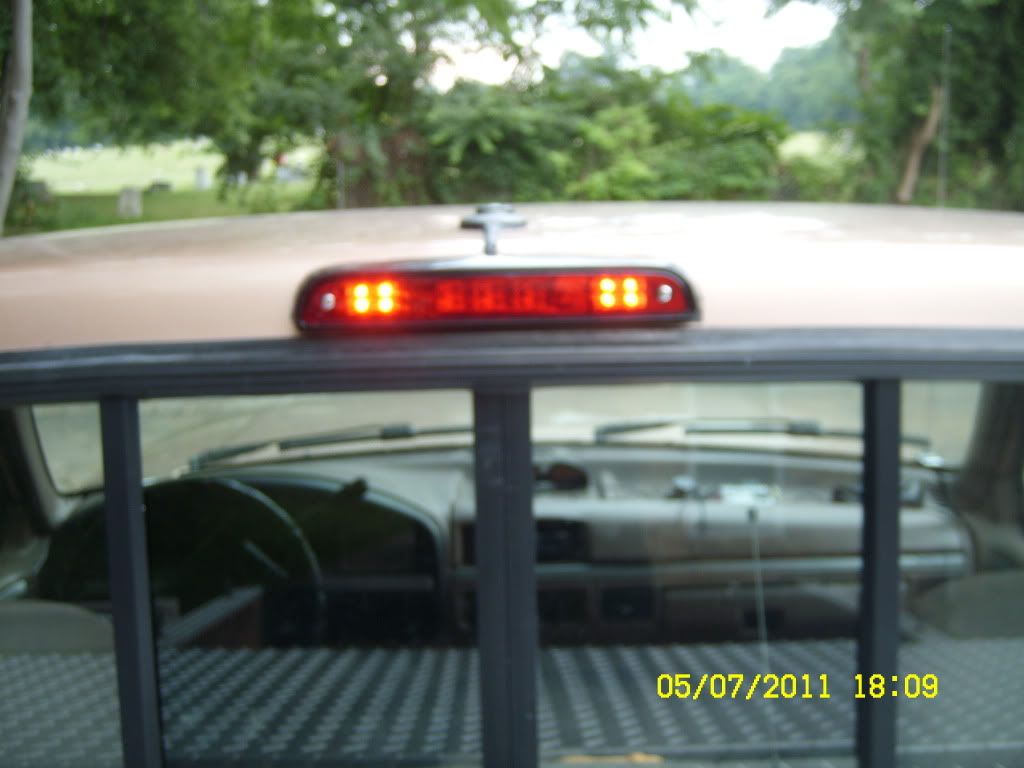
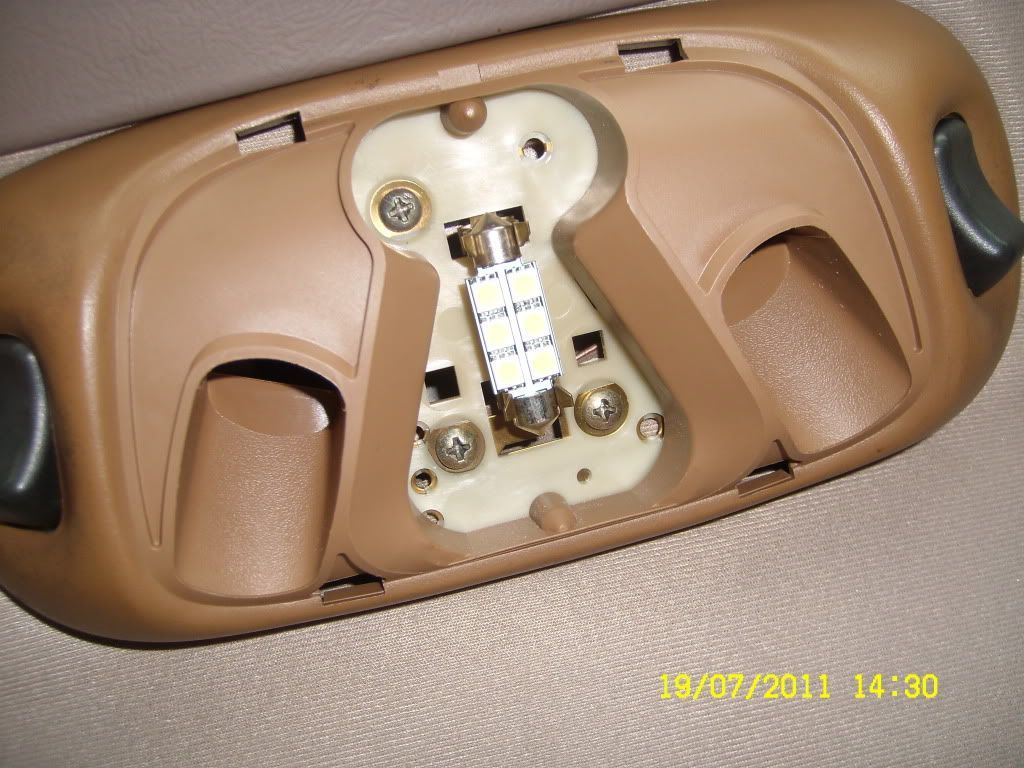
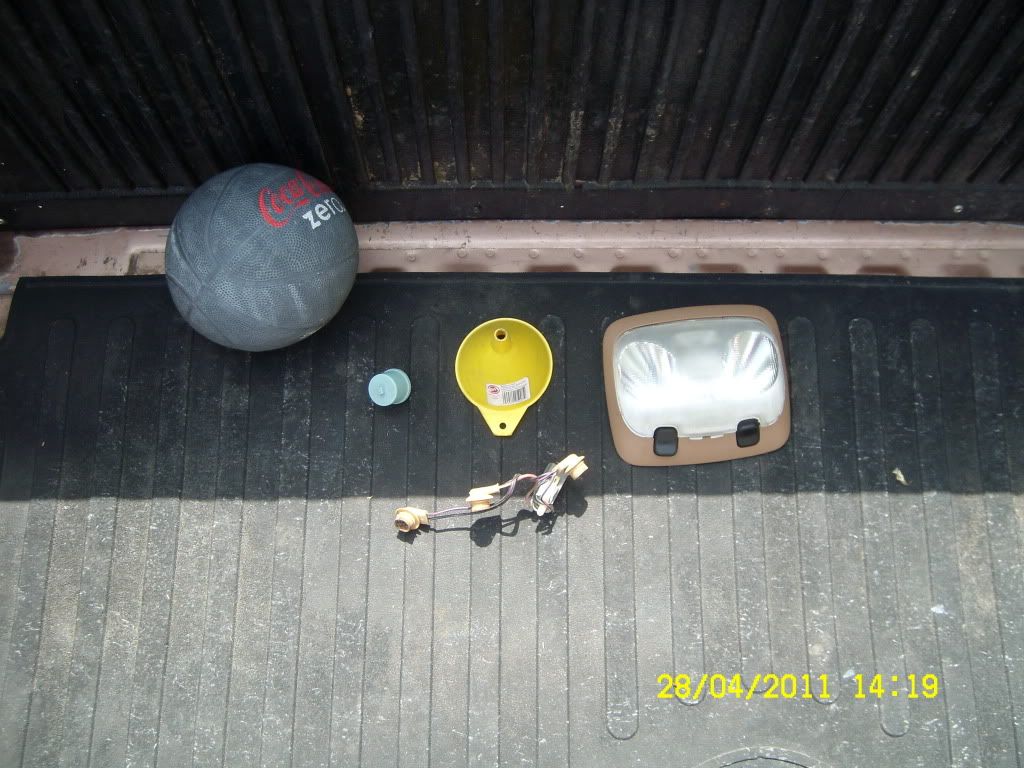
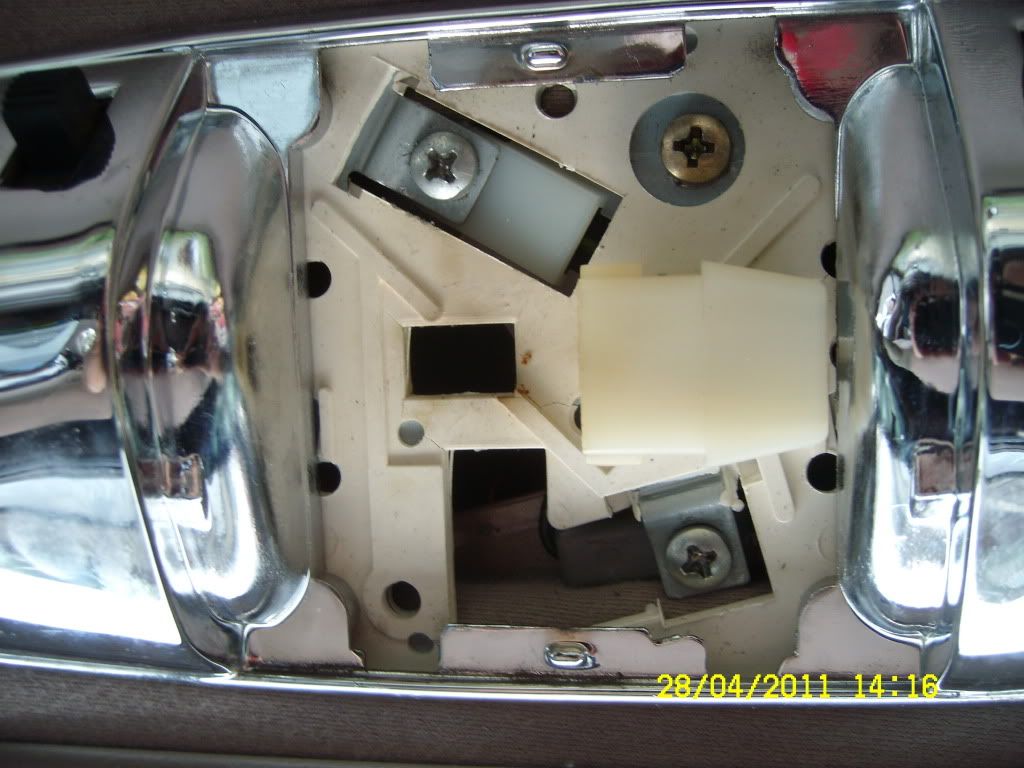
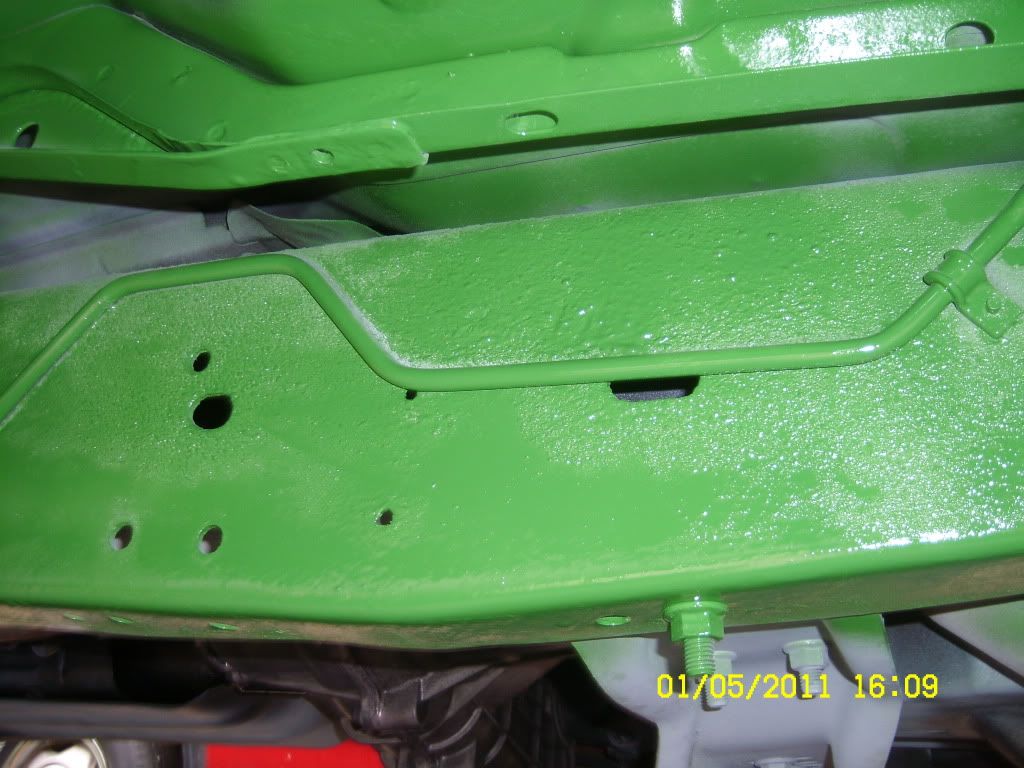
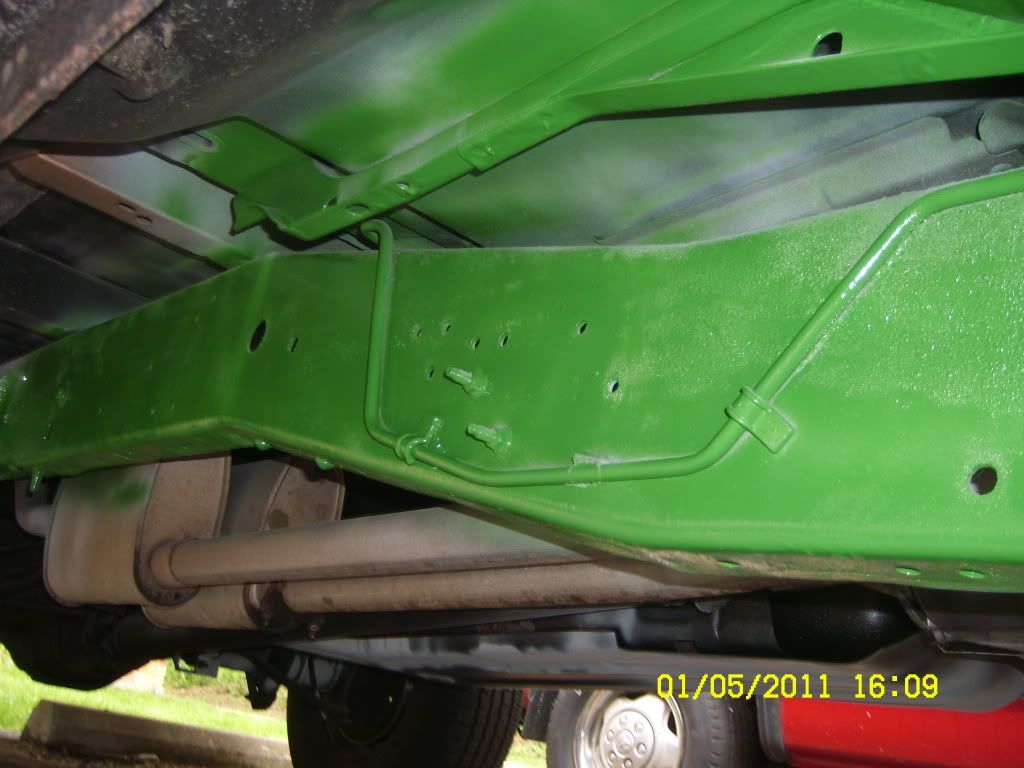
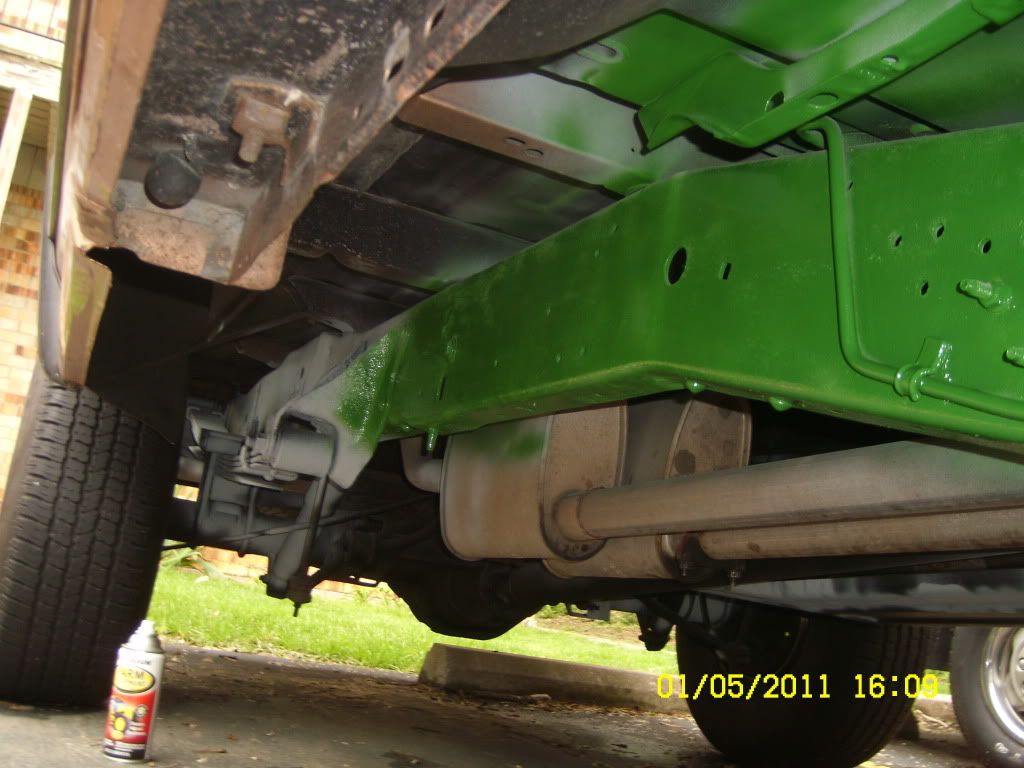
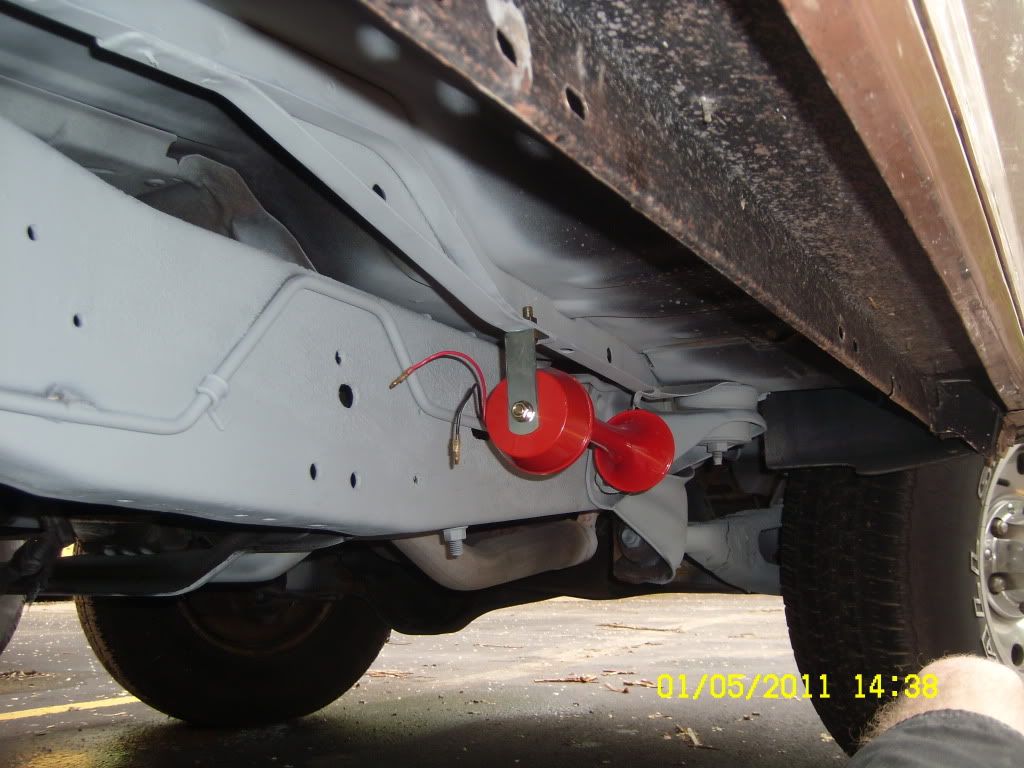
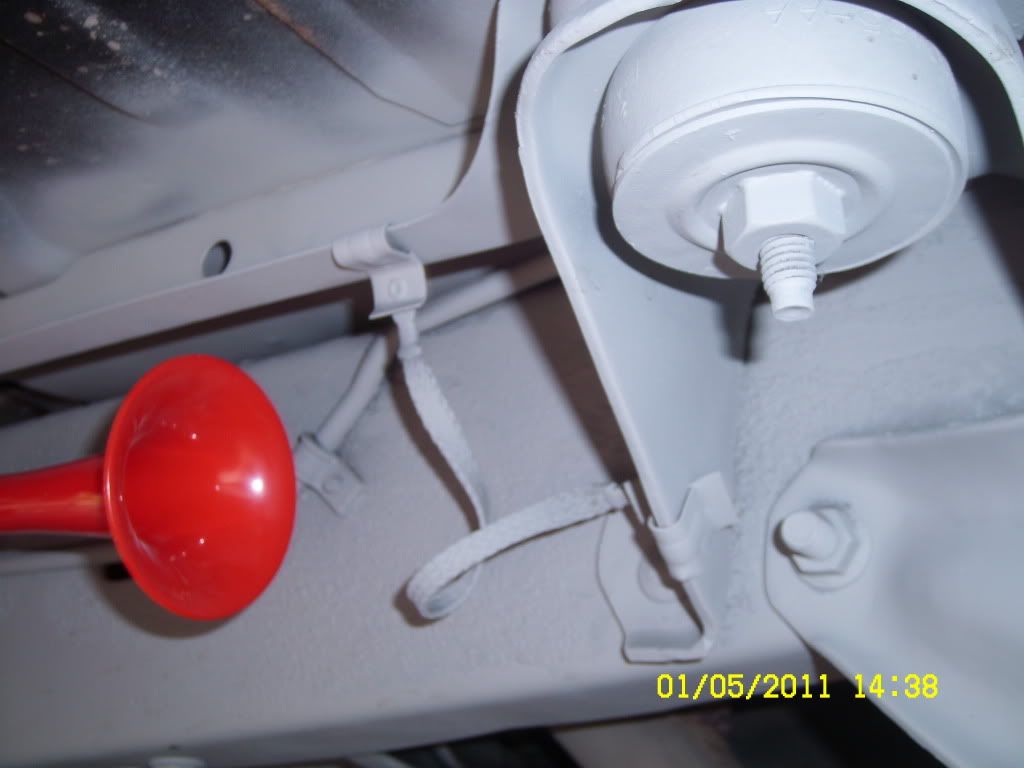
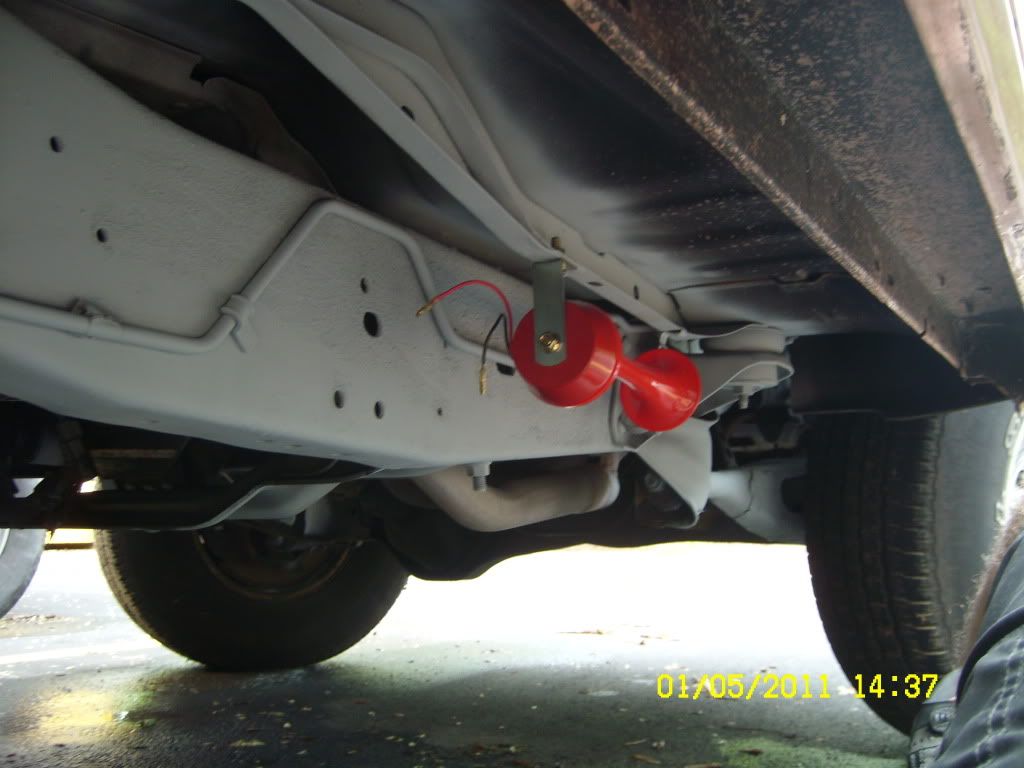
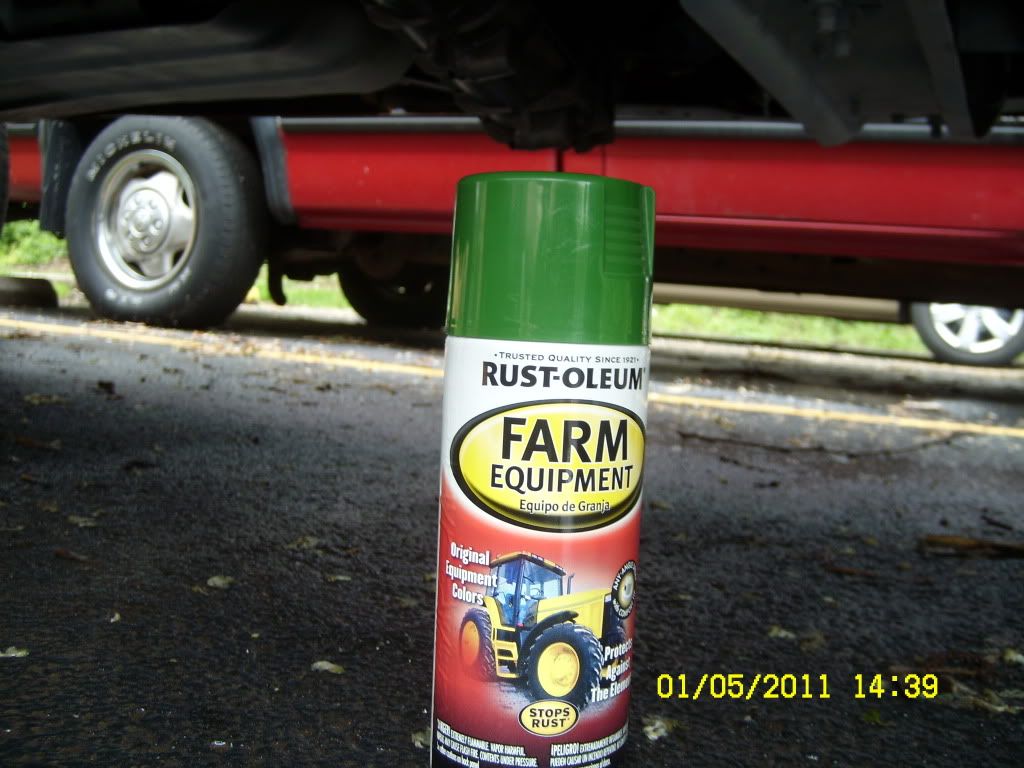
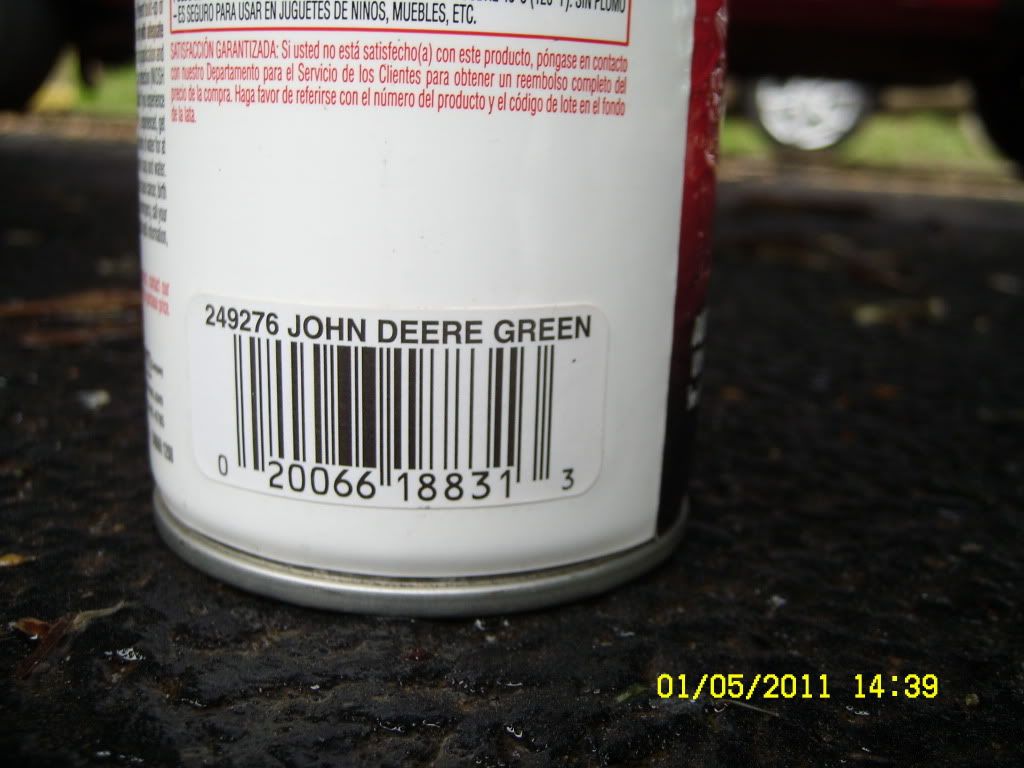
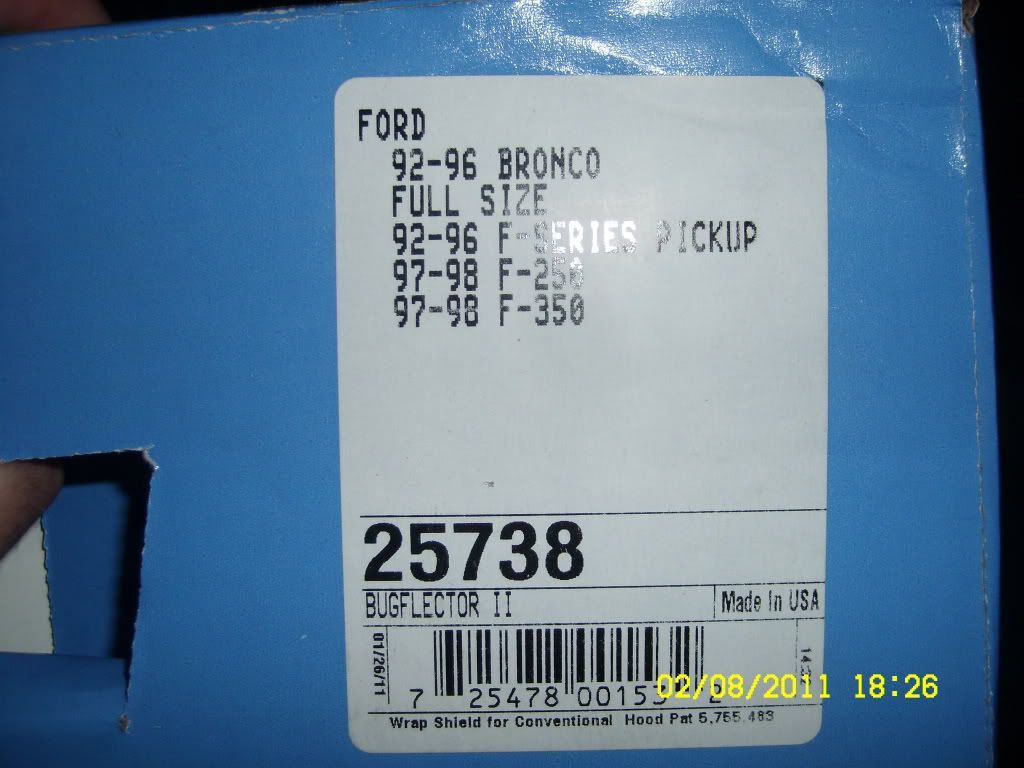
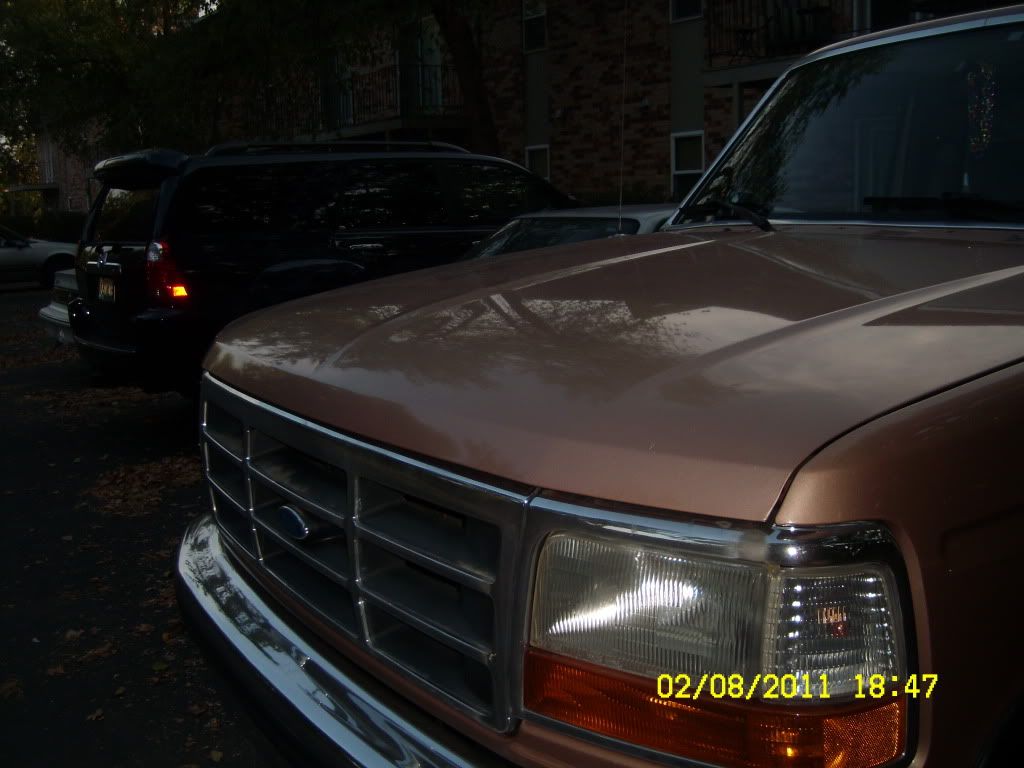
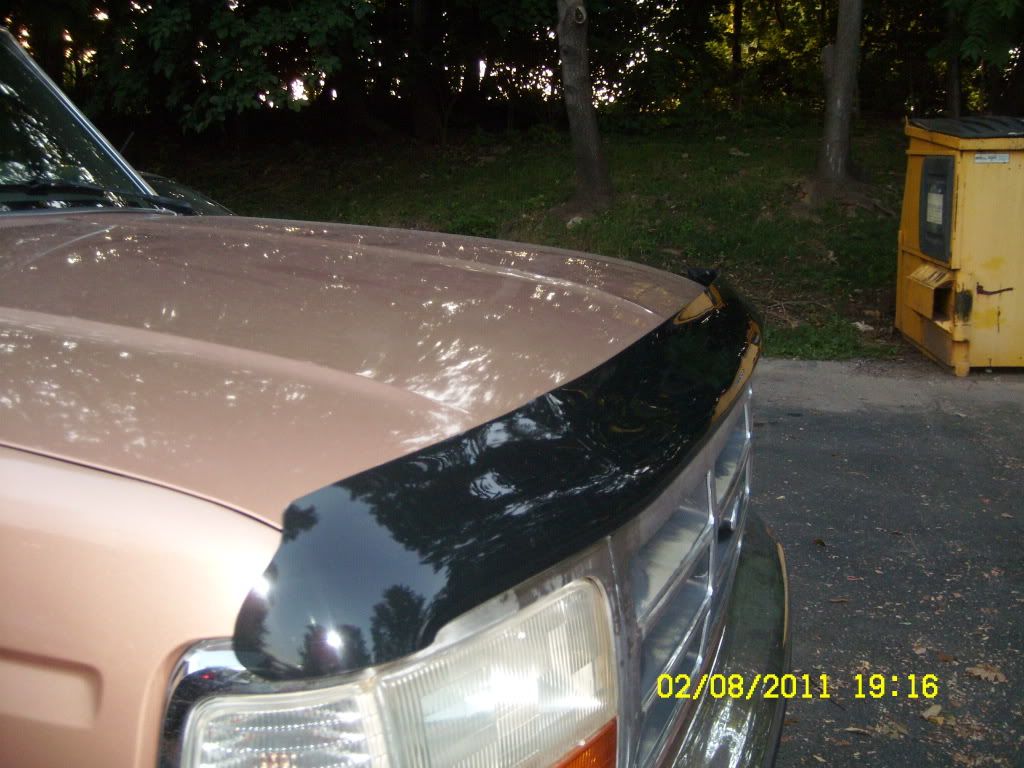
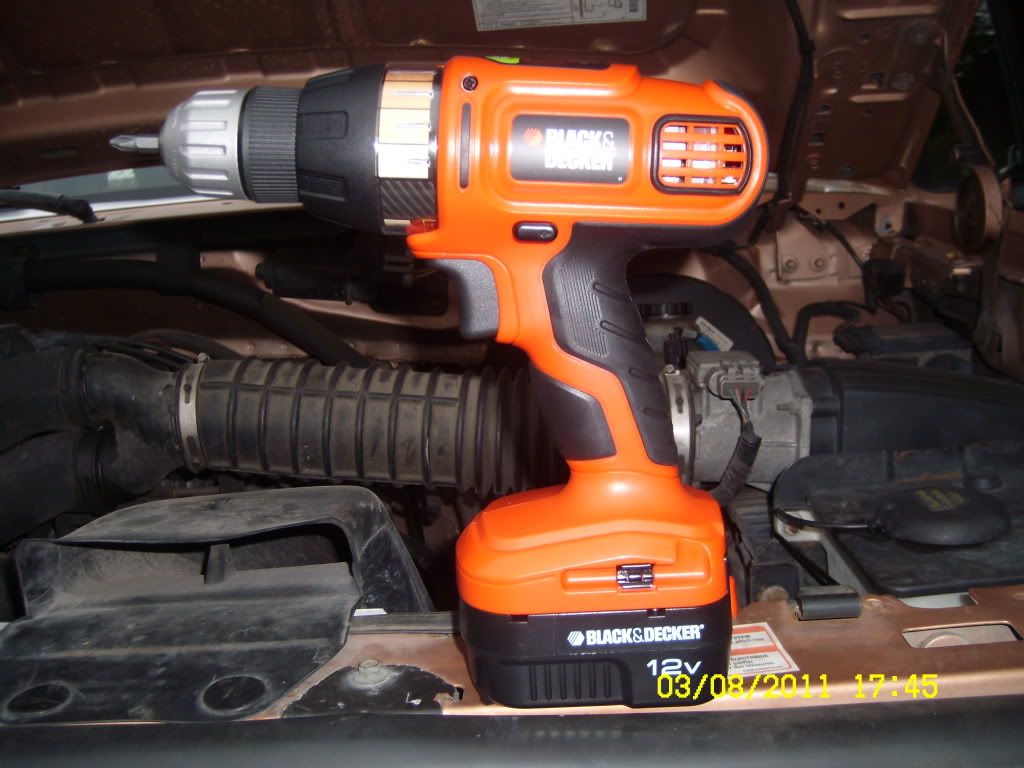
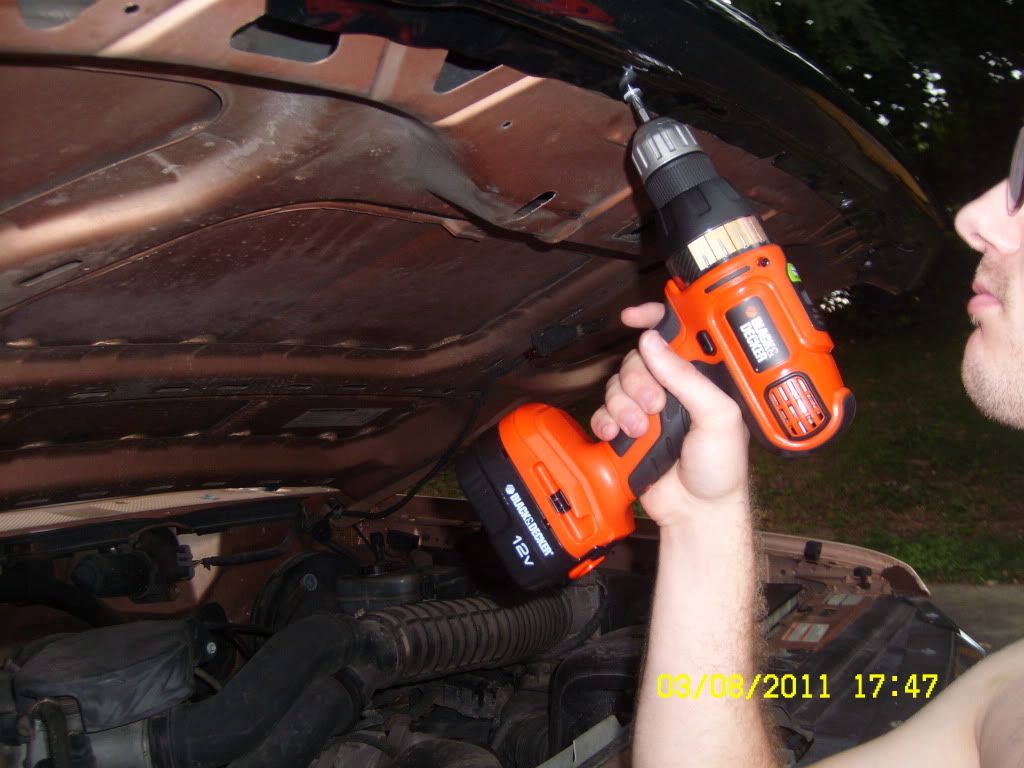
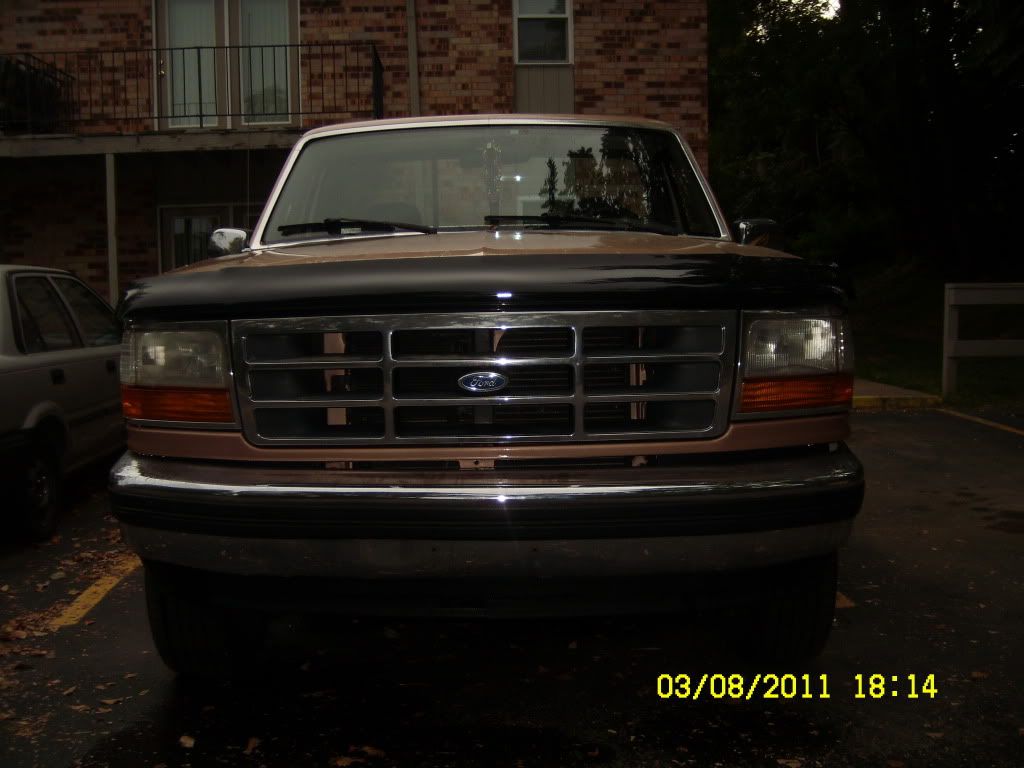
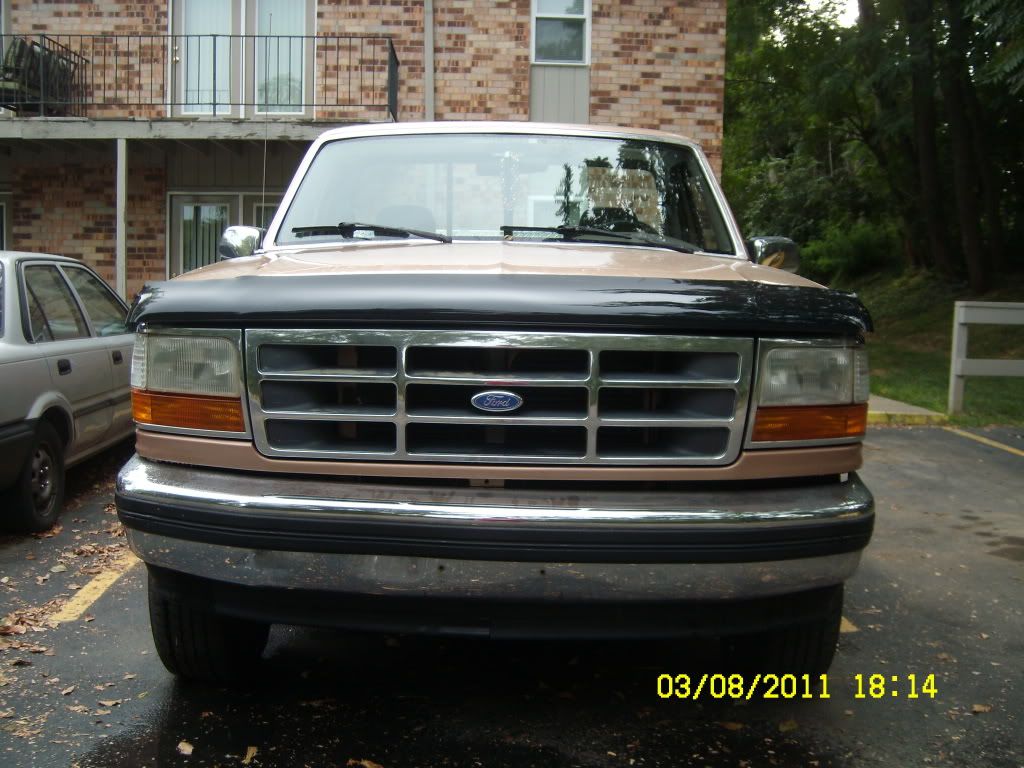
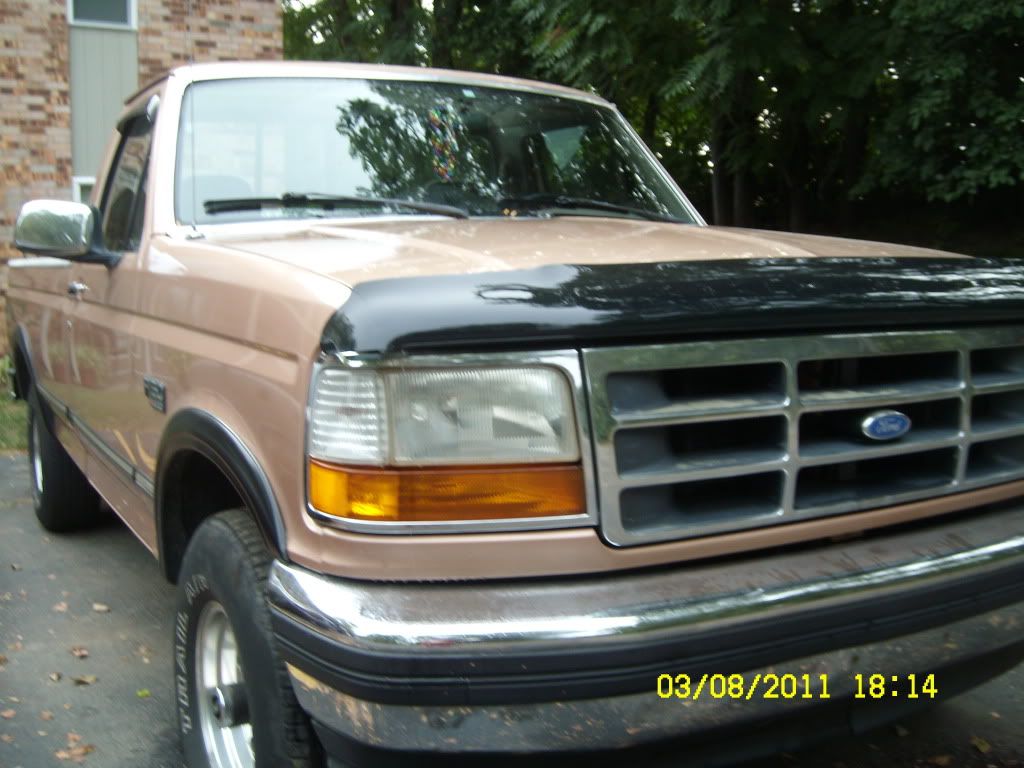
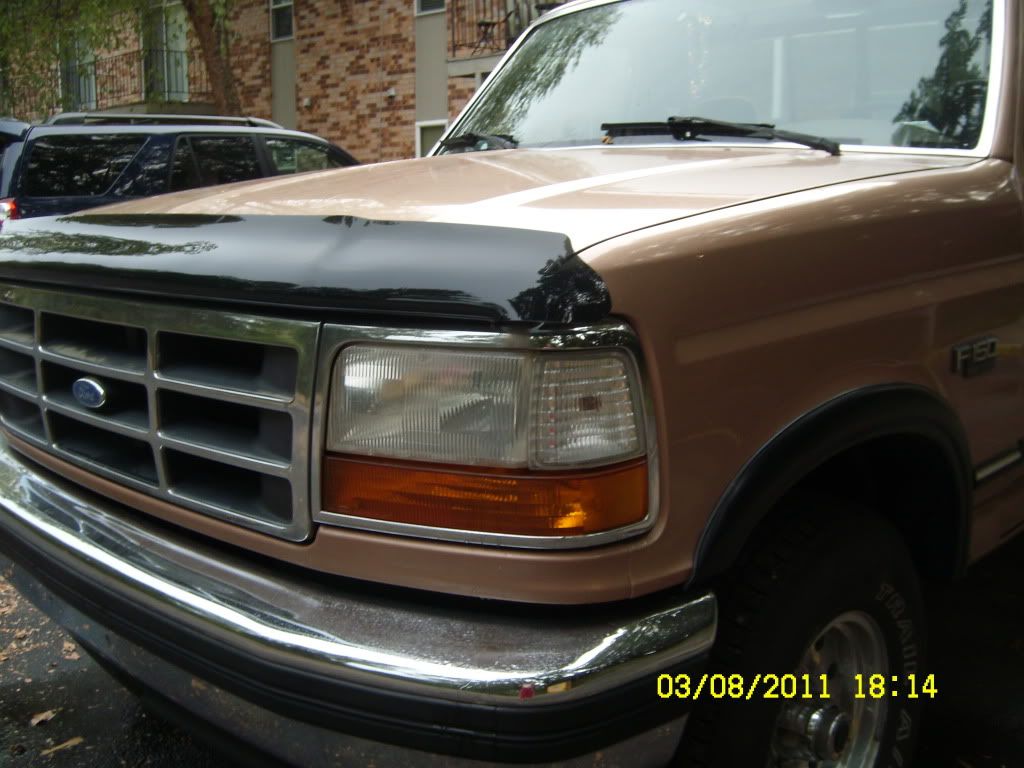
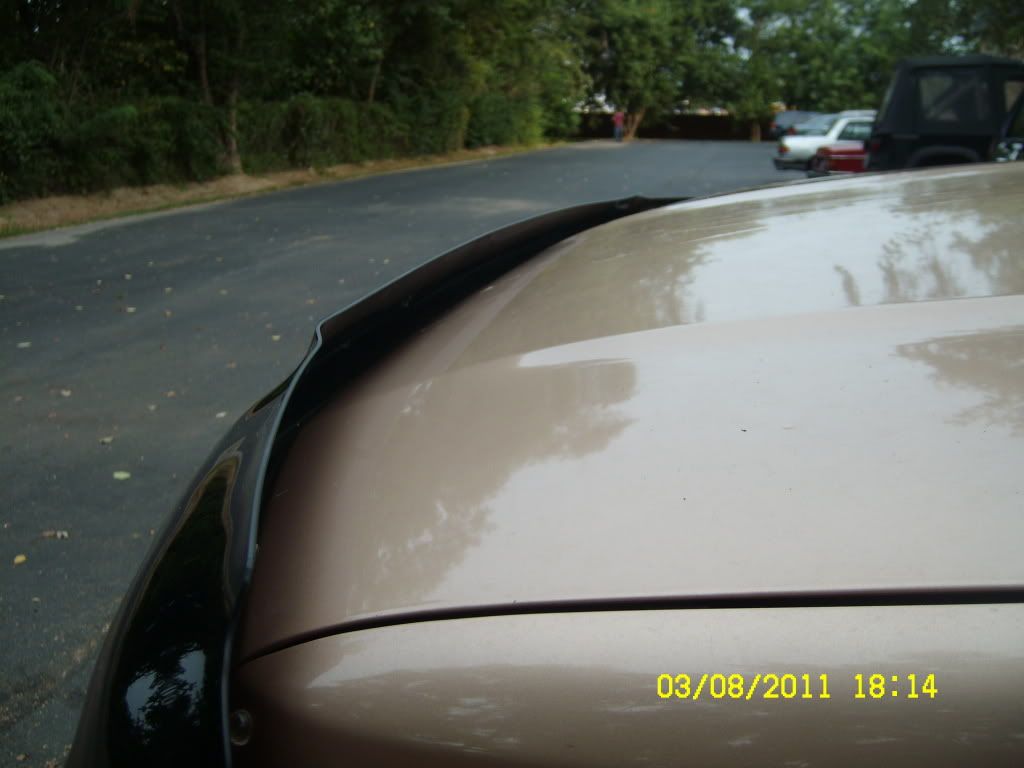
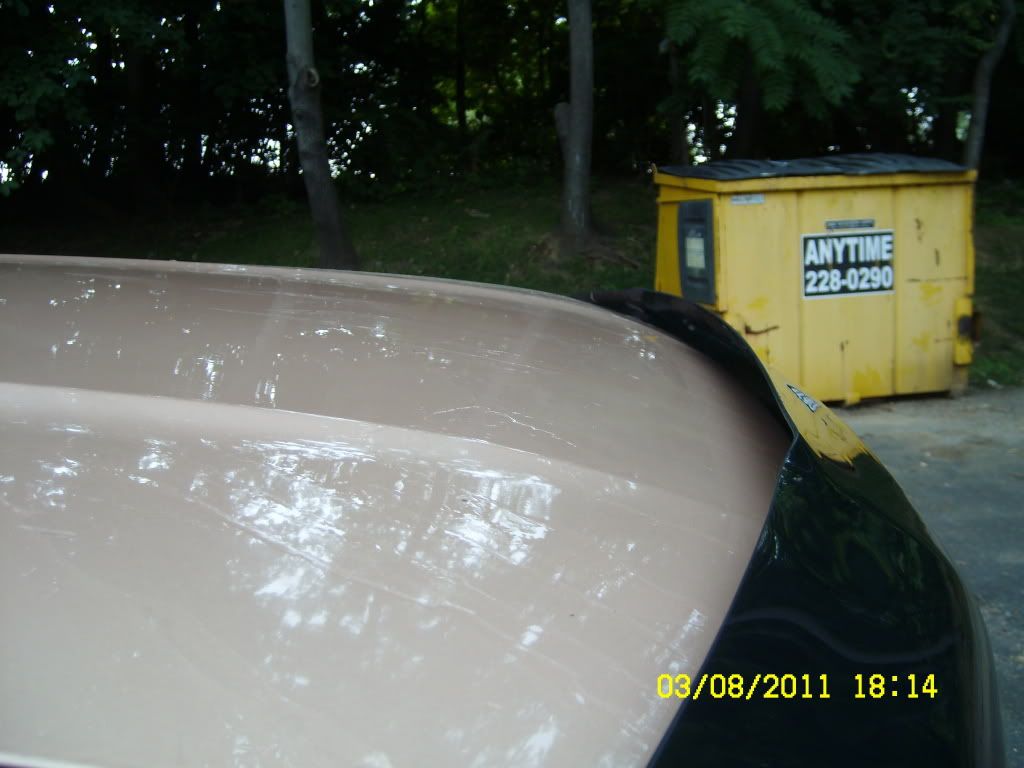
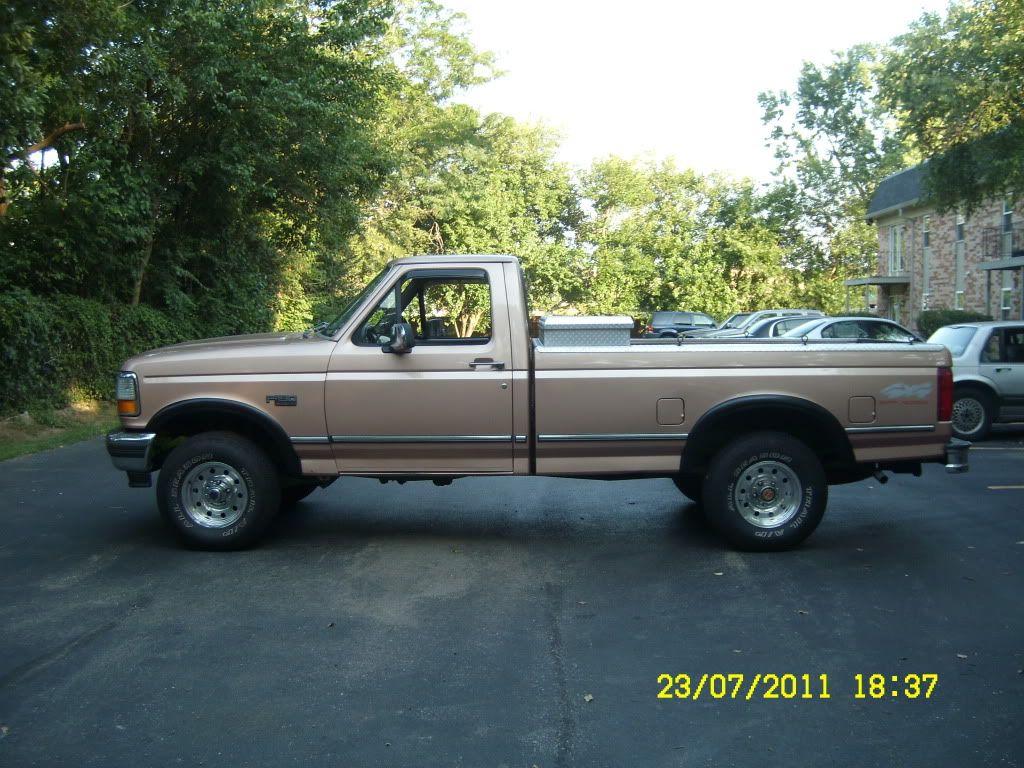
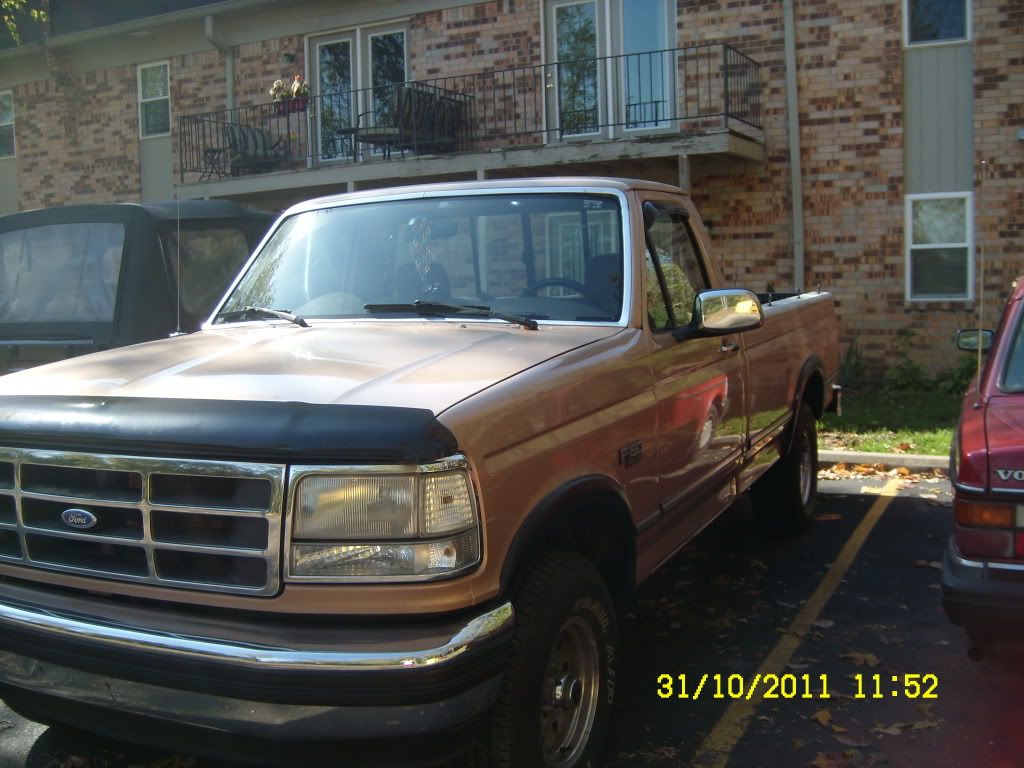
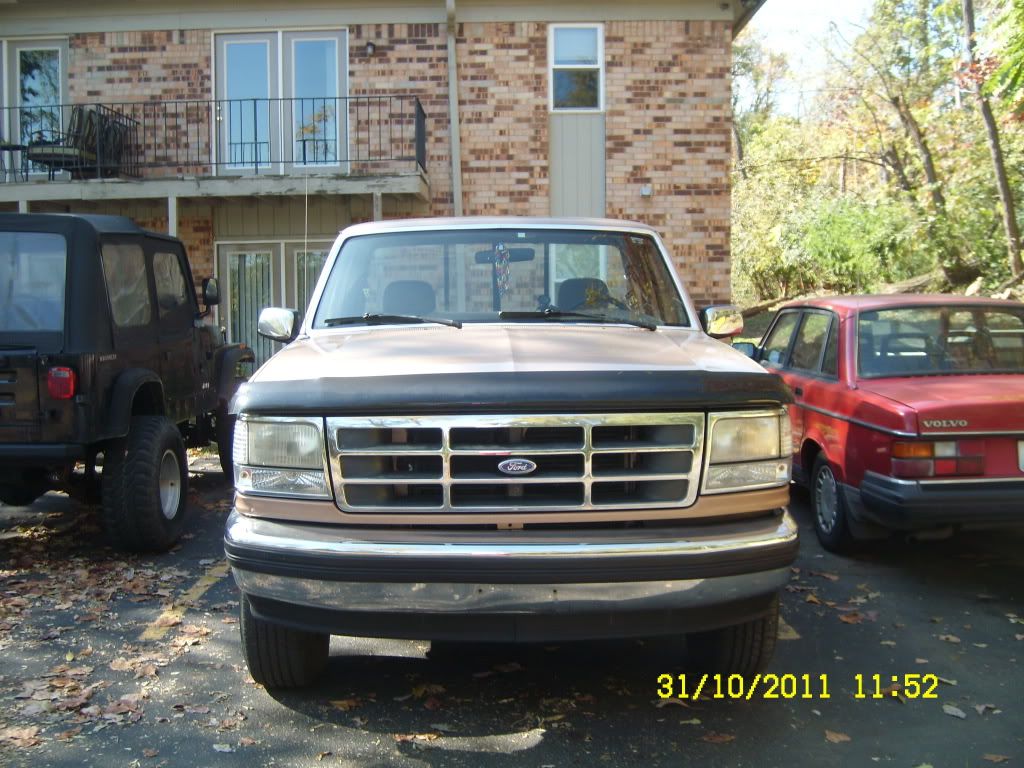
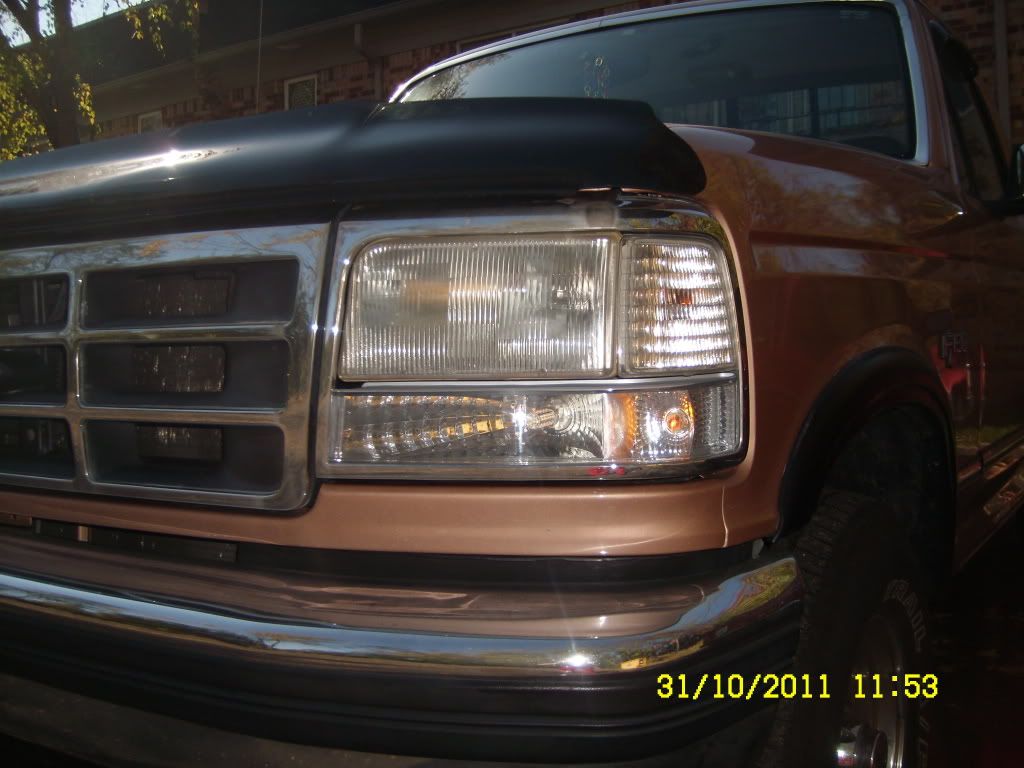
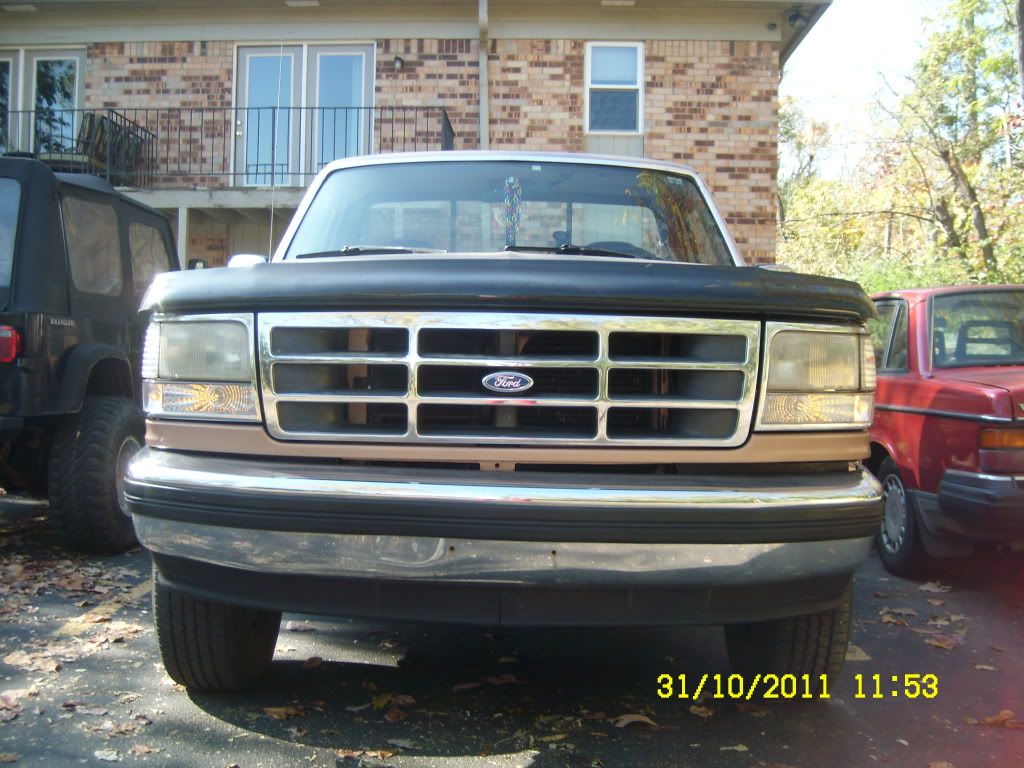
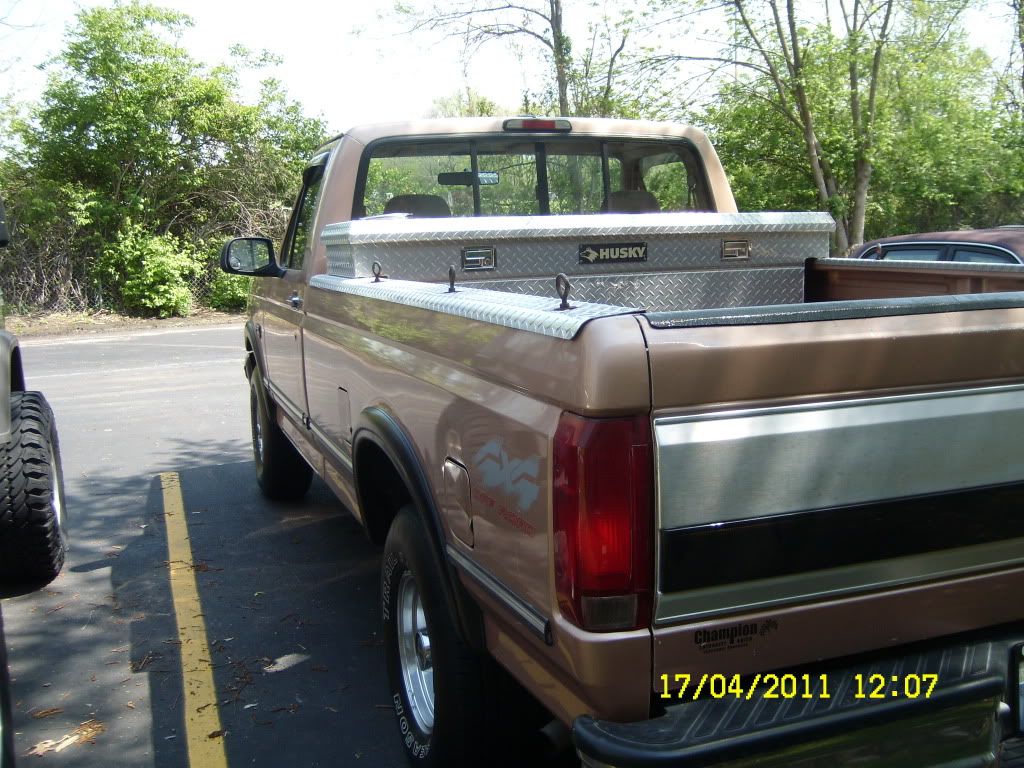
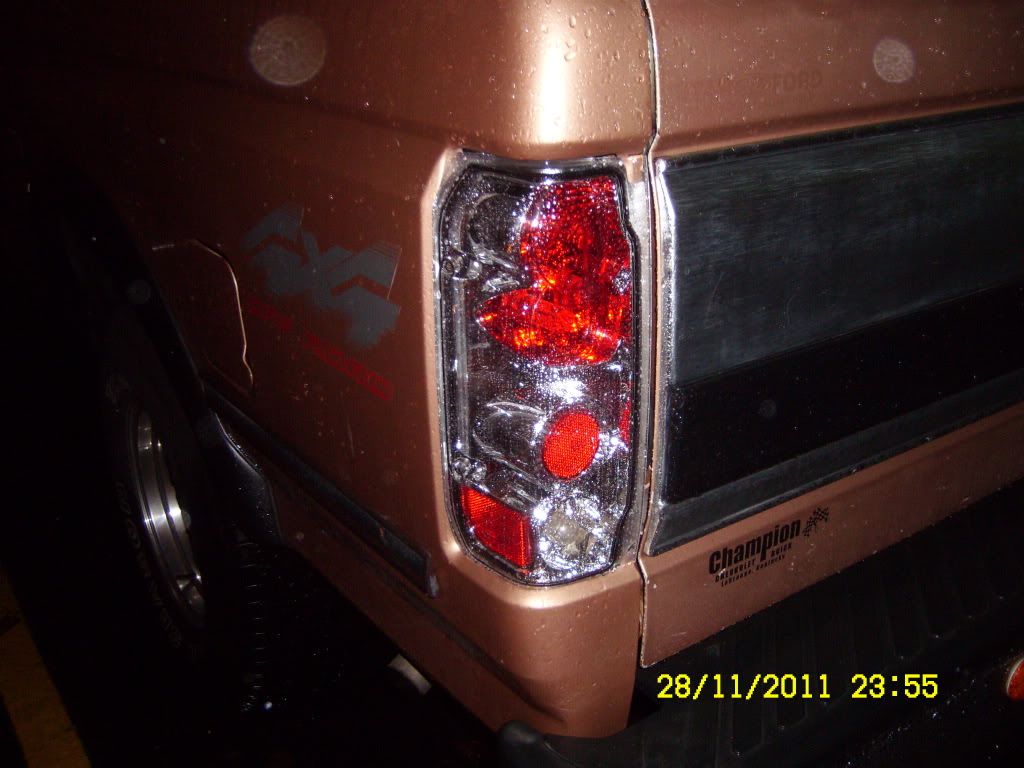
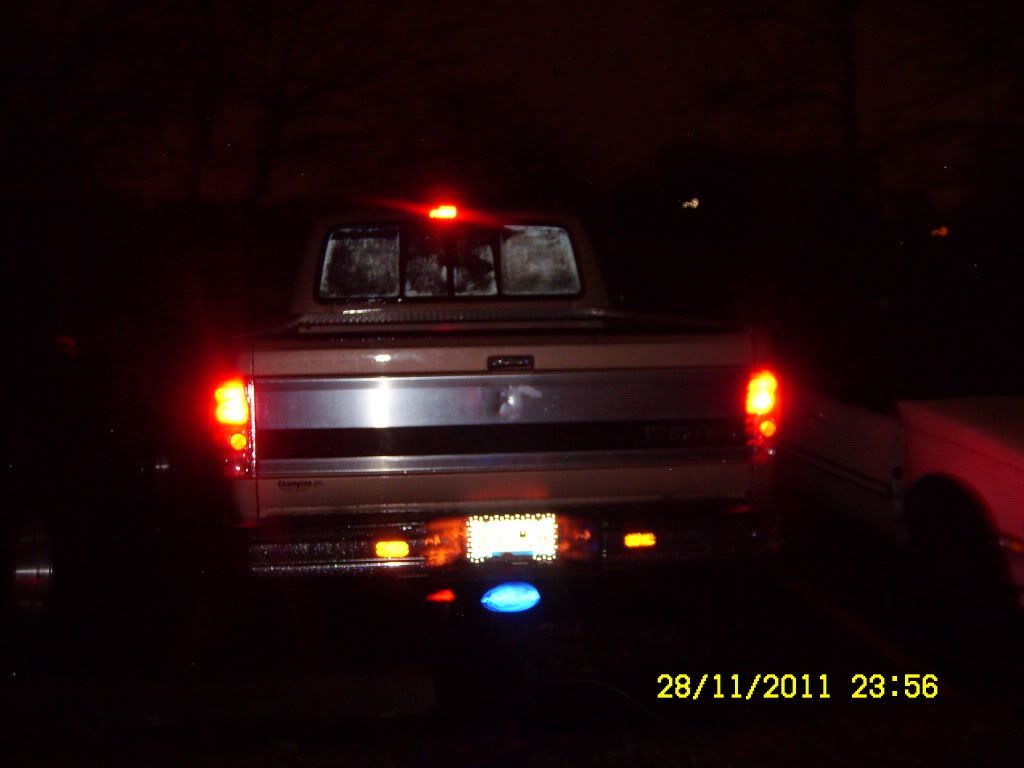
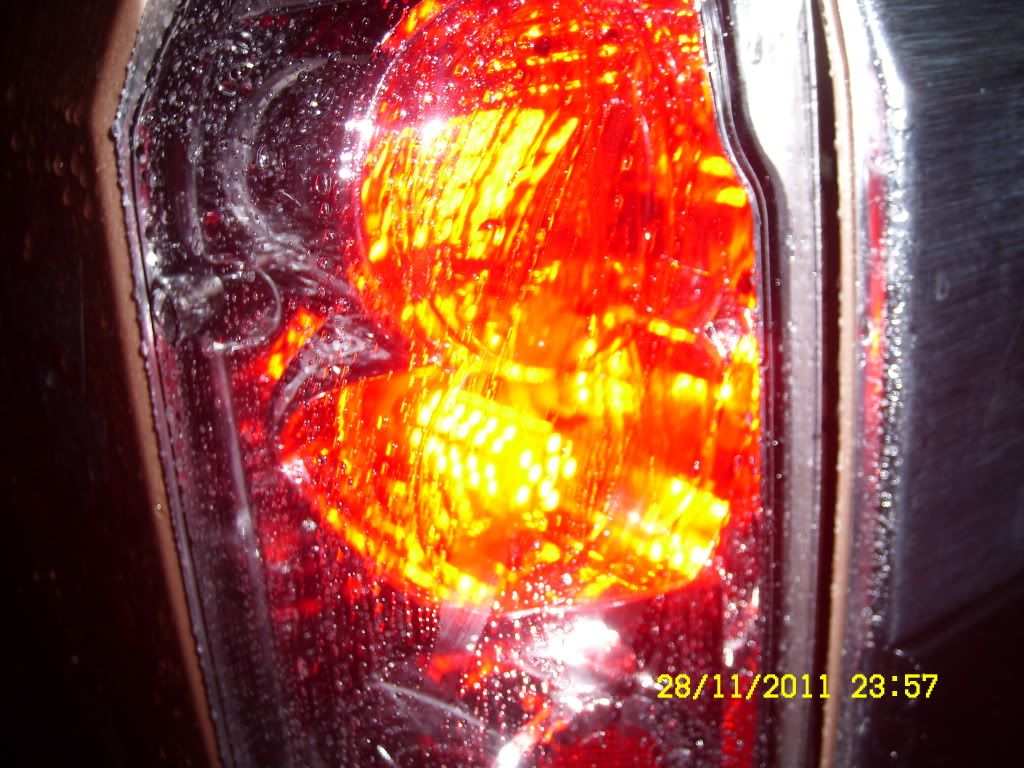
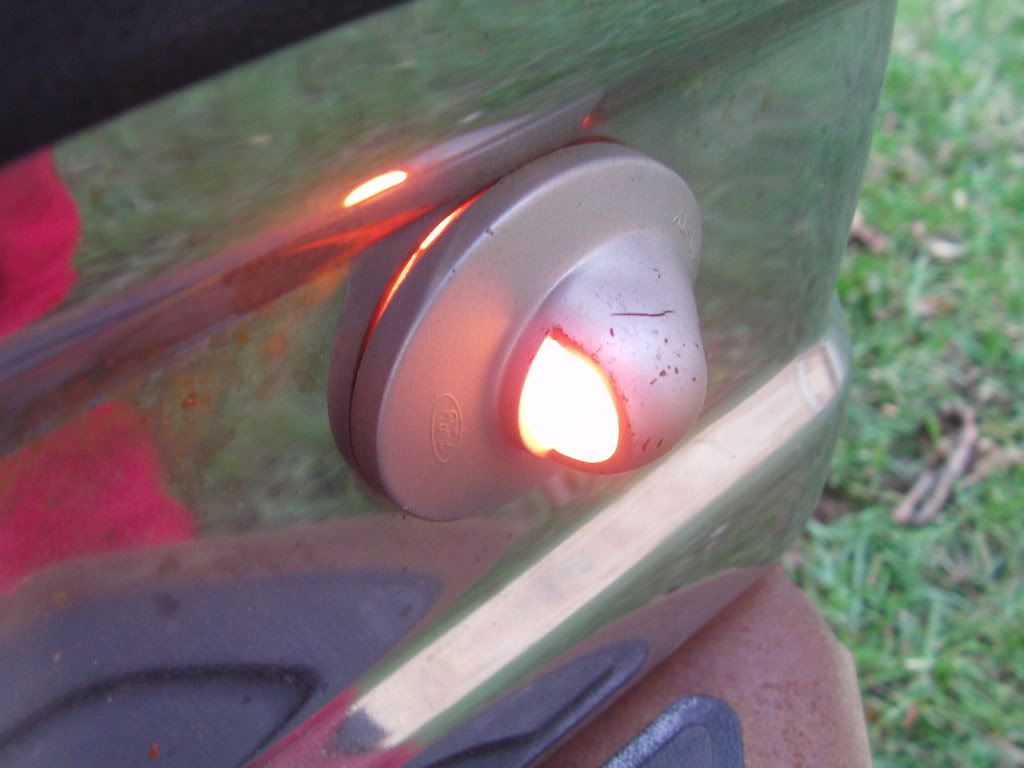
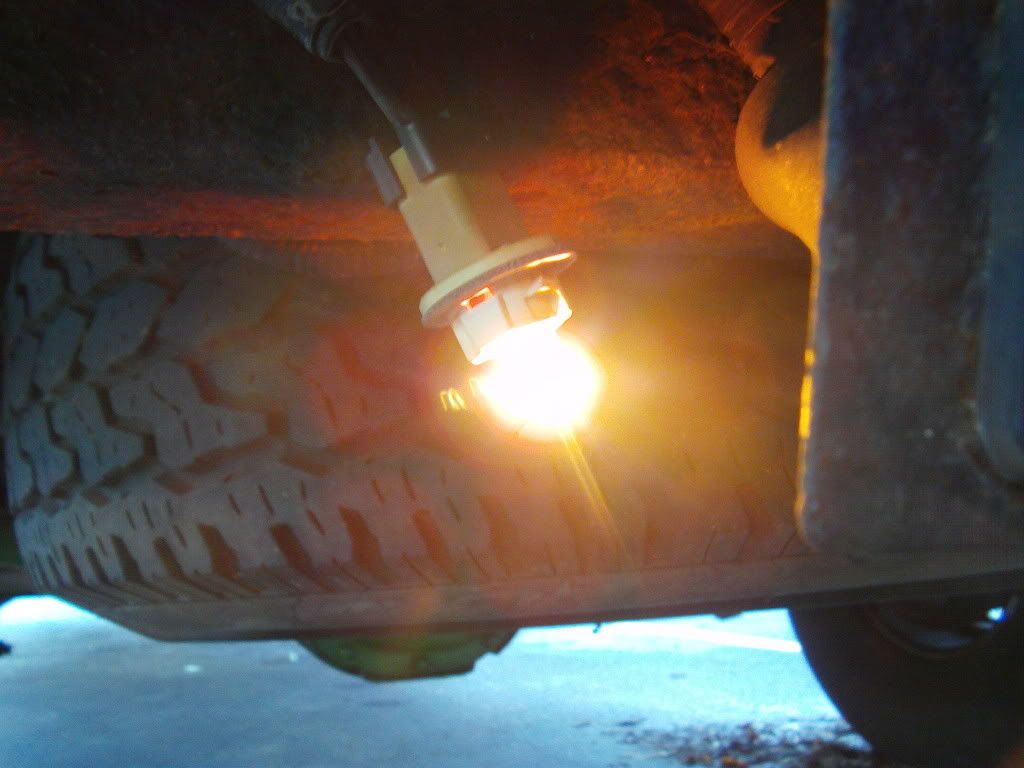
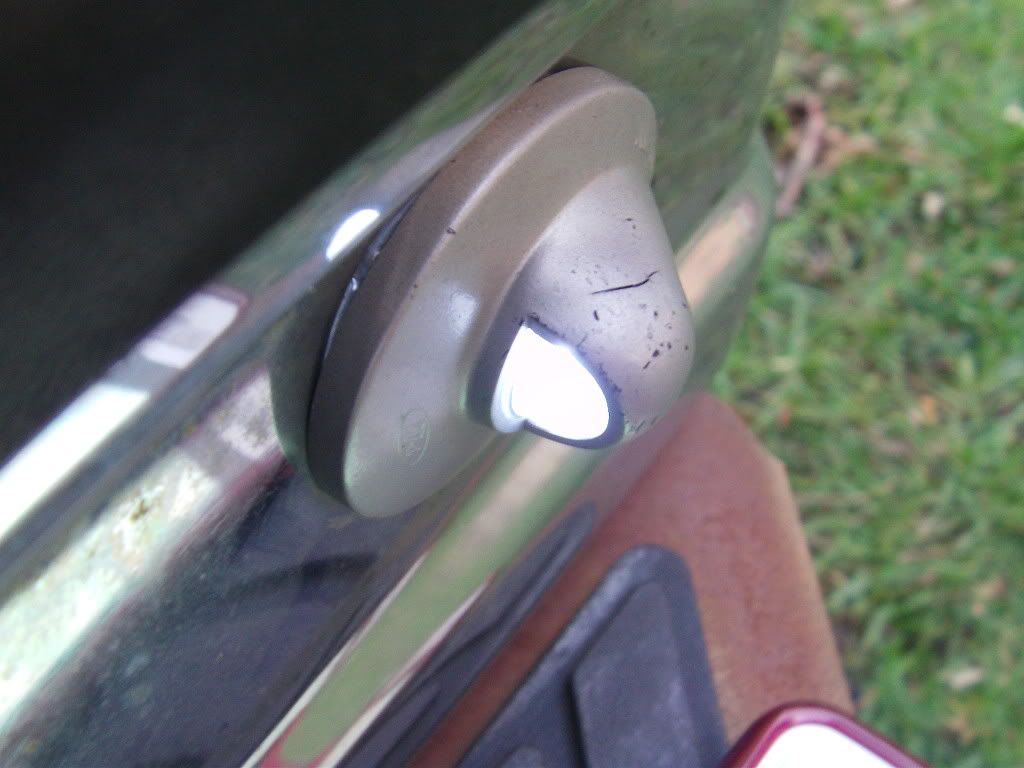
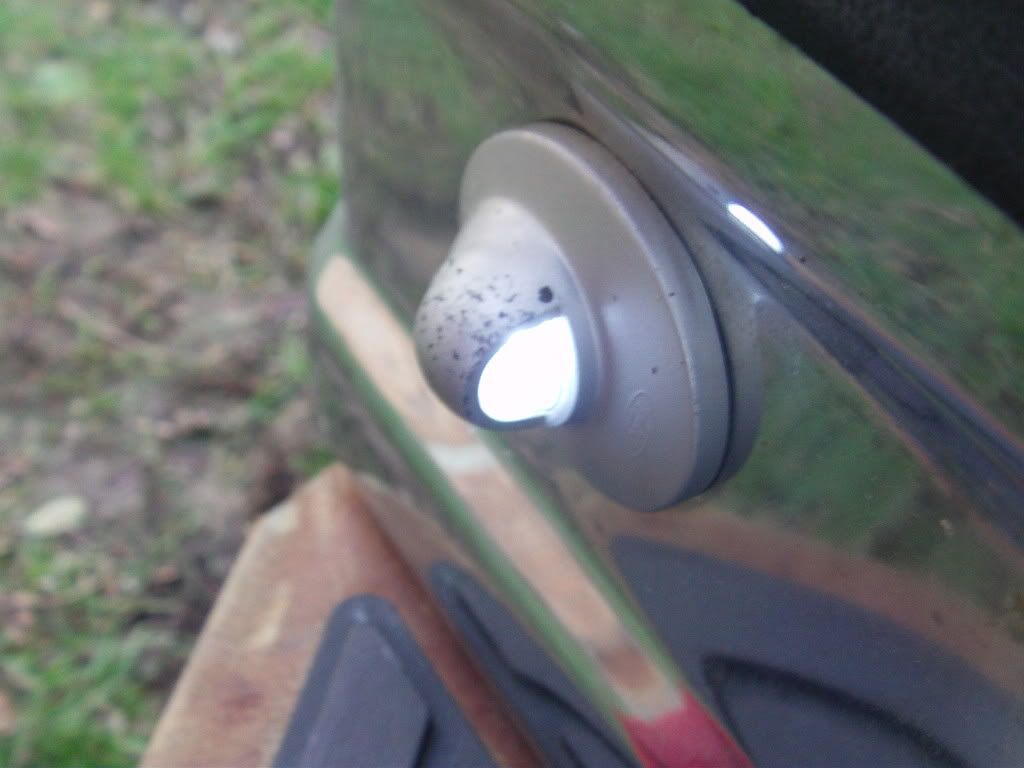
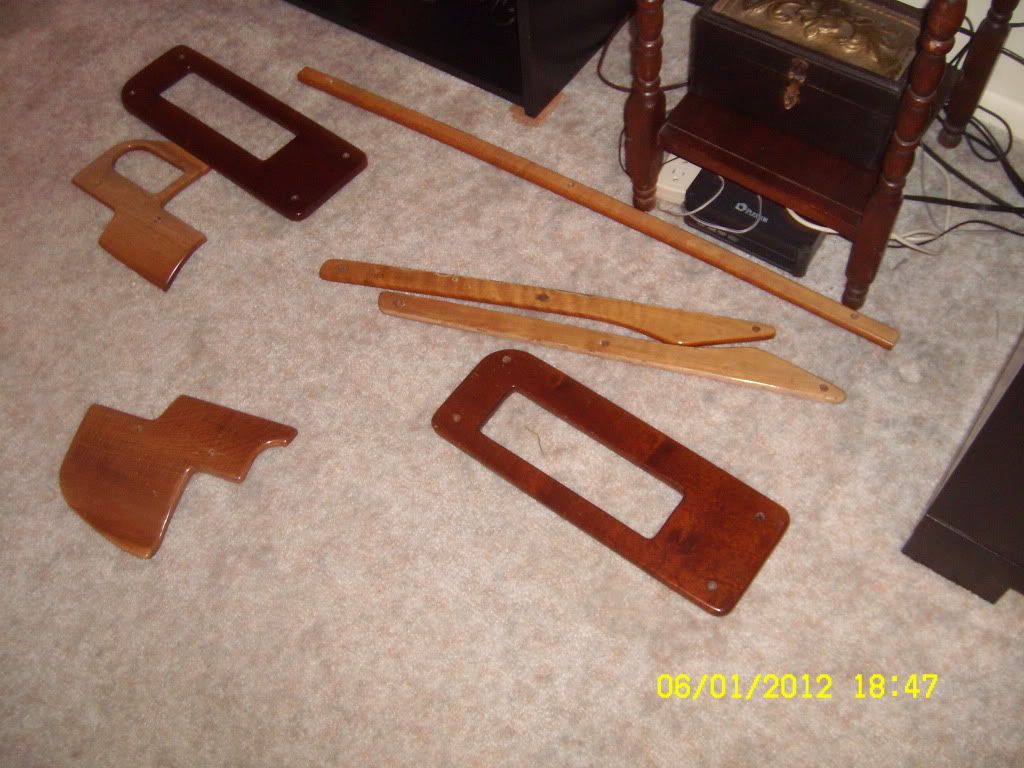
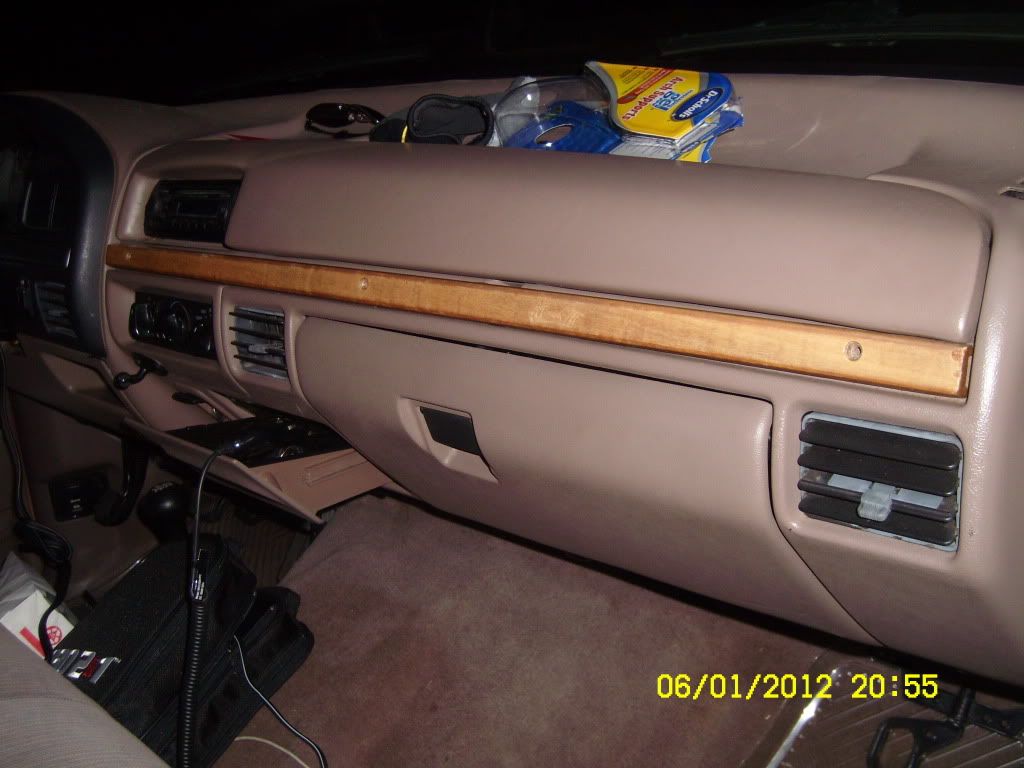
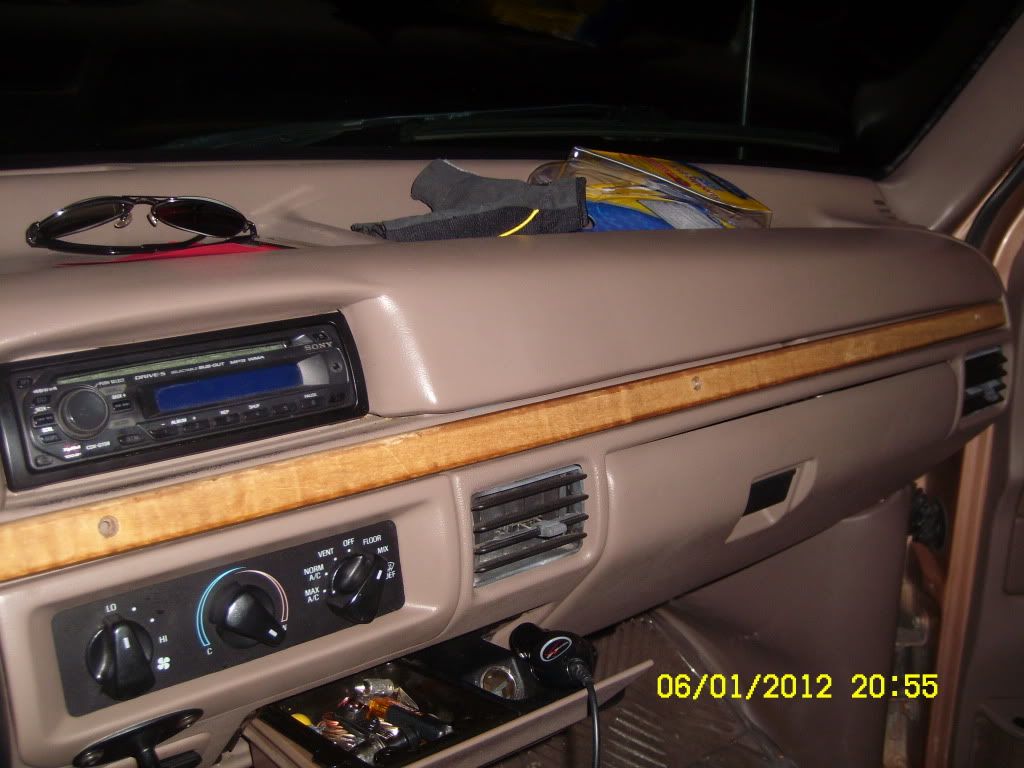
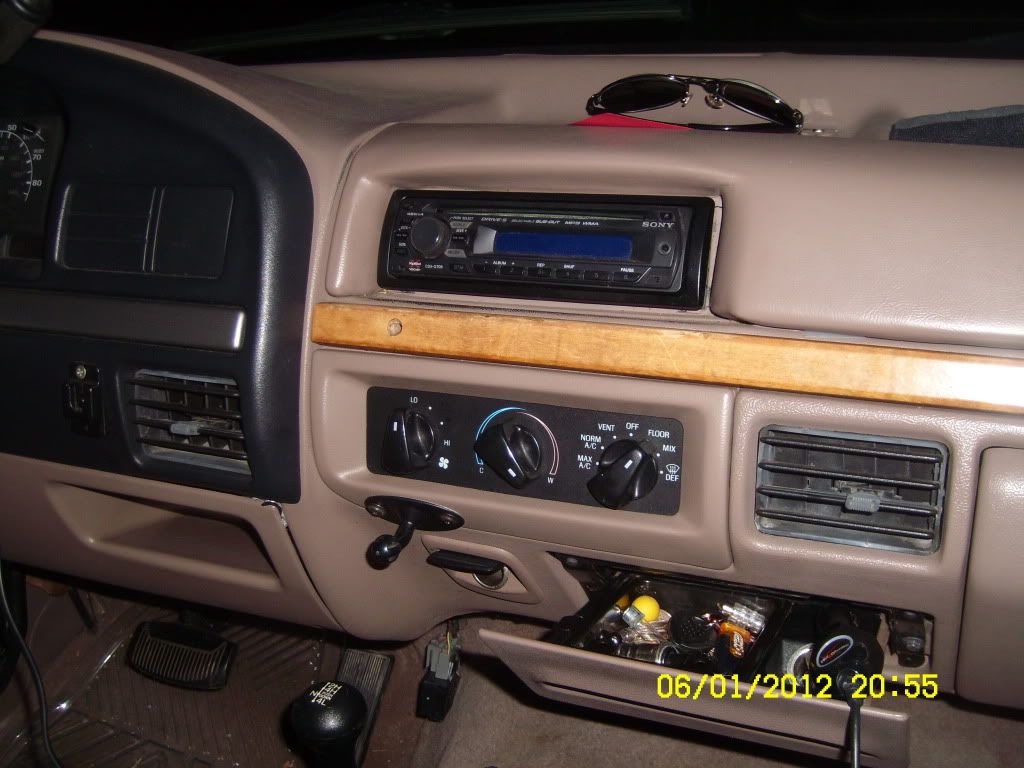
Ok boys, girls guys and gals...of all ages...well with in reason lol...here is my trucks build thread from the other forukms on FTE...its nothing special and parts and things are being done as funding (and the accountant) allows....but its slowly becoming a Q-truck I think thats the term for what is called a "sleeper" car for Americans ;) but anyways, I plan to back up its current "show" with some serious go under the hood...
 
Please ignore the italic stuff, thats to tell me what picture is going where


here is the new list of items to do (my to-do list)

upgrade and install LED CHML - DONE
upgrade the tail lights - DONE (finally)
repair cruise control - DONE
upgrade turn lamps - DONE
switch to all LED bulbs (interior) - IN PROGRESS
switch to all LED bulbs (exterior) - IN PROGRESS
car alarm - ON HOLD
wood trim change out - IN PROGRESS
custom steering wheel (wood trim) - ON HOLD
swap out stock air snorkel to 460 snorkel - DONE
enjoying my truck - IN PROGRESS (this aint ever gonna be done...if it is please contact original poster as there may be a problem with his truck) receive Lund Christmas gift - DONE
move spare to back end of truck and possibly add Jerry can carrier - PLANING
mud flaps (2 or 4) - CONSIDERING
audio system upgrade - PLANING
custom headliner with speakers - PLANING
back-up alarm install - PLANING
window tint - PLANNING
rear mounted spare carrier (bronco style) if possible - PLANING
custom headliner with speakers in it - PLANING
Additional stop/turn/tail LED lamps - PLANING
New exaust system - ON HOLD
topper - ON HOLD
install electric fan(s) - ON HOLD
head light wire harnes to move to different switch - ON HOLD
upgrade/replace/restore headlamp lenses - ON HOLD


Ok I have done enough to sandy to warrent a thread by my standards LOL!!!, first off I changed out my cargo lights to amber (going full LED there soon too) [image showing CURRENT LED set up, I do still have my stock set up with amber cargo lights].
SL732189.jpg


Now for my first project I did was upgrade the stupid tails to 100% LED (sorry no pics of that but ill snap one if people want me to)

then I moved on to the DUN DUN DUNNNN....internal light, the small bulb wasnt cutting it for me honestly, and I have to use red (or other colored bulbs) for my eyes at night as white light is bright for me (yes my eyes are hyper sensitive to bright lights at night so i don't do too much driving but when needed it sucks!!)

so here is my first post in sandy's (may start calling her Bonnie so we have a Bonnie and Clyde lol) project thread, which I plan to post all projects I do with her here!!


so onto the good stuff, the truck pr0n ;) removing your interior light (yes it sucks ok....so before we start this little project we will need a few things (obviously) you will need an interior light from either another truck (uhhh you are removing your trucks interior light right? so I hope you got something better) or preferably one from your friendly spare part exploder, errrr....explorer, if you don't happen to have one (like me, im exploder-less) take a venture to your local Pull-A-Part and find one and snatch one of the center light things with map lights. you will next need to find or aquire your screw driver (philips) I suggest a 1" X4" for best results, again mileage may vary. now finially you will want to get some bulbs, you will need the usual festoon bulbs, I chose LED bulbs, you can use what ever you want as long as they are festoon bulbs ;)

SL732197.jpg

SL732100.jpg

SL732245.jpg


Ok so we got that stuff now right?? if you didn't stop reading and go get them geez!!!


First you will need to remove three screws (KEEP THEM DO NOT LOOSE THESE!!!), located inside the light, don't worry about what grounds what its straight forward for that, you have your center screw which is what power will flow through and your other screws are generally going to be ground (this is based off a 1995 F150XLT, your truck may vary and mileage adjusted accordingly)

SL732097.jpg


ok now lets get that clunky silver (fuggly) thing out and install the exploder light!! so now you should have it out and see this...

SL732104.jpg


so lets reverse the process...

and your done!
SL732245.jpg
 
Last edited by a moderator:
updates to thread, the project with the Exploder light is on hold as the one i have is too long :( so I need to find one that will fit in the space for my truck...so on to other work as there are multiple projects in motion, I have also started painting the whole frame with rust reformer, so below are a few shots with various stages done, finished pics soon, total amount of reformer used?? 5 cans so far!!

BEFORE:
SL732111.jpg

SL732112.jpg

SL732108.jpg

SL732107.jpg

SL732110.jpg

SL732114.jpg

SL732112.jpg

SL732106.jpg


Here are some shots of the work in progress!

SL732118.jpg

SL732117.jpg


Here are a few Phase 2 shots!!

SL732144.jpg

SL732145.jpg

SL732146.jpg

SL732147.jpg

SL732148.jpg

SL732149.jpg

SL732150.jpg

SL732151.jpg

SL732152.jpg

SL732153.jpg


one can for the front half area of the main frame yay!!
 
Last edited:
Ok I started working on the air horns and getting those fit and wires ran for them (uuuug) its a pain in the rear but I think ill like them, need to find horn covers to protect them from getting things stuck in them. and its slow lol...also finially got the style lamp needed for the map light so I can put that in now!! YAY!!! pulled it from an windstar (2000's model i think it was) and the nice thing is it is a brown/tan color too!! so double win!! The frame is finished and painted John Deer green (farm impliment paint)

SL732164.jpg

SL732165.jpg

SL732166.jpg

SL732167.jpg

SL732168.jpg

SL732169.jpg

SL732170.jpg

SL732171.jpg

SL732172.jpg

SL732173.jpg

SL732174.jpg

SL732175.jpg


Test fitting the horns :)
SL732159.jpg

SL732160.jpg

SL732155.jpg


the paint I used to paint the frame

SL732161.jpg

SL732162.jpg

SL732163.jpg


ok minor update, got the new horn installed YAY! and got the tool box oiled so it works well and very smoothly, also got the new light installed and working also!

SL732245.jpg


more to come!
 
Last edited:
ok guys and gals hers some pics after i finially got it out the box, this was a "gift" item I got from Lund as im part of the drivers council panel!

the box
SL732269.jpg

SL732267.jpg


the bugflector
SL732270.jpg

SL732272.jpg

SL732271.jpg

SL732273.jpg


the truck before
SL732276.jpg

SL732275.jpg


the truck after
SL732277.jpg

SL732278.jpg

SL732279.jpg

SL732280.jpg

SL732281.jpg


(the last two I tried to take from the same angle on both sides of the truck as best as i could)

now i havent secured it in with the provided screws yet simply because im concerned something aint right, it does look to be sitting correctly however that means I will need to drill new holes into my hood (not good) and it says in the directions (and on the box) no drill needed...ok so yea im not about to drill and find out i fugged this up, I set and measured many times and it still seems off some how so yea does it look like its proper to people??? anyone have one (a bug shield of any type) on there truck and care to share there info on it with me?? help? lol im already pissed enough that it got dark and its not cool to finish working on it so i would love to get this done, and i am also considering taking it over to a local shop and asking for there help to install it as its kinda hard to do by my self anyways...
 
Last edited:
ok heres an update I went ahead and popped the hood open and decided that it was pretty good and square and put the first screw in (yay) so it could be held in place as I check it and readjust if needed (which only the pass side had to be pushed forward a tad) heres some pics for you all to enjoy!

after i got the bumper pieces on the hood (only really needed two but i put them all on just incase) I was done finially (make sure you clean the hood before installing honestly but i like to do things my way lol)

Before screws
SL732282.jpg

SL732283.jpg

SL732284.jpg

SL732285.jpg


the tool you will need (a drill), I recommend the smart select drill but if you dont have one like mine I would suggest velocity #1 (low) and the lowest setting on the forward piece that rotates (the piece with the various pictures on it) #1 should do just fine for both settings as your screws arn't very long.


SL732286.jpg

SL732287.jpg

SL732289.jpg


Heres how I made the hood work for me (hey why not?), just rest your arm/elbow on the cross member and lower the hood so its weight is on the screw and the drill is pushing the screw up
SL732290.jpg


finially all screws in (all of 5 - 10 minutes)
SL732291.jpg

SL732292.jpg


then it was time to clean up (mild soap and water shoud do the trick and is recommended for use on the bug guard anyways)
SL732296.jpg

SL732297.jpg


the bumper guards (bump offs) I put one on each corner (press on the bug shield to see if any parts can potentally touch the vehicle then place accordingly as needed)
SL732298.jpg

SL732295.jpg

SL732299.jpg

SL732300.jpg


Finally completion!! Im showing the truck off LOL!! I dont care I worked hard to win the battle (dead charger/battery syndrom hit my first drill so i had to run out and buy a new one to complete this, so yea im gonna gloat and be proud of my work LOL!)
SL732301.jpg

SL732302.jpg

SL732303.jpg

SL732304.jpg

SL732305.jpg

SL732306.jpg


YAY now i can sit back and feel proud now :D

another update

got the turn lamps today YAY!!! so heres a pic of them before install, will be taking some more pics as I install them, doesnt seem as hot out so I think I should be ok today!!

SL732307.jpg

SL732308.jpg
 
Last edited:
side shot As of 23/7/2011

SL732210.jpg


SL732208.jpg


Yup, after a minor Hiatis (hiatis minor) I finially got a few days back to back that were 65* (yay) and got the driver side turn in place and wound up going to a local shop to get some extra help with freeing the really severely rusted bols/nuts out we actually broke one taking the old houseing off but got them out, and put the new ones in!! yay! as for where I got the turn lamps, it was Truckviva.com, but i use any place that sells parts (including ebay) if the price is low enough to justify the purchase, but I try to keep with quality parts, which these seem to be really nice quality...as far as i can tell...

@ Wes, if i do tint thats going to be a professional job I get, thats not something I want to risk botching up ;)

heres the porn...;)

Before:
SL732201-1.jpg


After:
SL732557.jpg


The pics:

SL732558.jpg

SL732559.jpg

SL732560.jpg

SL732561.jpg

SL732562.jpg

SL732563.jpg

SL732564.jpg

SL732565.jpg

SL732566.jpg


Ok, I got bored, ordered a set of tails (after figureing out what i wanted style wise LOL) and well, they came today (forgot to take a pic of them in the box/wrapping oops) and put them on...it was raining out so pardon the watery pics....put new 3157 LEDs in them (red bulbs 68 SMD leds) and I have to say they make it look better then I thought :D here are a few pics (again its raining so I took what I could)


BEFORE:
SL732077.jpg


AFTER:
SL732621.jpg

SL732622.jpg

SL732624.jpg

SL732625.jpg

SL732626.jpg

SL732627.jpg


Enjoy the pictures :)
 
Last edited:
Ok, found the video camera and figured out the still function of it (yay) and got a few new items for the ol girl to spruce her up (a xmas gift for my self and the truck ;)) the following is what I got.

New replacement horns
Antenna (radio)
LED 194 bulbs in White and Amber

and well I did what I could in the cold weather :( which isnt much but better then nothing :) and with out further to do the pron ;)

The LED bulbs (194)
FILE0075.jpg


Figured time to replace the license bulbs...
FILE0067.jpg

FILE0073.jpg

FILE0074.jpg

FILE0077.jpg

FILE0080.jpg

FILE0075.jpg

FILE0078.jpg

FILE0079.jpg


time to replace the antenna (all of 5 minutes)
FILE0068.jpg

FILE0069.jpg

FILE0070.jpg

FILE0081.jpg


Some shots of the two to compare size...
FILE0072.jpg

FILE0071.jpg

FILE0085.jpg

FILE0086.jpg

FILE0084.jpg

FILE0084.jpg


Found that my antenna really isnt needed, so if i wanted I could just unscrew it and take the new thing back and also toss the old, as the radio came in clear with out it...so I guess I have an internal antenna some where else (odd but what ever) so I figured the black is there just for looks I guess....anyways hope you enjoyed the pr0n....
 
Last edited:
Well got my wood trim, honestly wish the trim had pieces to replace all XLT trim pieces but oh well :( its still real wood!!! So im as happy as a bear in honey :D
the pieces
SL732688.jpg


Test fitting a piece
SL732693.jpg
 
Last edited:

DNFXDLI

The Token Canadian
Staff member
I've heard that they don't last as long as advertised and cost 3 times as much. Still undecided on whether to buy.

Speaking as an Electrician...and using resi applications as an example...like everything else, it boils down to cost/quality.
 
and it also hinges on mfg and wether or not inferior LEDs were used in the creation of said product...but so far the LEDs work and I plan to keep them in :)
 
ok minor update for you guys, the RABS unit i think died a long time a go so I replaced it a few days ago and got my cruise working again :D YAY! love having cruise at 03:30AM when going to work hehe, its located behind the glove box in these trucks if people are wondering :)

SL732702.jpg

SL732698.jpg


on another note got the first piece of wood trim into the truck YAY, now I wish I could figure out what type of wood this is so I can get other pieces cut for the doors and dash...some pics...

SL732697.jpg

SL732696.jpg

SL732695.jpg
 
Thanks guys for the reply. I will try them. :)

cool glad to hear that :) just make sure if you keep colored lenses you use the SAME color LEDs, if you got clear lense use what ever color you want (Amber recommended) and the 68SMDs seem to work well for me as far as visibility and brightness...
 

Ford Truck Articles

Recent Forum Posts

Top