BuzzGun79
Nov.TOTM 2012 / 2012 TOTY
- 2,388
- 55
In this thread...with a little bit of.....
and some
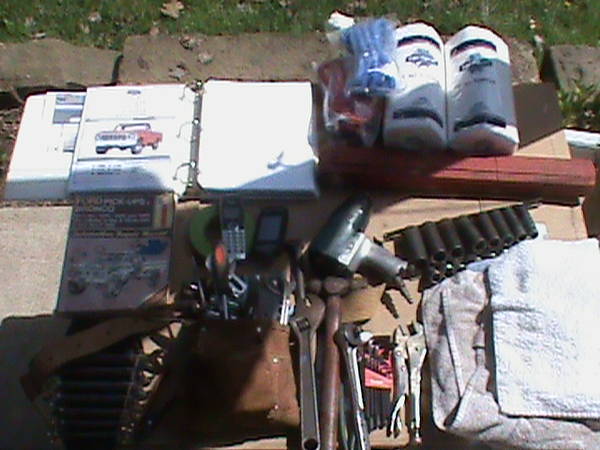
In my Garage
preperation is key...tarps and lots of cardboard to respect the Landlords property.... access planks fender covers. the truck cover will hide parts in the bed that are removed from the vehicle keeping eye sores at a minimum along with saftey
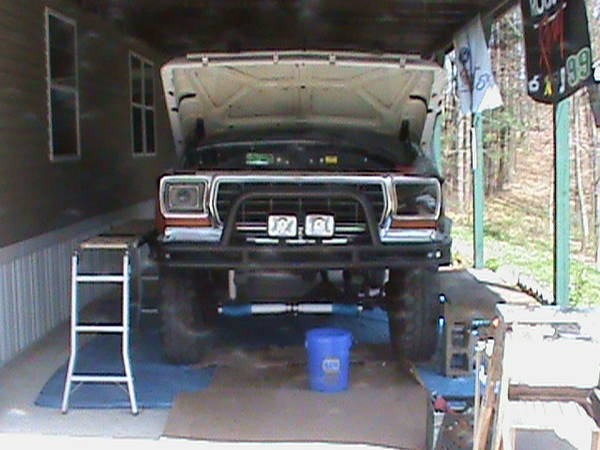
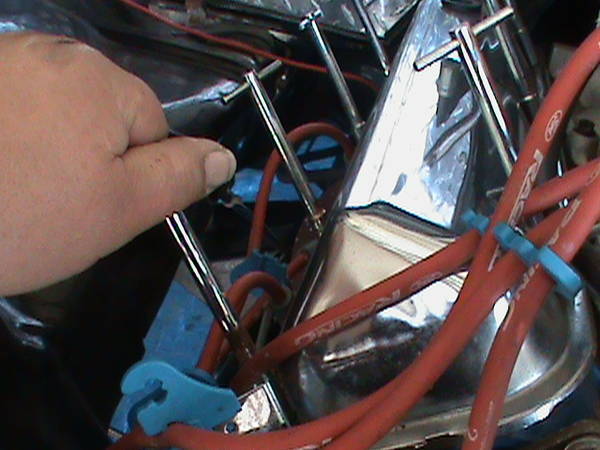
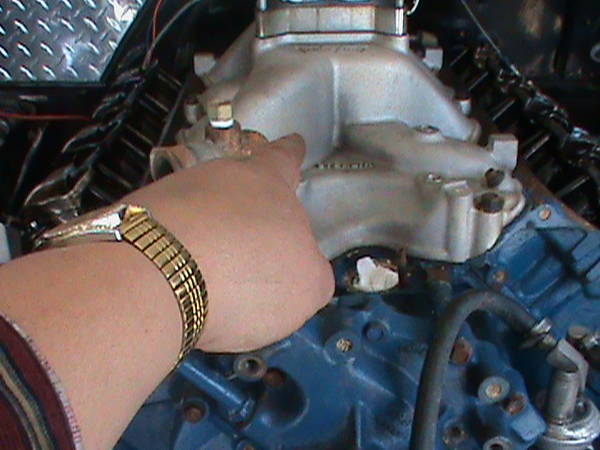
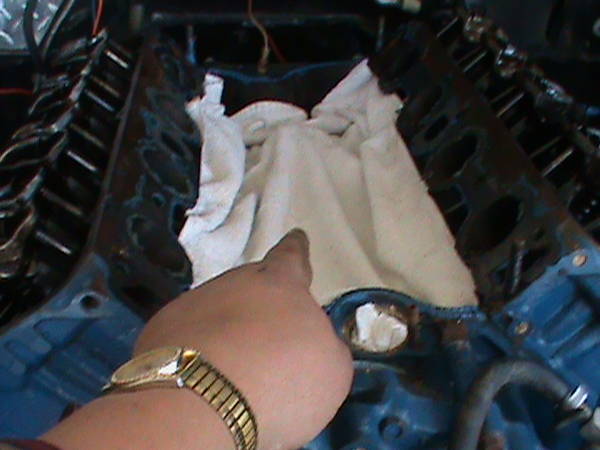
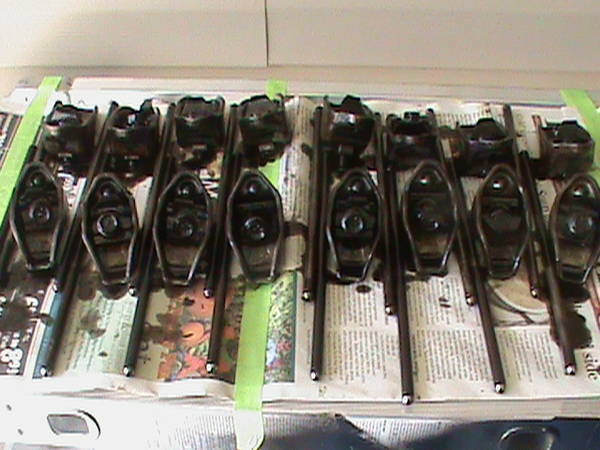
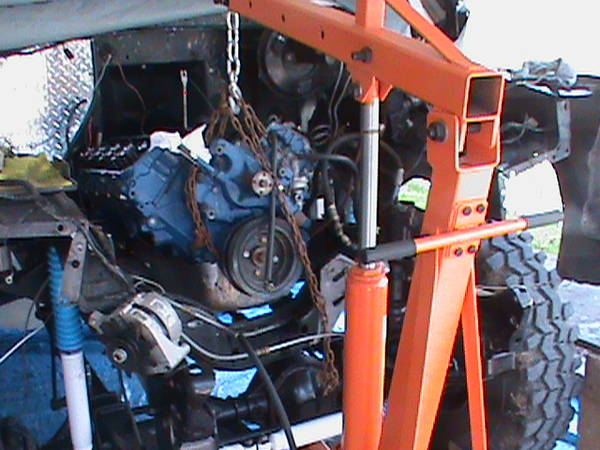
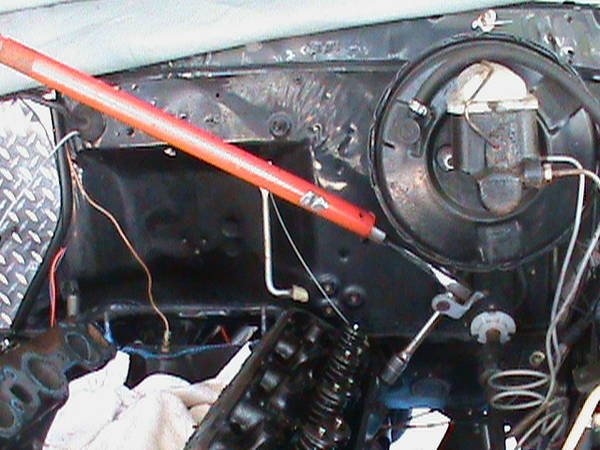
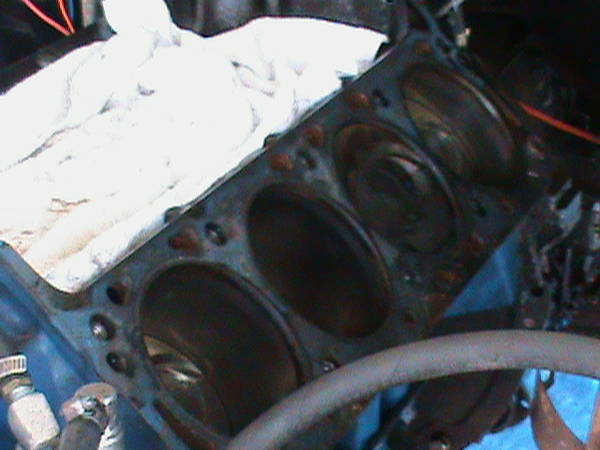
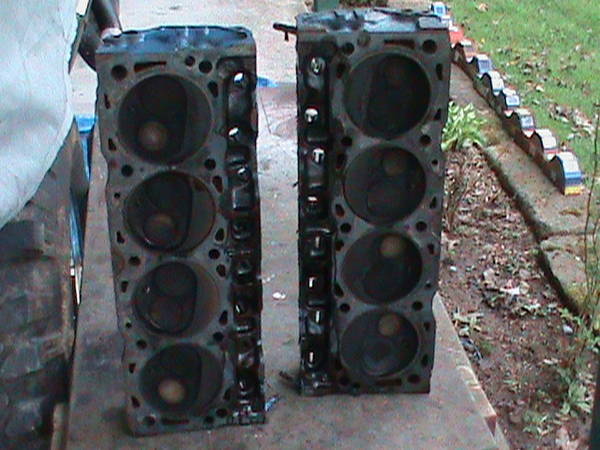
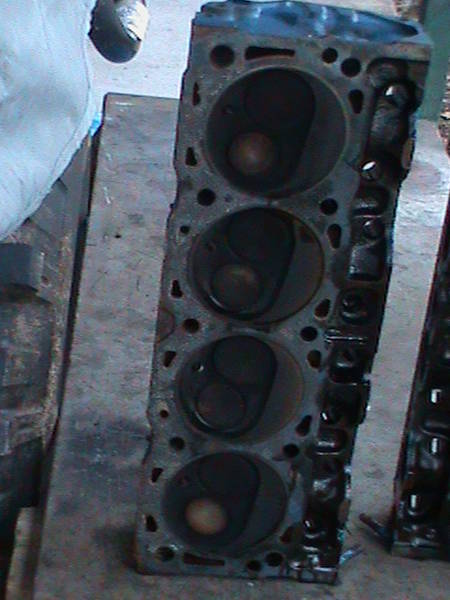
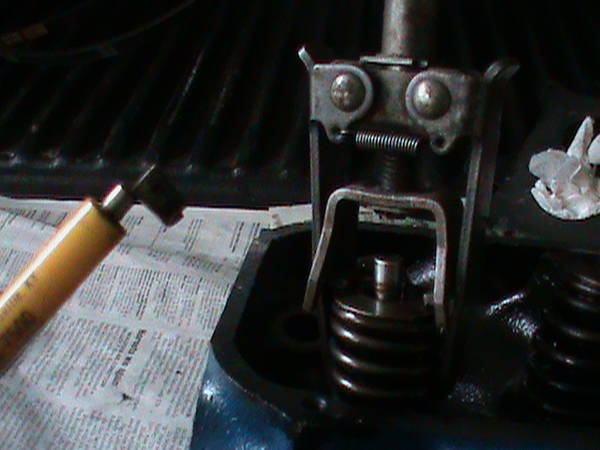
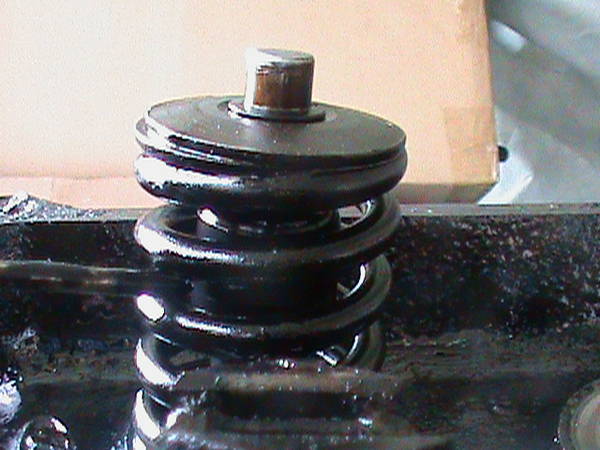
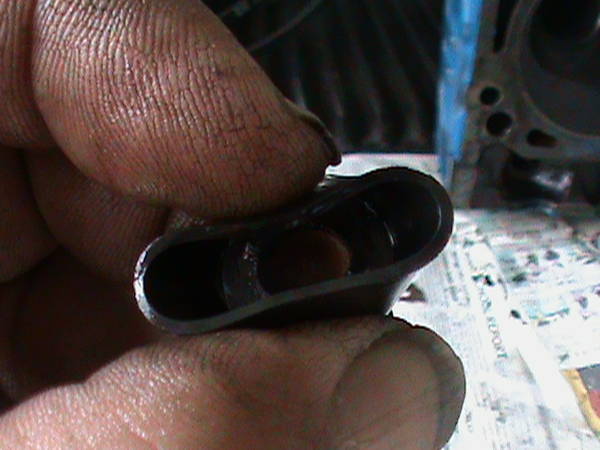
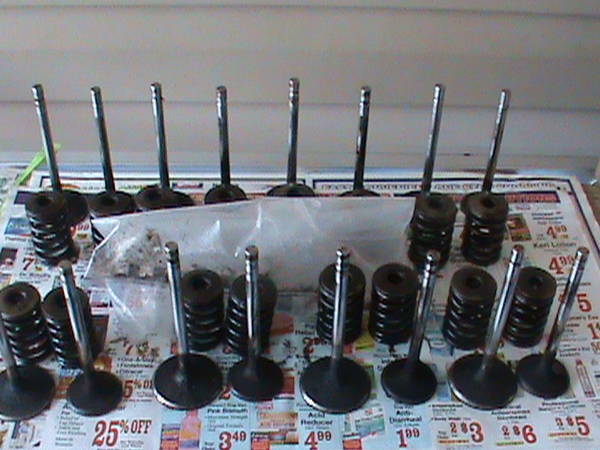
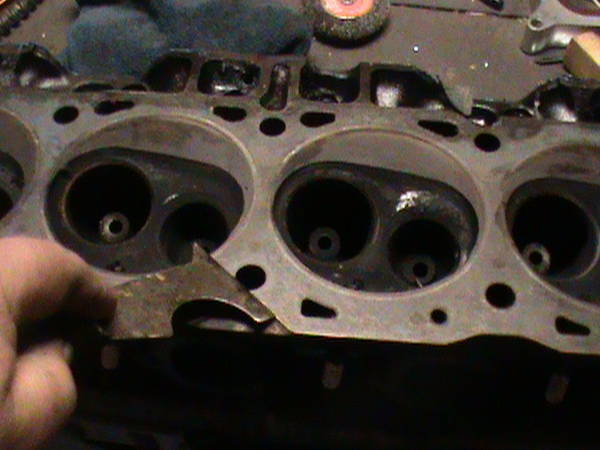
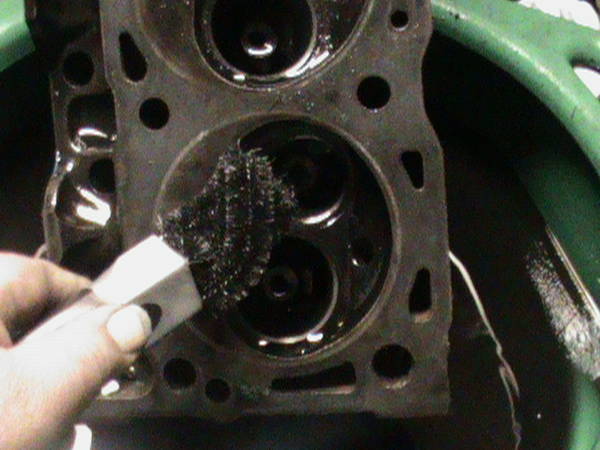
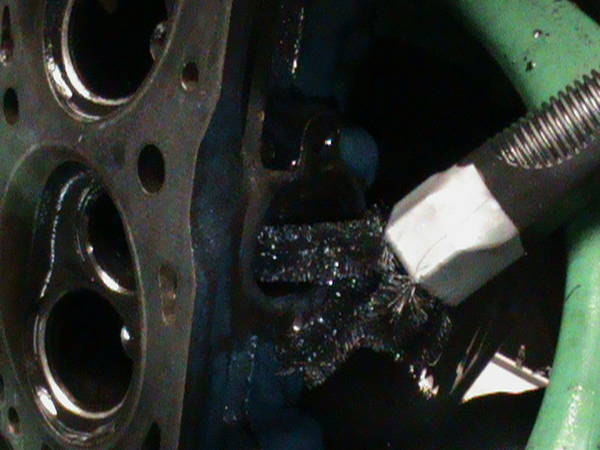
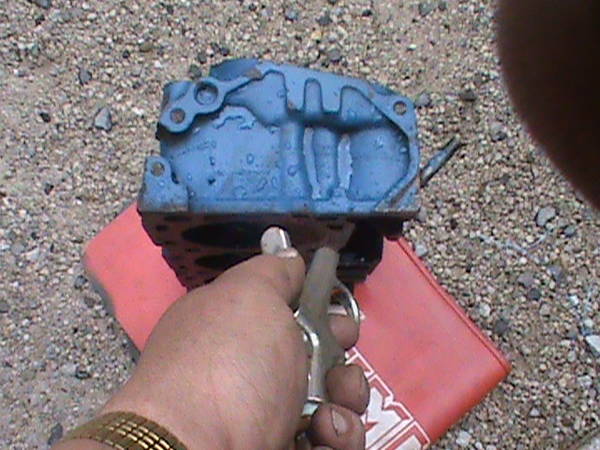
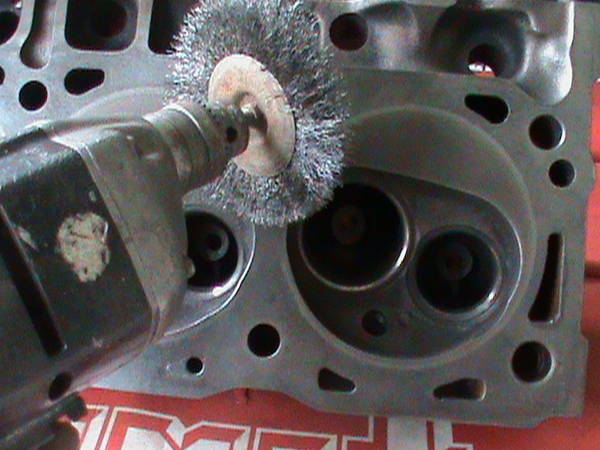
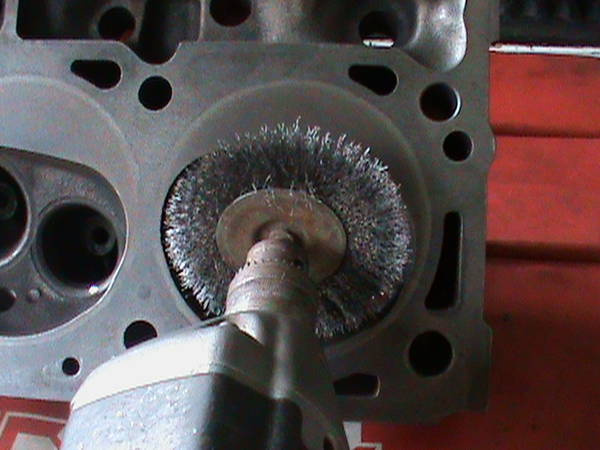
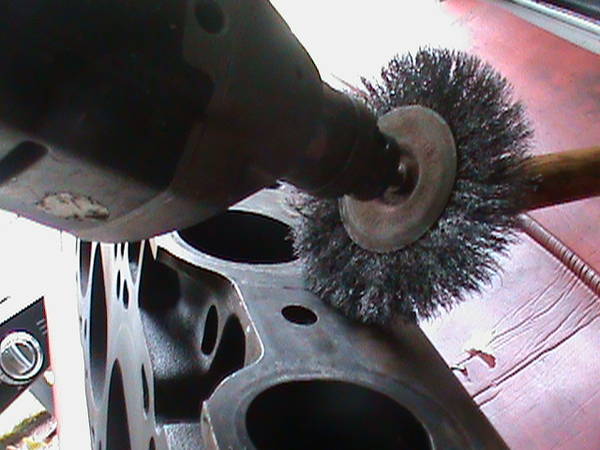
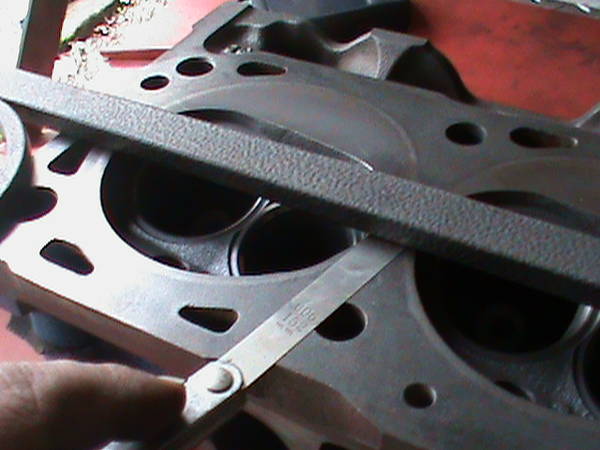
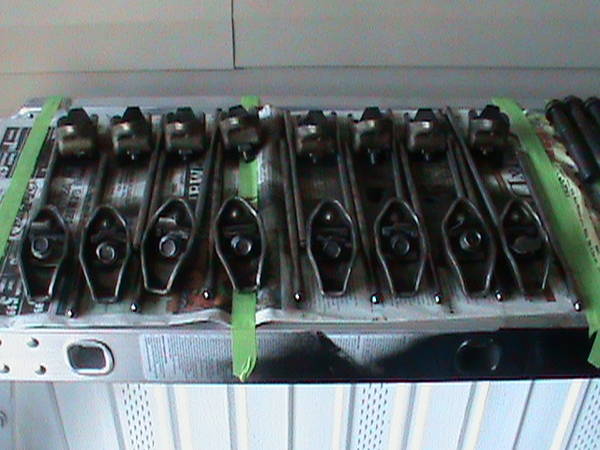
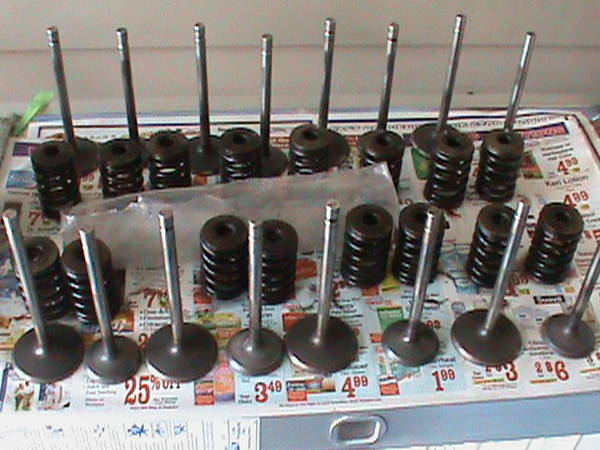
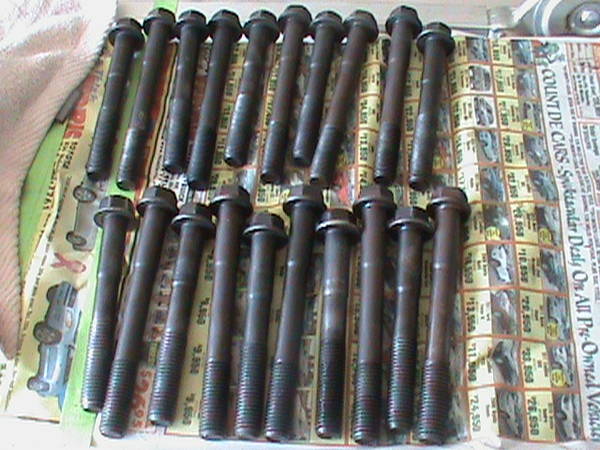
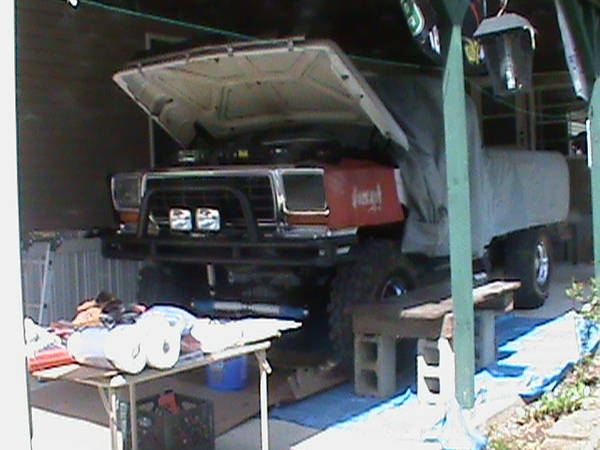
Teardown of the grille radiator support is eccential to gain easy access to the engine on a lfted vehicle for the heads will be pulled first..I already know the bottom end of the motor has no issues....we will concentrate on headwork along with cam and lifters......Lights Out!!
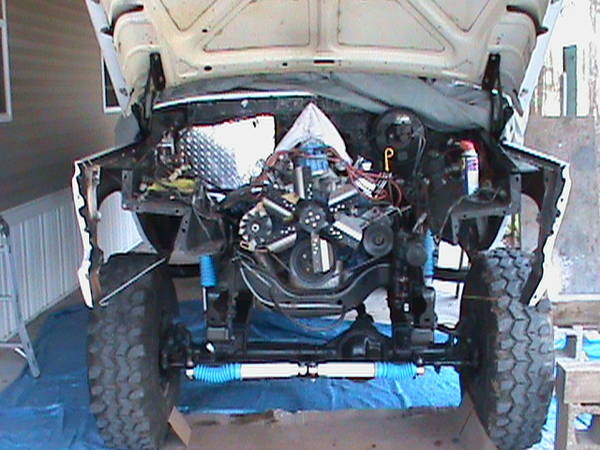
the goal here is to spend as little as possible,but gain some low to mid range torque/Hp along with just maybe a few mpgs as well....stay tuned!")
and some
In my Garage
preperation is key...tarps and lots of cardboard to respect the Landlords property.... access planks fender covers. the truck cover will hide parts in the bed that are removed from the vehicle keeping eye sores at a minimum along with saftey
Teardown of the grille radiator support is eccential to gain easy access to the engine on a lfted vehicle for the heads will be pulled first..I already know the bottom end of the motor has no issues....we will concentrate on headwork along with cam and lifters......Lights Out!!
the goal here is to spend as little as possible,but gain some low to mid range torque/Hp along with just maybe a few mpgs as well....stay tuned!
Last edited: